
How to Make a Concept Map in Google Slides
We live in bustling times. Between work, family, social media, etc., our minds can get extremely cluttered. That can make it difficult to focus, especially when there are complex concepts to explain. This is why concept maps play a crucial role in organizing information: They make it easy to digest.
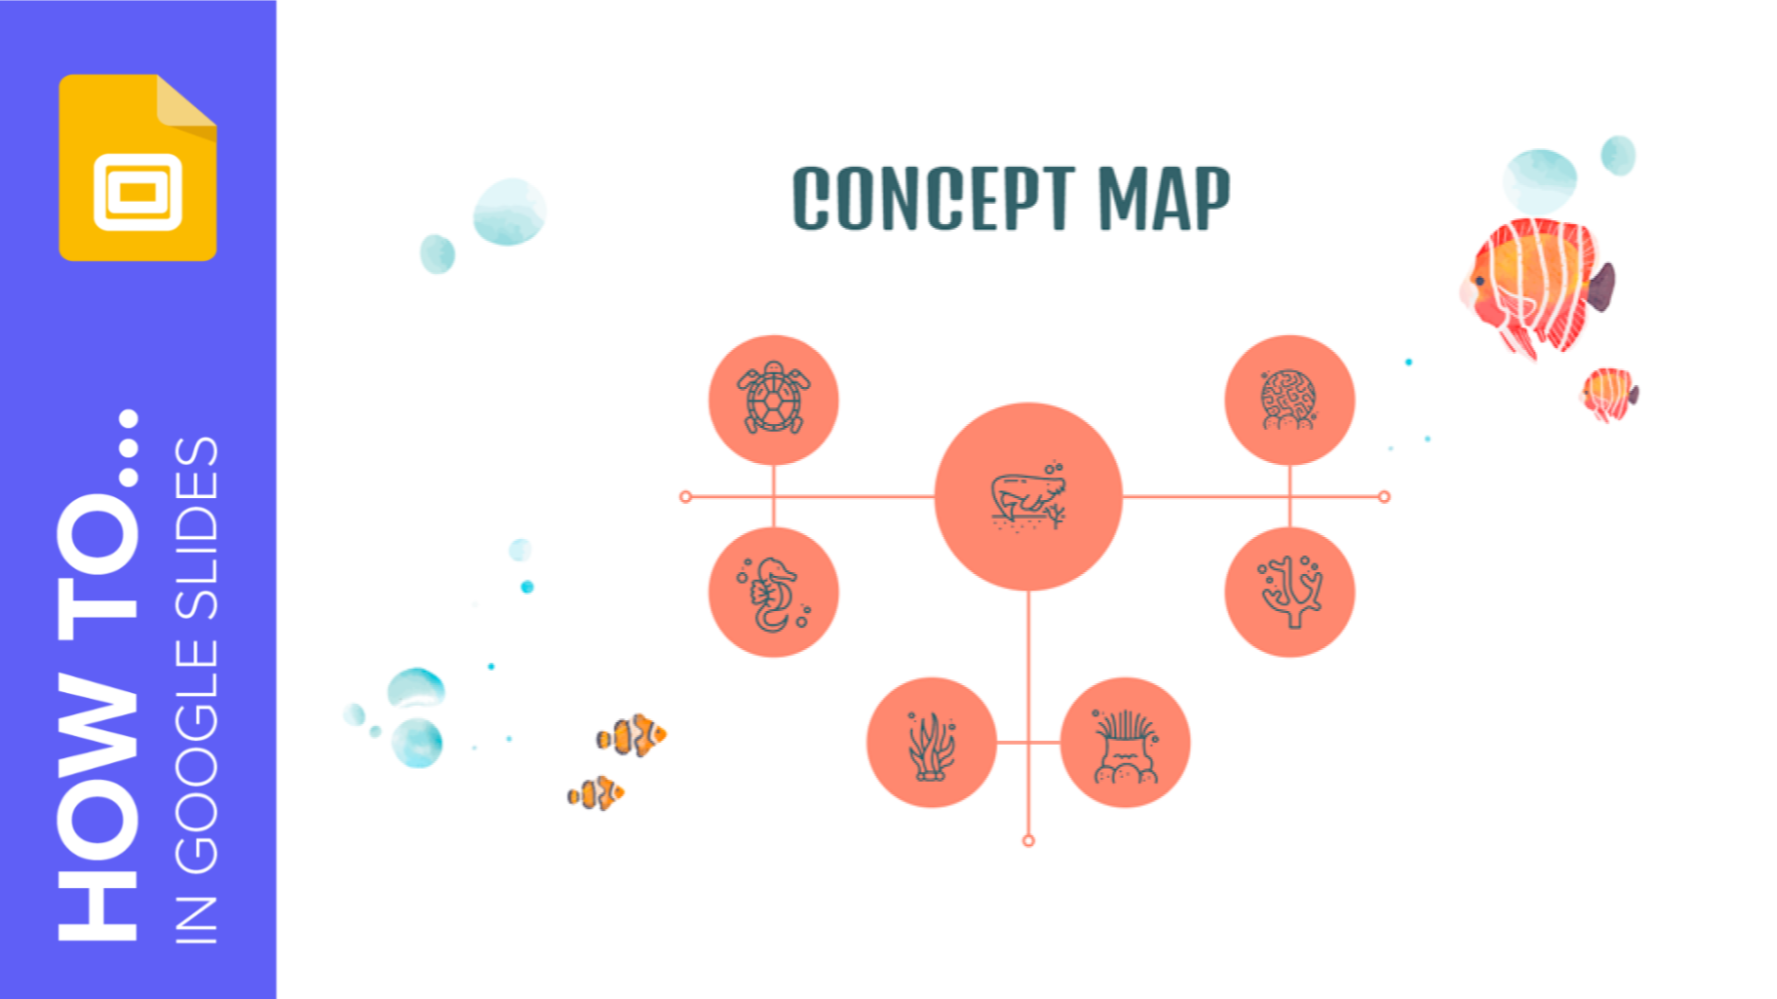
Concept maps are a type of diagram used to explain relationships between ideas visually. They begin with one main idea before connecting it to other smaller yet equally important related ideas. The best part is that you only need a few basic shapes—lines, ovals, and squares—to create a concept map in Google Slides.
Creating the main concept or idea
- Open your Google Slides presentation.
- Go to the slide you want to make the concept map in.
- Go to the toolbar and click Insert → Shape → Shapes. Select Oval and drag it out with the mouse to create a circle. This represents the main idea of your concept map.
Pro tip: Hold on to Shift while dragging to create a perfect circle.
- Style your circle by using the options Fill Color and Border Color. Remember to stick to the slides’ theme colors and select a transparent border for a cleaner and more consistent look.
Creating related concepts (also known as nodes)
- Copy and paste the circle (Ctrl + C and Ctrl + V).
- Resize it by dragging any of its corners inwards. When your cursor becomes a double-headed arrow as you hover over the corners, that’s an indication that you can start resizing (remember to hold down Shift while resizing to maintain the circle’s proportion). The concept map demonstrates the hierarchy between elements, so we’ll create smaller circles for secondary concepts.
- Place the secondary circle slightly beneath the main circle. This will be your first related concept or idea (also known as a node).

- Replicate the smaller circle to create subsequent related nodes in your concept map.
- Place the second node slightly above the main idea. Google Slides displays visual guides (in this case, red and blue horizontal lines) to help you align objects: Use them to make sure nodes are properly aligned.
Related tutorial: How to Arrange and Align Objects in Google Slides

Pro tip: To replicate more nodes in one go, you can group them together. Hold and drag out the area around two or more nodes and click Arrange → Group. In this case, since there are two existing nodes, we’ll replicate them two by two.

- Copy and paste the group of two nodes. Once they’re grouped, you may move both elements as if they were one single element. From size and color to shape and distance, these two new nodes you’ve pasted are identical to the two you copied them from.
- Place the new nodes as desired. In this case, we’ll use the same arrangement as the first two nodes, but on the other side of the main idea. This provides a good visual balance.

- Copy and paste them again to create the last pair of nodes.
- To place them horizontally while maintaining the same distance between the two nodes, you will need to rotate them. Do this by clicking Arrange on the menu bar → Rotate → Rotate clockwise 90º.

Pro tip: For efficiency, you can also rotate an object without accessing the menu bar. Simply select it to bring up the blue dots around. Select the dot that is the farthest away (also the one that’s connected by a line) and drag it around to rotate. Hold down Shift to rotate in 15-degree increments.

Connecting related concepts
- To start connecting ideas, click on Select line → Line. Place the line right in the middle of the main concept so it looks like a strikethrough. Use Google Slides’ visual guidelines to make sure it’s well in the middle of the main idea.
- Use the options Line color and Line weight in the toolbar to style the line. Here, we’ll use the same color of the circles. We’ll also add a bit of weight to create a thicker line.

- Create new lines to connect the main concept to the nodes. This represents secondary ideas branching out from a main idea.
- If there are two or more secondary ideas that are inter-related, create lines to connect them. In this example, the nodes are related in pairs.

Adding titles to the nodes
- If you want to label the nodes, double click on the circle and start typing. Style the text by using the options Font, Font size, Text color and Align. Remember to continue using the theme’s font types and colors and make sure the text is centered in the circles.
Adding descriptive texts to a concept map
- Click on Insert → Text box. With this text box, you can either describe the relationships between the circles in the concept map or provide more context. Do not divert from the slides’ theme colors and fonts. Also, remember that the concept map is a visual design so refrain from adding too much text to distract your viewers.
- Copy and paste (Ctrl + C and Ctrl + V) to replicate as many text boxes as you need. In this example, we’ll have three of them to represent the concept’s three main relationships.
- You can also play around with alignment options by selecting Arrange in the menu. You may want to align the text boxes on the side to the left and right and center the text in the text box at the bottom.
Adding visual details to a concept map
- You can also add icons to your concept map. Google Slides doesn’t have integrated icons. But there are thousands of free icons available on Flaticon. You may download the icons or install the Flaticon extension for Google to access them directly from Google Slides. Once you have them, insert them into your concept map by selecting Insert → Image → Upload from computer.
- Resize the icons as needed and place them in the middle of the circles.
Related tutorial: How to add and modify icons in Google Slides
Pro tip: All of Slidesgo’s templates for Google Slides come packed with tons of icons. We’ve included them in the final slides of our templates, right after the Thank you slide. All you have to do is copy and paste the ones you like into your concept map. Plus, they are all 100% editable!
- To change the color of the icon, click Arrange → Ungroup and use the Fill color option.
- Copy and paste all remaining icons to complete the concept map. Again, remember to stick to the slides’ theme colors and make sure icons are placed right in the middle. That’s it: A concept map made easy!
With this, you’re well equipped to make a concept map in Google Slides. If you prefer, you may also try out some of Slidesgo’s beautiful templates that are ready for you to use and adapt. Check our most popular themes now!
Do you find this article useful?
Related tutorials
7 tips to create a positive classroom culture
No matter if it's been ages since you last stepped into a classroom or just a long time ago―there’s probably a particular learning experience you often find yourself thinking about. Maybe it was a passionate teacher who kept the whole class engaged, or perhaps a classmate who lent you a hand with a tricky topic. Positive classroom experiences do leave a lasting mark on us, so it makes perfect sense that people leading a classroom aim to create the finest possible learning setting. In this article, we’ll share some tips to help you turn a regular classroom into a positive space.

Welcome to Slidesgo Educator Community, Community Circle!
As educators, it's essential to support collaboration and professional development among peers. However, the demands of educating students can sometimes make it challenging to find the time to network with fellow educators. That's why we're excited to introduce our Slidesgo Educator Community, an innovative platform designed especially for educators. In this blog post, we'll dive deeper into why we created this community, what its key features are, and how it can benefit educators.

How to Use the Presenter View in Google Slides
Google Slides, like PowerPoint, has different presentation modes that can come in handy when you’re presenting and you want your slideshow to look smooth. Whether you’re looking for slides only, speaker notes or the Q&A feature, in this new Google Slides tutorial, you’ll learn about these and their respective settings. Ready? Then let’s explore the presenter view!

Top 10 tips and tricks for creating a business presentation!
Slidesgo is back with a new post! We want your presentations and oral expositions to never be the same again, but to go to the next level of presentations. Success comes from a combination of two main ingredients: a presentation template suitable for the topic and a correct development of the spoken part. For templates, just take a look at the Slidesgo website, where you are sure to find your ideal design. For tips and tricks on how to make a presentation, our blog contains a lot of information, for example, this post. We have focused these tips on business presentations, so that, no matter what type of company or...