
How to make a flyer with Google Slides

Are you going to promote an event and need a flyer? Do you want to announce a new offer to your customers and would like to create a leaflet? Or maybe you are developing a special menu in your restaurant and want to print it in a different format?
In this tutorial, we show you step-by-step how to make a flyer in Google Slides from scratch. You don't need to have any design skills - you'll see how incredibly easy it is!
Choose the flyer size
The first thing you need to do is to define the size. To do this, just click on the top menu File and then Page Setup. You will get a pop-up window with a drop-down menu, choose the Custom option and enter the size you want. For example, a vertical A4 would be 8.3 x 11.7 inches.
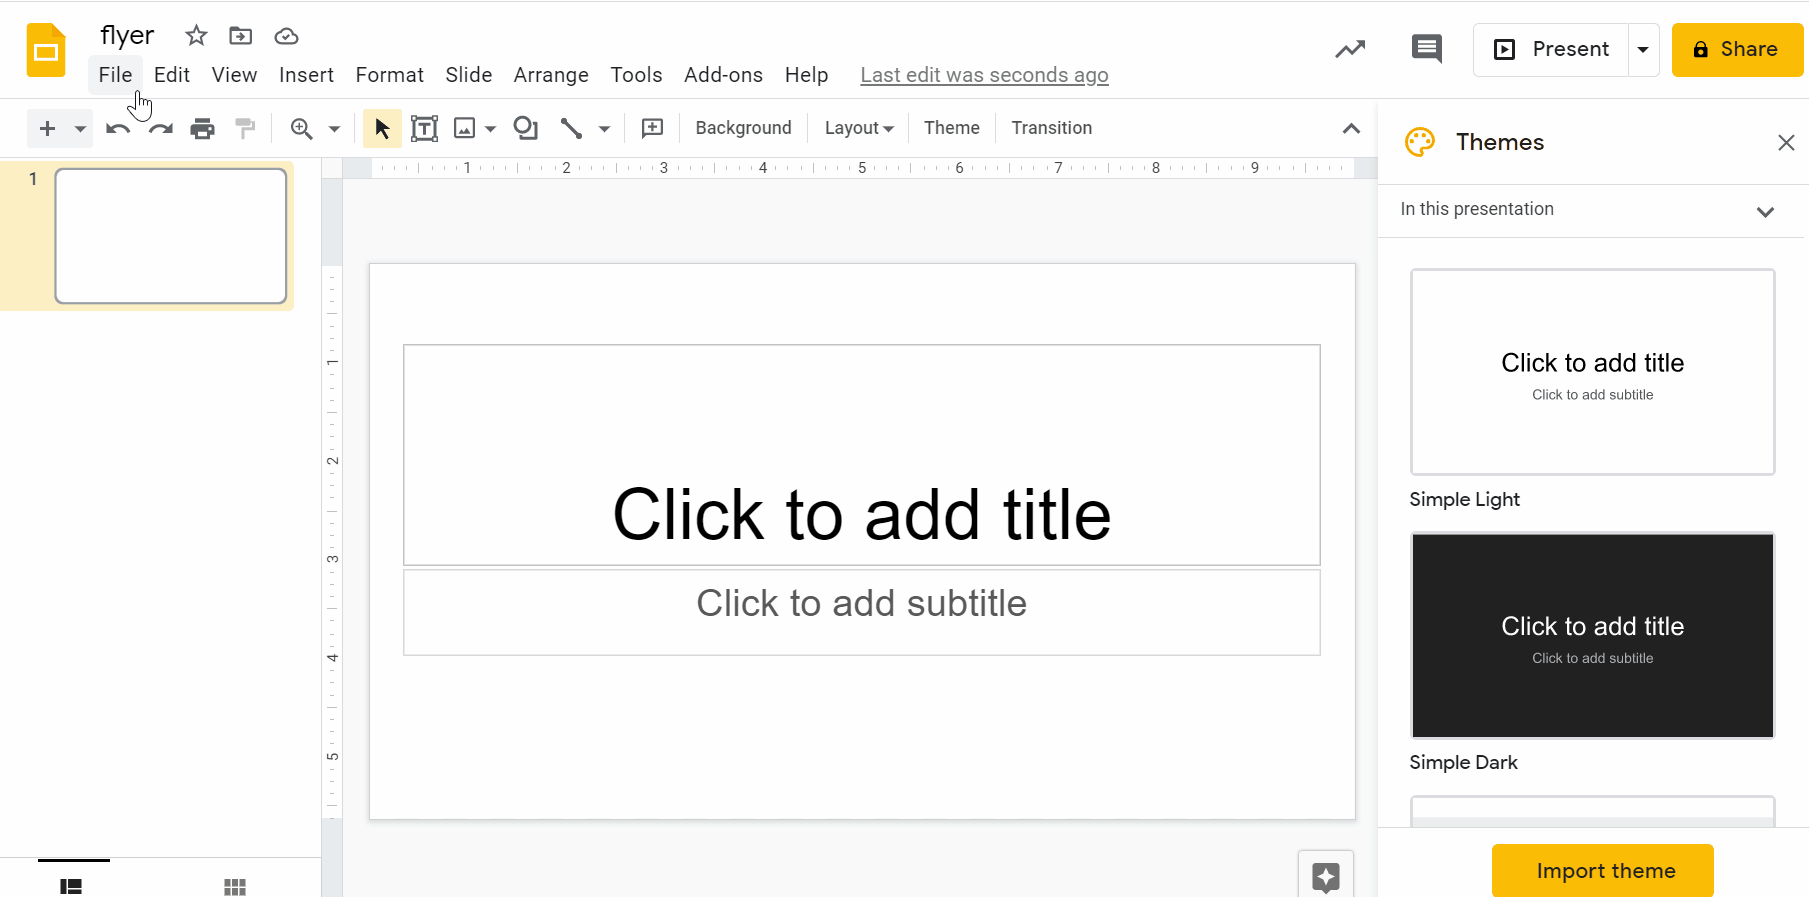
Define the design style
Google Slides has several predefined styles. They are quite basic and with few options to customize them, but they can help you to start your design. You will see them in the right column. Browse through them and choose the one that best suits what you are looking for.
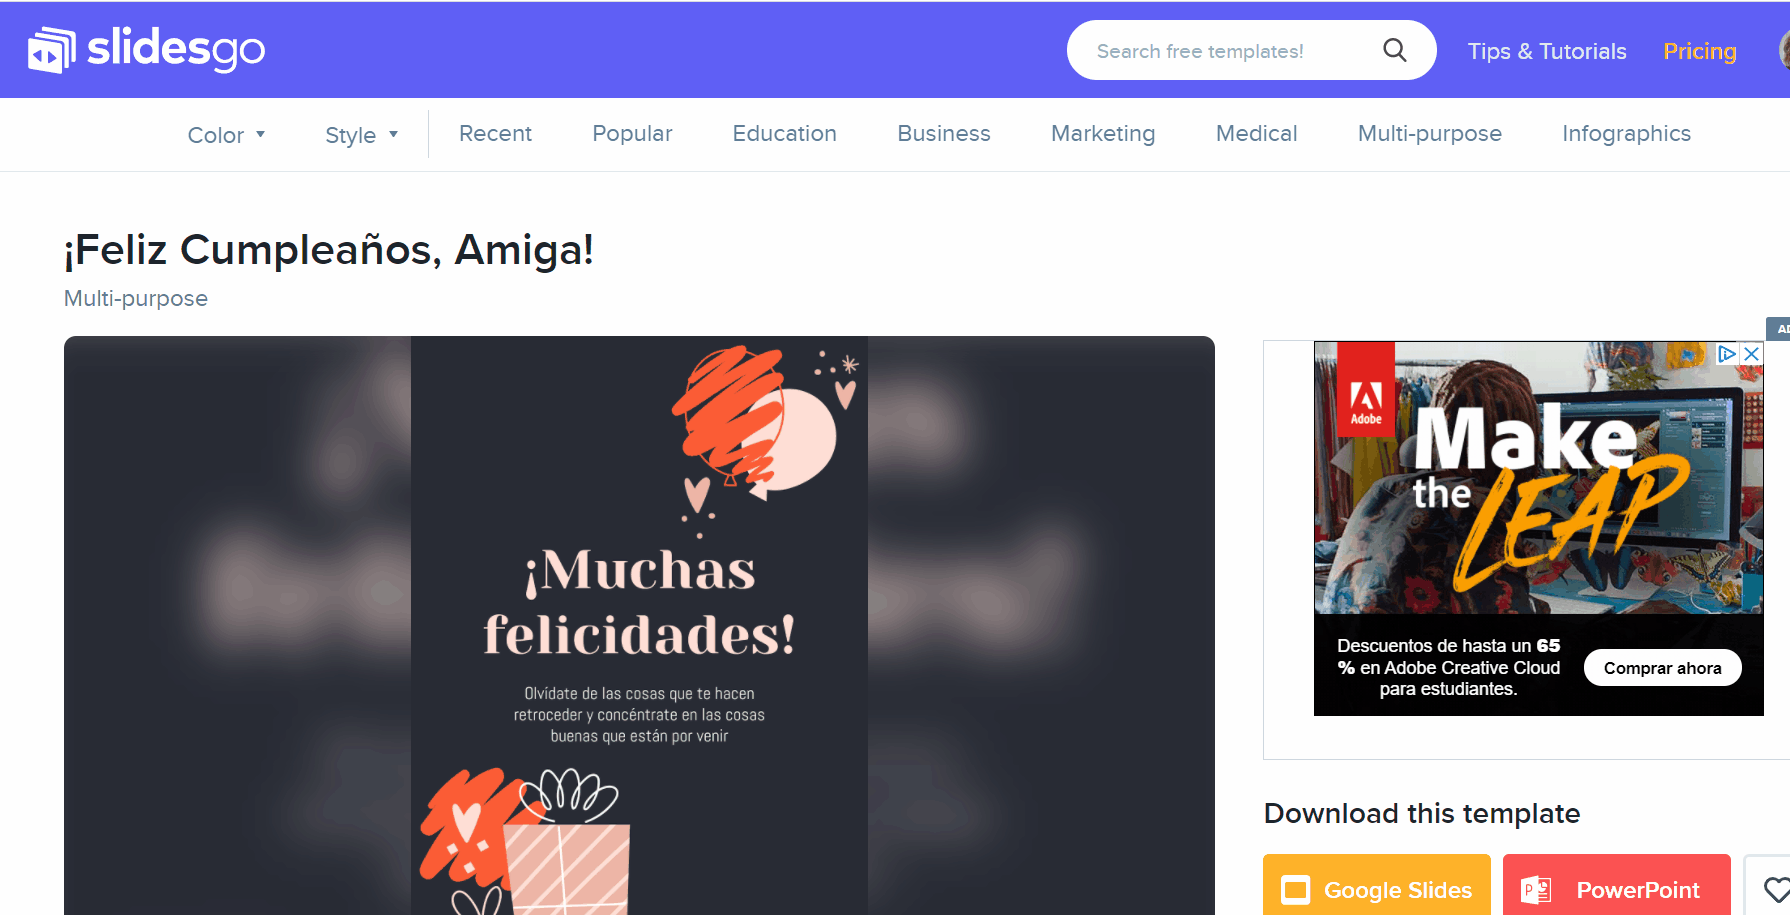
If you are looking for a more professional design, that saves you editing time and already has the elements and options you need, on Slidesgo you will find a wide variety of Google Slides templates that you can easily customize, as they are 100% editable and easy to use.
Download the presentation that best suits your needs and open it with Google Slides. Now you can start editing it!
Add images and content in Google Slides
Here the possibilities are endless. For the background, you can leave it blank if you want to prioritize readability and do something simple, or opt for an image to make your flyer more creative.
Keep in mind the quality of the images if you need to print them. They must have at least 150 ppi so that they are not pixelated. You can check this by right clicking on the image. Click on Properties and click on the Details tab. In the Image section you will see the vertical and horizontal resolution.
Is your project deadline approaching and you have run out of ideas? If you don't know which image goes best with your flyer or you're just looking for a ready-made design to make your life easier, take a look at Slidesgo's templates. You can filter them by theme to find only the ones that fit your needs.
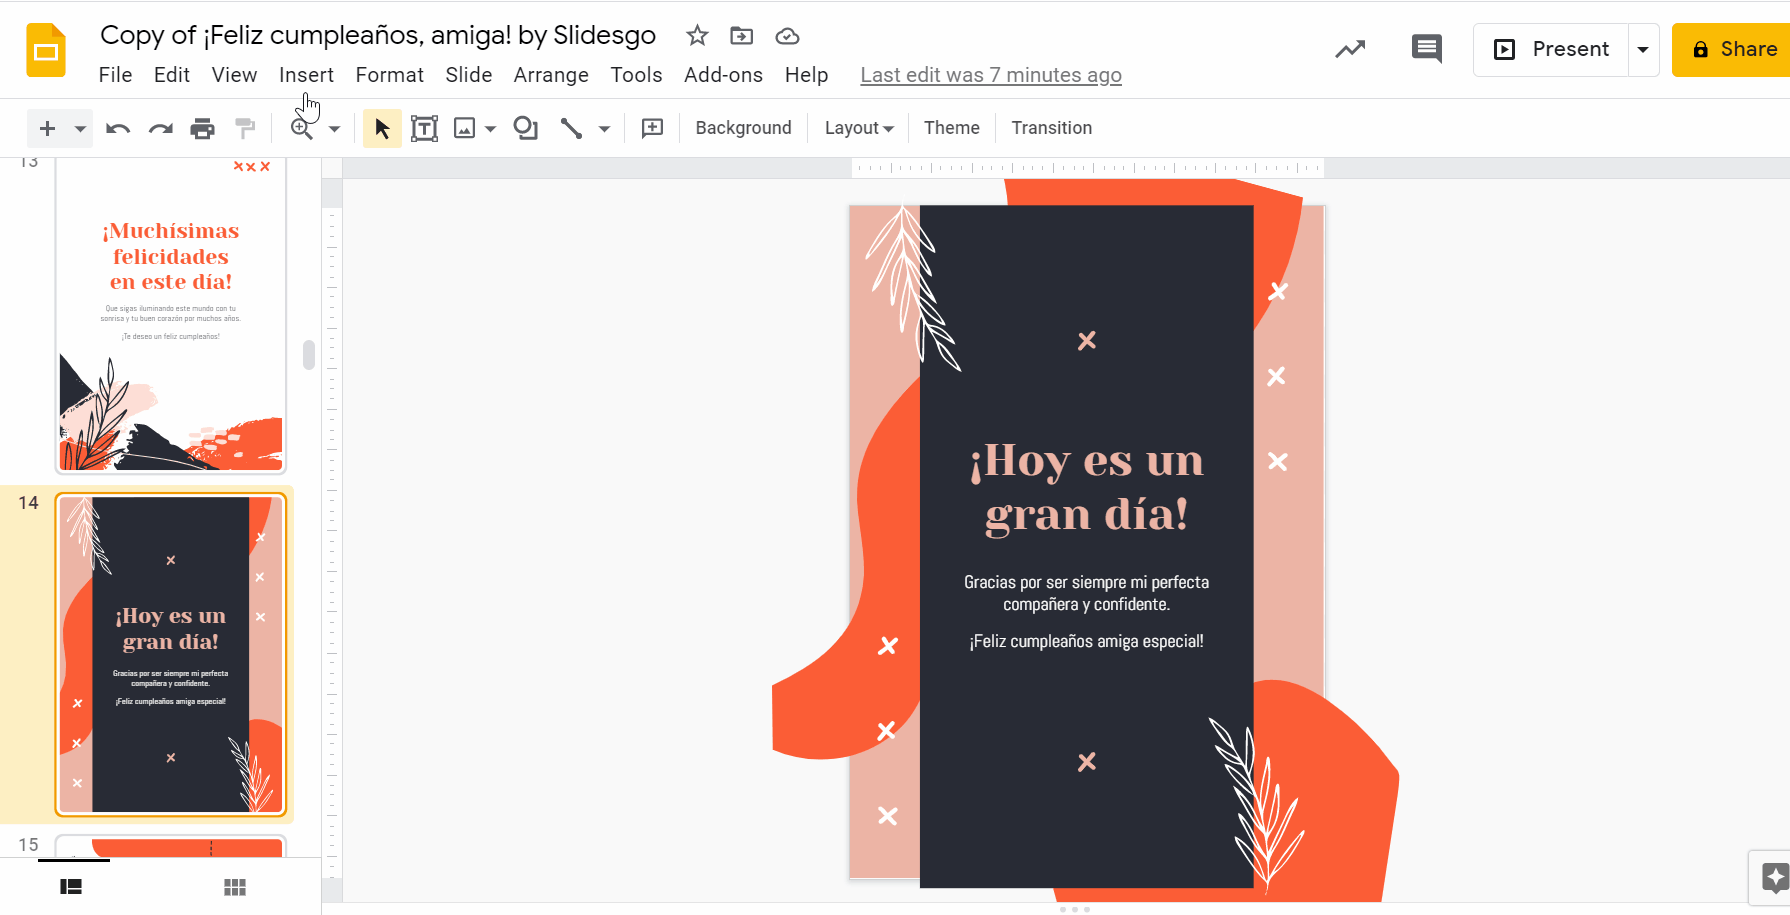
Once you have selected the one you are interested in, download it, open it with Google Slides and modify the elements to your liking. In this example we will use a slide from the birthday cards template, that has different backgrounds.
If you need to add more images or text, just go to the top menu Insert and select the element you want to add. Remember to include the contact information and the call to action. Your audience needs to know what the flyer's objective is.
Download your flyer in PDF
Have you finished editing your flyer? Now you just need to export it. To do this, we will first delete the slides you don't need and export only the one you are going to print. Select the slide you want, click on it with the right mouse button and choose the option Move slide to beginning. Then select all the other slides and press the Delete key.
Now you have only your final design available. Go to the top menu File and select the Download option. We recommend choosing PDF. It is a format that works very well for printing and fits multiple needs.

In this Slidesgo School tutorial you have all the detailed steps to export Google Slides to PDF.
Now you know how to create your own flyer in Google Slides! Remember that at Slidesgo we make your job easy. Find a multitude of templates with a professional design and easily editable with Google Slides.
Do you find this article useful?
Related tutorials

How Smart Template Matching Saves Hours on Your Next Presentation
Content Find your perfect template, automatically How it works Templates that match your topic Get better results FAQ Skip the Search, Start Creating Find your perfect template, automatically Great presentations look intentional—where the design supports the message. But finding a template that fits usually means scrolling through dozens of options....
Creative PowerPoint Night Ideas
Want to be the star of your next PowerPoint Night? With the right ideas and a spark of creativity, you can turn any theme into a show-stopping experience that keeps everyone laughing and engaged. Whether you’re planning a friendly game night, a classroom challenge, or a team-building session, this guide is your...
Smart Guide: Best AI Prompts for Powerful Presentations
Ever stared at a blank slide, knowing your message matters but not sure how to bring it to life? You’re not alone. With the rise of AI Presentation Maker, more creators, educators, and professionals are asking: What are the best AI prompts for presentations?This guide shows you exactly how to...
How to convert PDF to PPT online for free
Ever tried making a presentation from a PDF? It’s not exactly fun—copying, pasting, reformatting… plus, it takes forever. So, why do it? Instead convert your PDF to PPT in seconds through our new tool AI PDF to PPT converter.Whether you’re pitching an idea, designing tomorrow’s lesson plan, or presenting a report, this...