
Discover Our Online Presentation Software for Free
We have great news for you today! If you’ve been a Slidesgo fan for years (or months, or weeks, or days, or mere hours, we welcome everyone!), you’ll probably know for now that our templates are available mostly in two formats: for use in Google Slides and PowerPoint.
Google Slides is a free tool, since you only need a Google account in order to use it. PowerPoint, on the other hand, is part of the Microsoft Office suite, so it’s not a free program, but that didn’t stop it from being one of the most popular options in the world!
What if we told you that you might not need any of those two programs.
What if we told you that Slidesgo, from now on, offers you the possibility to customize our templates on the fly, right here, without having to download an application.
We don’t believe in “what-ifs”. We believe in facts, so let’s get to the point: introducing our online presentation editor! As long as you have an internet connection, you’re pretty much ready to go!
How to access Slidesgo’s online presentation editor
Compatible templates
The first thing you need to know is that, since we’re not trying to compete with Google or Microsoft (for now…), our editor will let you edit a select number of templates. And how do you know which templates are compatible with the editor, then?
We’ve created a new tag to allow everyone to identify which templates are the chosen ones. It’s called “Presentation Maker”. If you want to see a list of these templates, just check out the landing page of that tag.
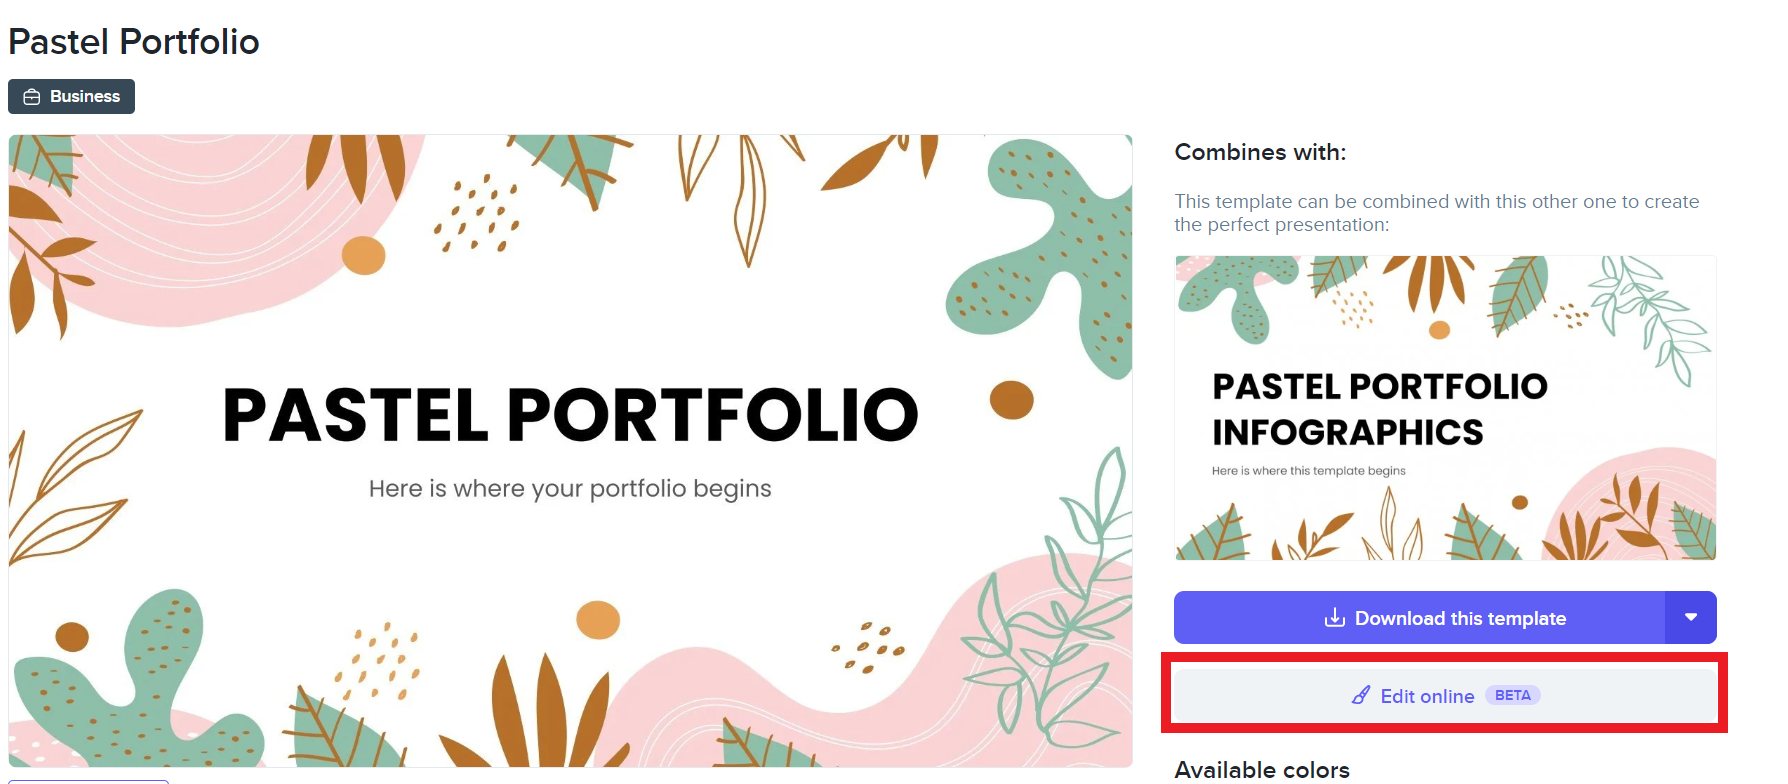
Any of these templates piqued your interest? Click on it to access its details. On the right side of the screen, you’ll see a new button called “Edit online”. It’s exactly what it says on the tin—if you click on this button, you’ll be redirected to the editor. Brace yourself!
Additionally, when browsing for templates, if you hover over the thumbnail of one of the templates compatible with the editor, you’ll see a little paintbrush icon. Clicking on it will also take you straight to the editor!
The online editor
Have you ever tried Wepik’s image editor before? Then this is your lucky day, because the interface and many of the options are similar. Let’s do a quick review of each of the tabs.
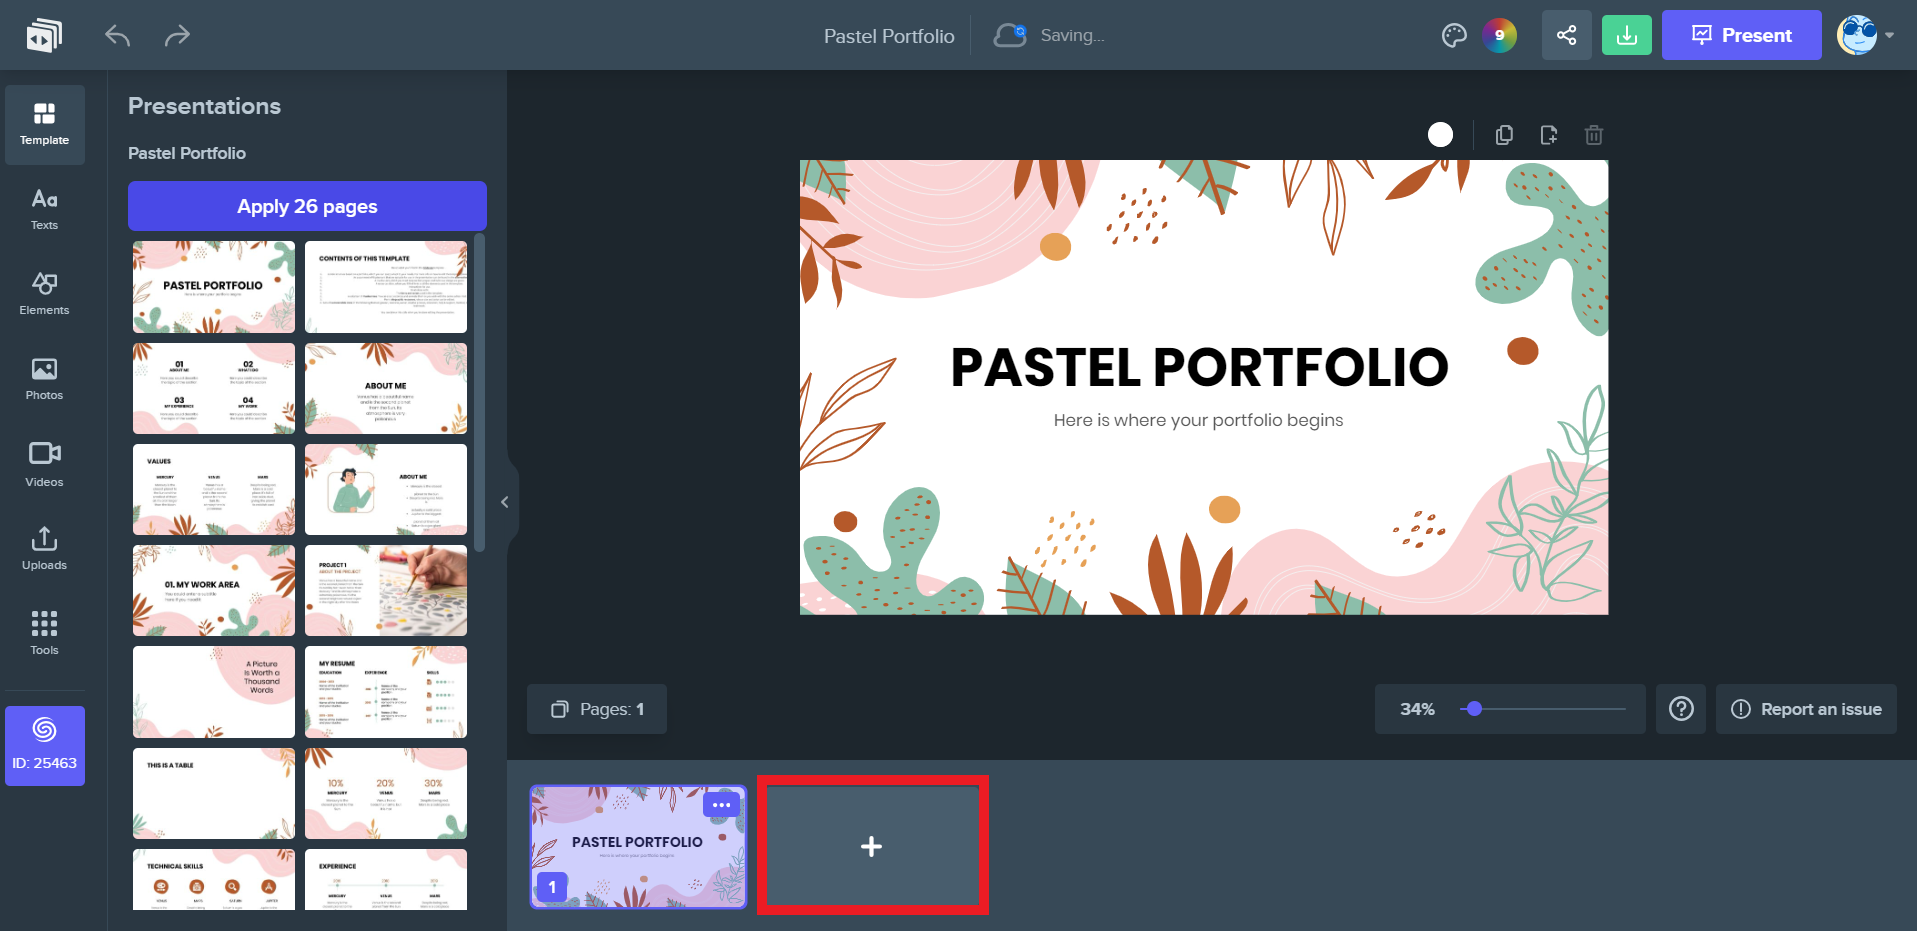
Template
This enables you to see all the available slides that the template contains. If you click on any of the thumbnails, you’ll add that slide to your presentation—note that it’s added to the list of added slides at the bottom of the artboard. To add a blank slide, click on the + button (marked in red on the screenshot).
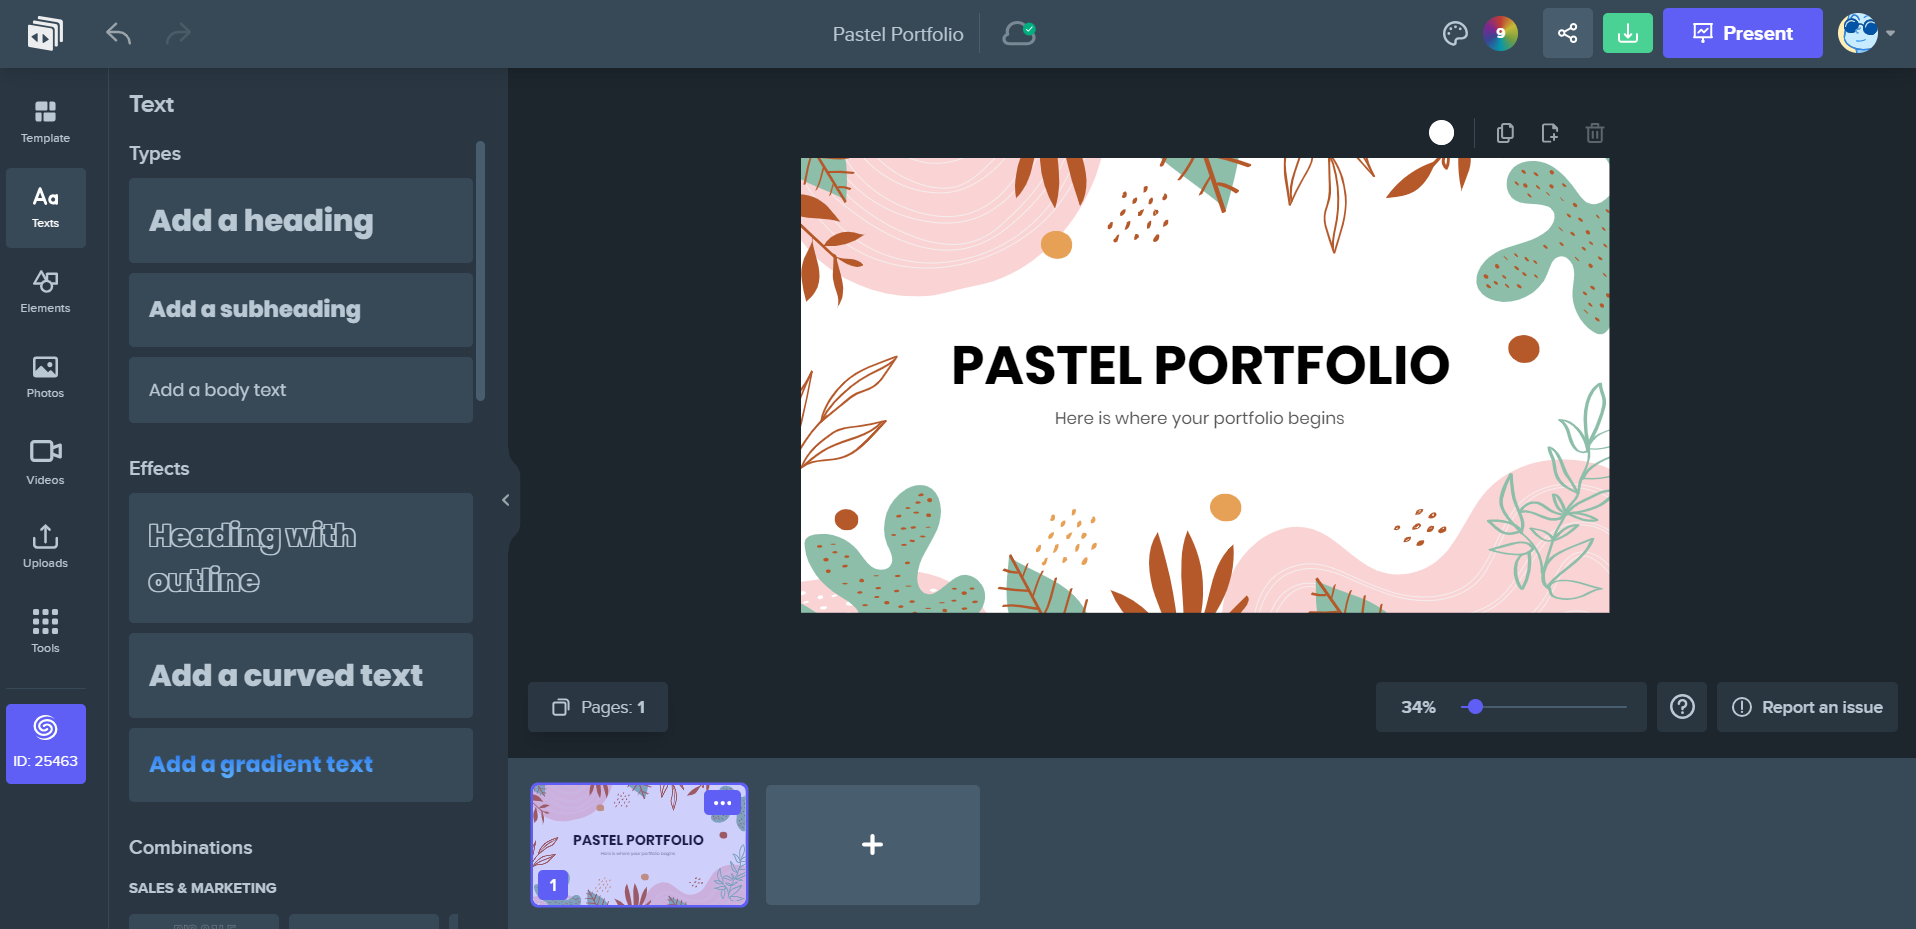
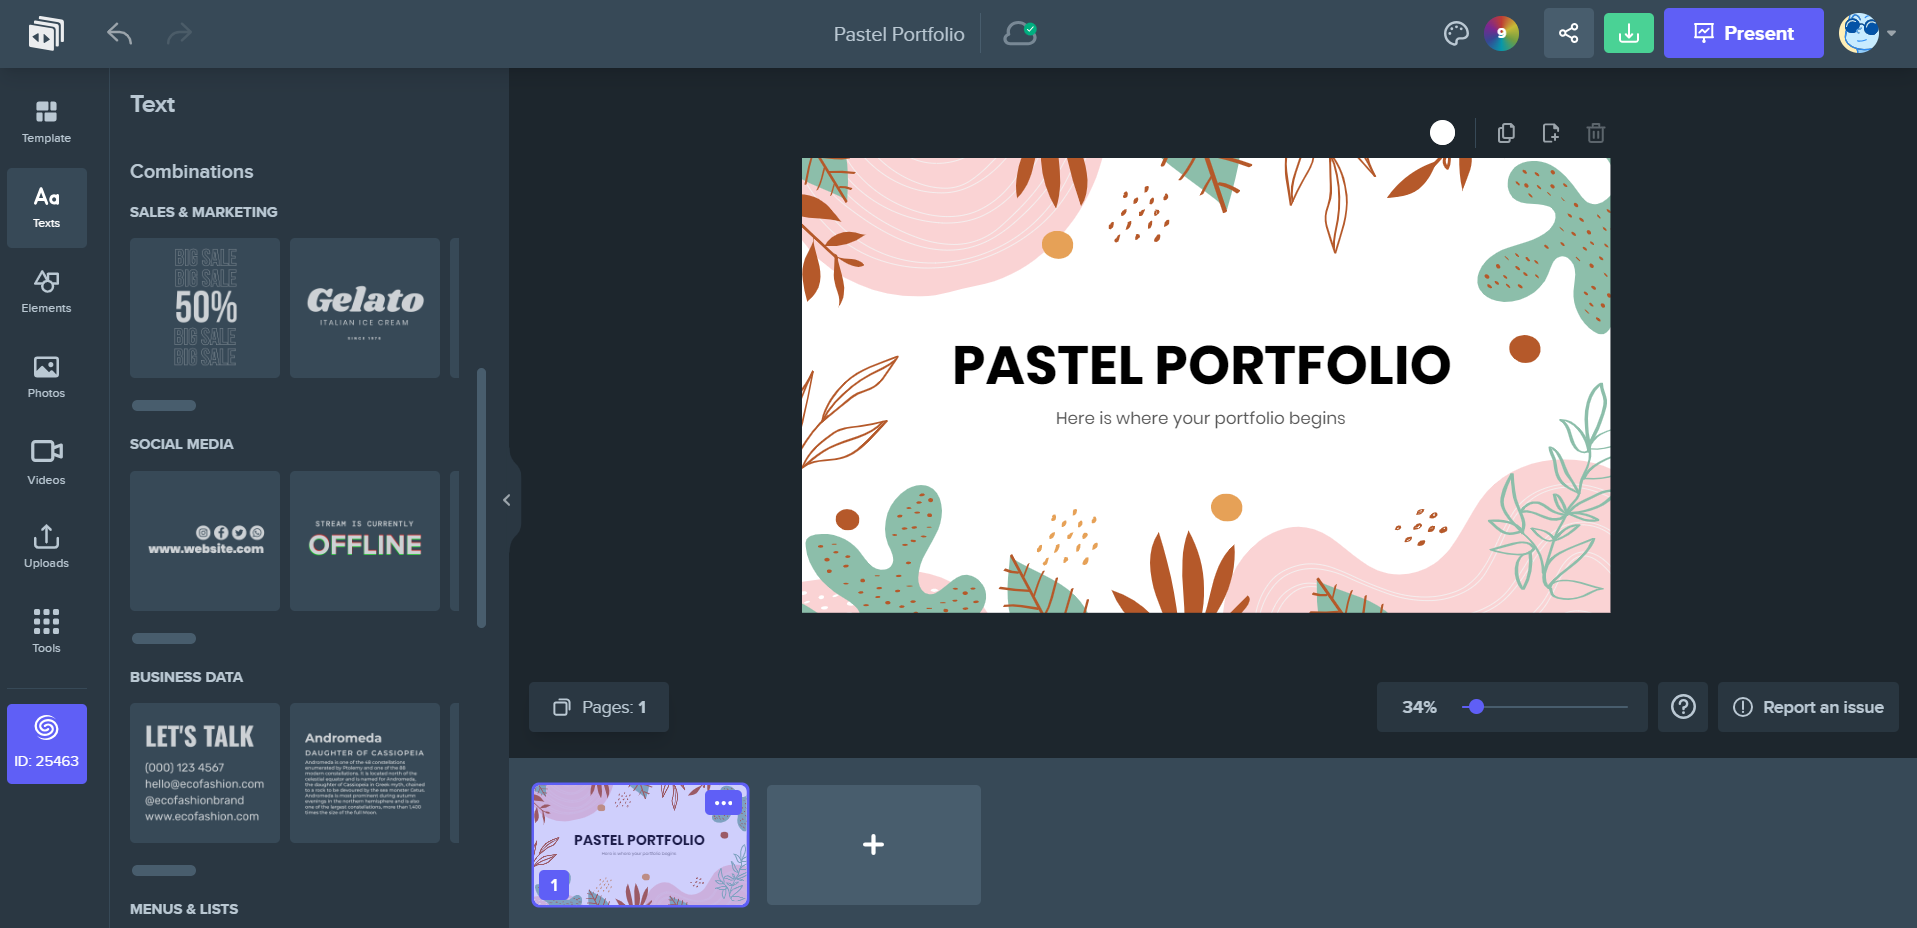
Texts
This tab contains several presets regarding text. You can add from headings, subheadings and body copy to headings with an outline, curved text or text with gradients. If you scroll down, you’ll see an assortment of editable text designs divided into themes, like sales & marketing, social media, inspirational, and more. To add any of these to the slide, just click on your preferred design!
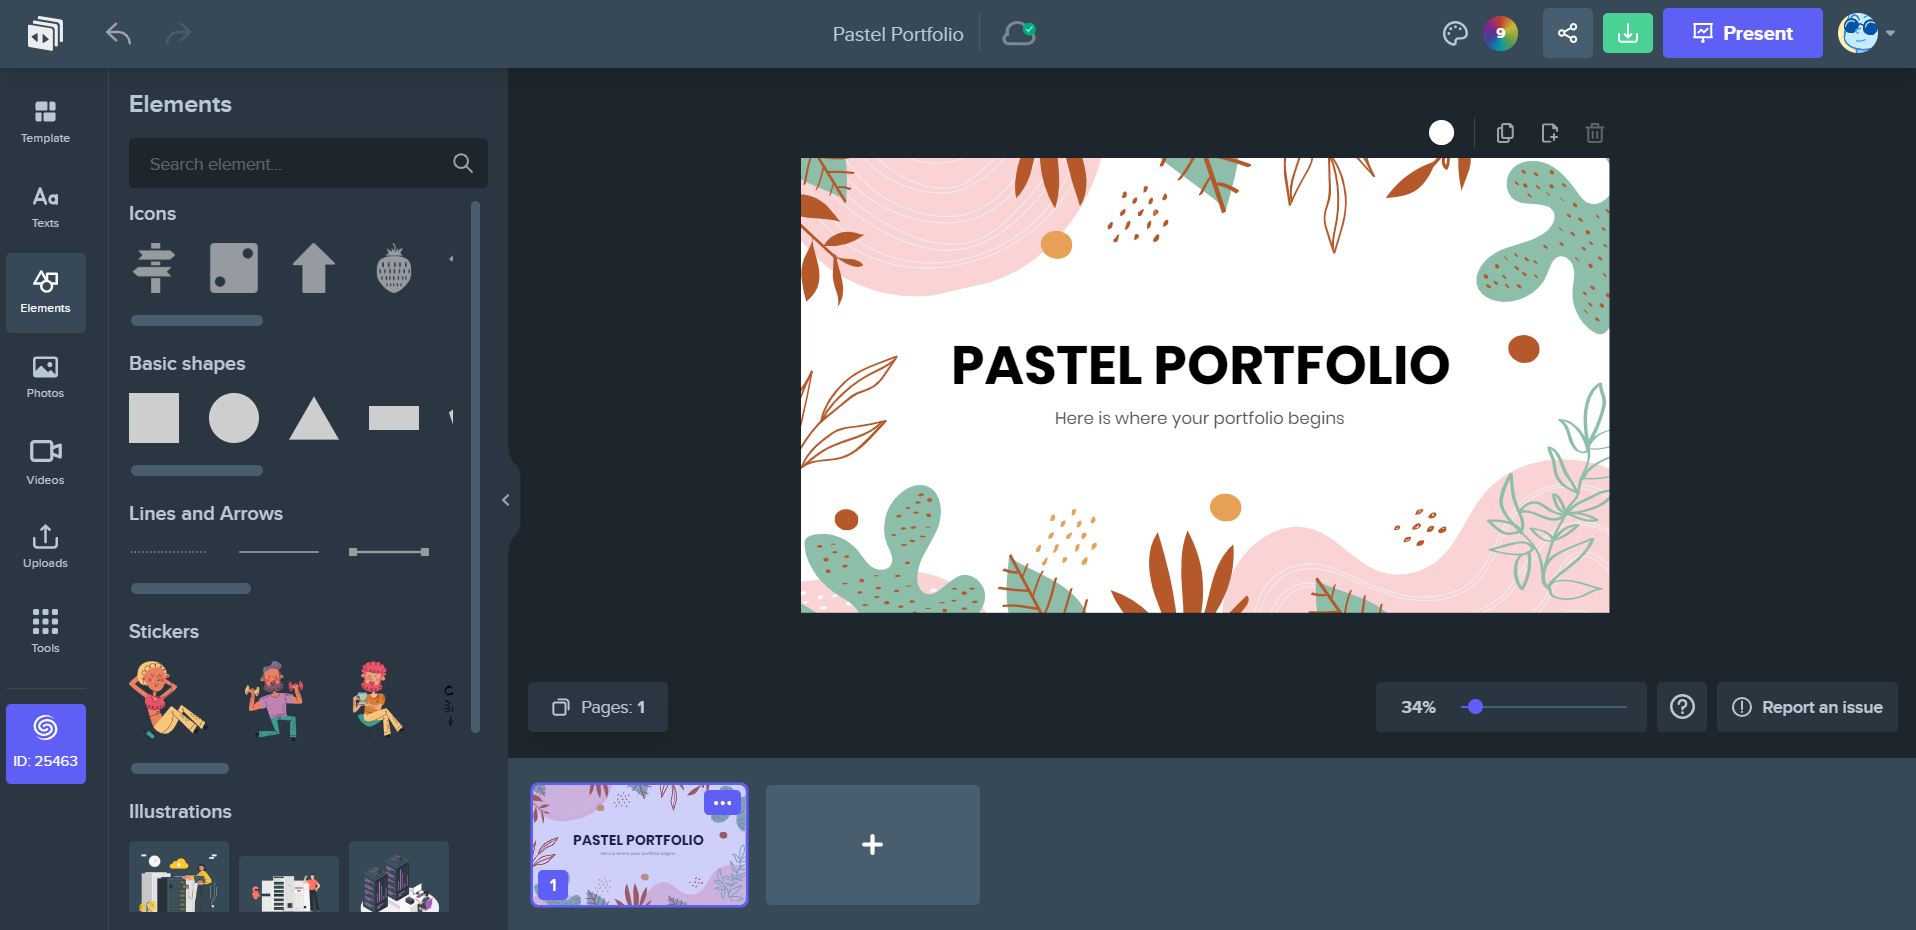
Elements
As the saying goes, united we stand! Slidesgo has some sister projects that are well known in the industry, so they lent us a hand. What does this mean? Besides basic shapes and lines, you can add icons, stickers and illustrations, provided by our buddies at Flaticon and Storyset.
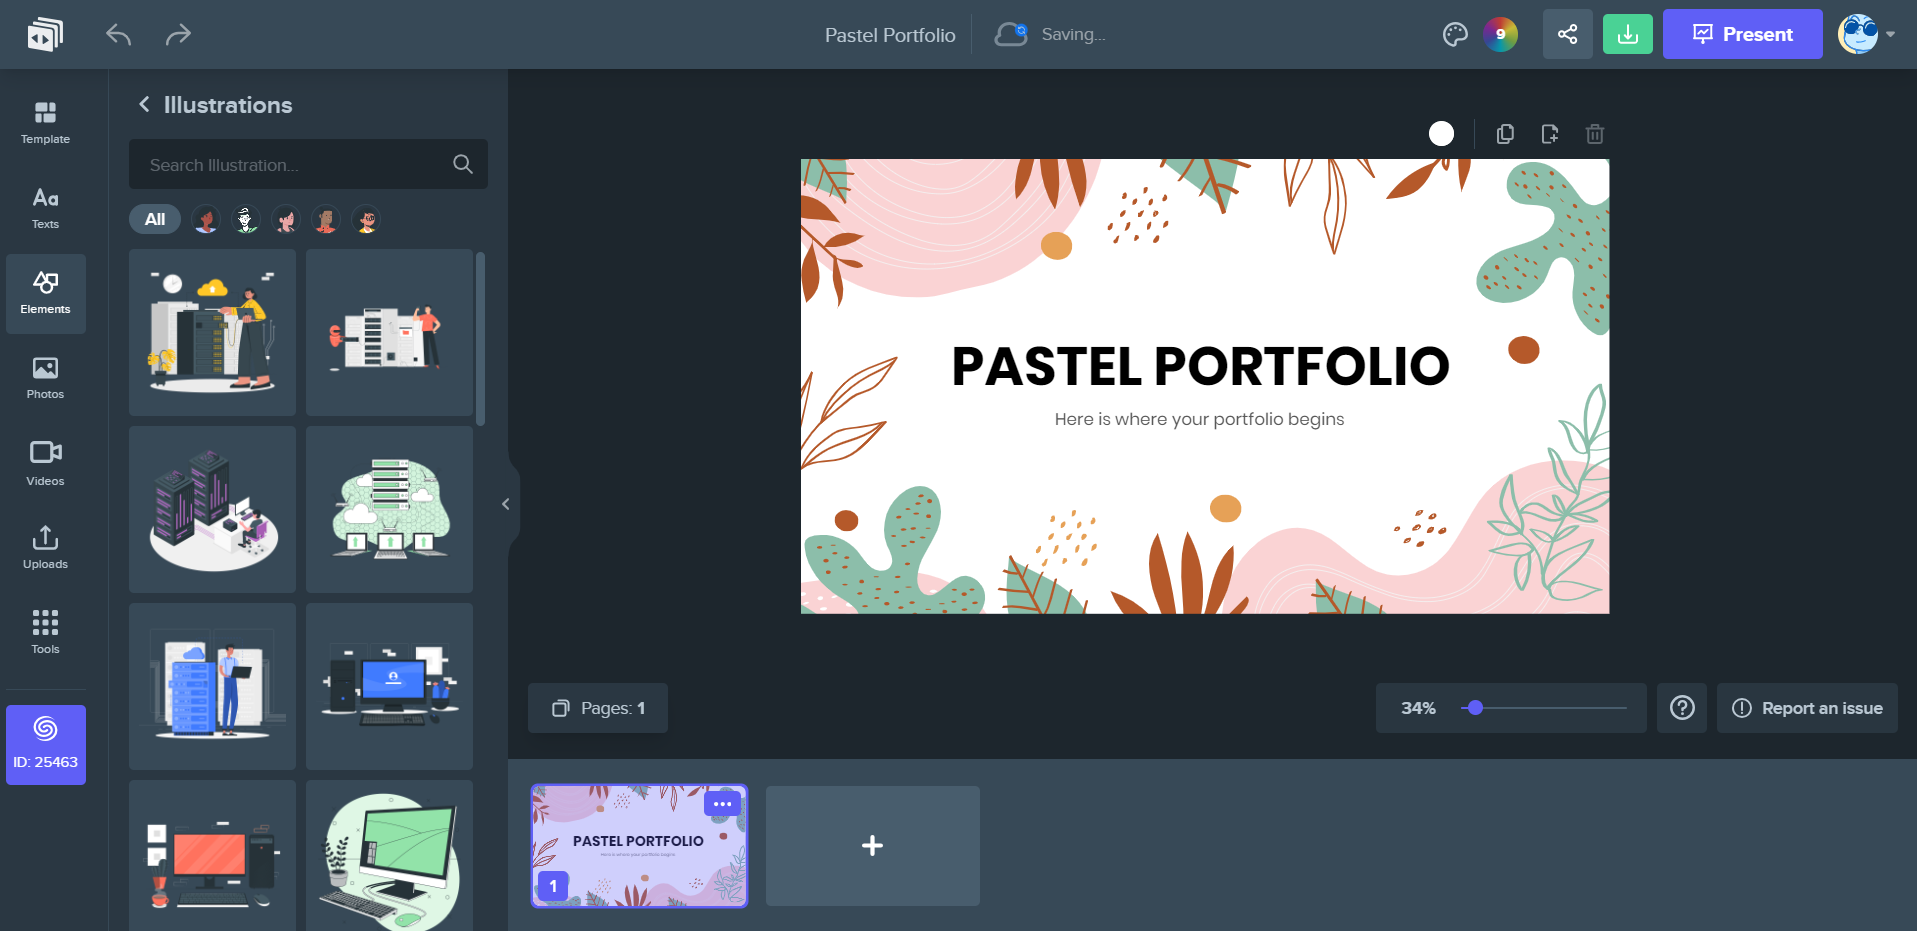
What you see is not the only stuff available. Not at all! Freepik has a huge database of resources, so there’s more to offer! If you hover over any of these sections, you’ll see a little “See all” prompt. Click on it to see more shapes, lines, icons, stickers or illustrations. In the case of the latter three, there’s even a search box that allows you to look for a specific theme or design in particular. For example, in the case of illustrations, you can even select any of the five styles offered on Storyset. Try for yourself and see the immense possibilities!
Photos
This tab is simple: click on any of the thumbnails to add that photo in particular to the slide, or use the search box to look for any other photo you want from Freepik’s database. What’s more, the editor also supports photos from the Pexels database—a two-in-one present!
Of course, it’s obvious that we would let you use your own photos should you prefer to do so. Just click on the “Upload media” button, locate the picture stored on your device that you want to use and open it. It’ll appear on the artboard!

Videos
Ah, we see you like images in movement. You might want to use a video, then! Once again, it’s simple: click on the thumbnail of any of the videos to add it to the slide, or use the search box to look for more videos from the Videvo database that are better suited to your needs.
Yes, how can we forget? You can click on the “Upload video” button to use a video stored on your device. Handy, isn’t it?

Uploads
This tab is like the place where all your uploaded media appear, just in case you want to reuse them. Think of it as a quick access to your own photos and videos.
Tools
- This is a special one. Inside, there’s a series of extra tools that may come in handy, depending on your needs.
- Photos: This option lets the editor access your content stored on Google Photos.
- QR code: If you wish to include a scannable QR code on your design, you can do it easily.
- Text to image: Do you want to add some AI-generated images? Enter a prompt, choose the dimensions of the image and the style, and see magic become reality!
- AI presentation: Our own AI Presentation Maker is here! It works exactly the same as on our website.
- AI writer: If you don’t know what to write, let the AI help you. Enter a prompt and click on “Generate” to ask the AI to write something for you.
Main editing options
To edit any of the elements present in any slide, just click on it. If it’s text, a toolbar will appear with the usual text options, such as font, size, alignment, and so on. If it’s a shape, you’ll see options to change the color or flip it horizontally or vertically. If it’s an image, you can resize, crop it or apply filters or it masks.
Since the number of options is so extensive, we recommend that you click on the Help button (the one with a question mark) to see the FAQs and learn more about how to use all the features of the editor.
Sharing and presenting
Let’s say that your presentation is ready. Now, can you start presenting right away? The answer is yes! At the top-right part of the screen, there’s the “Present” button. Clicking on it will start the presentation in fullscreen mode.
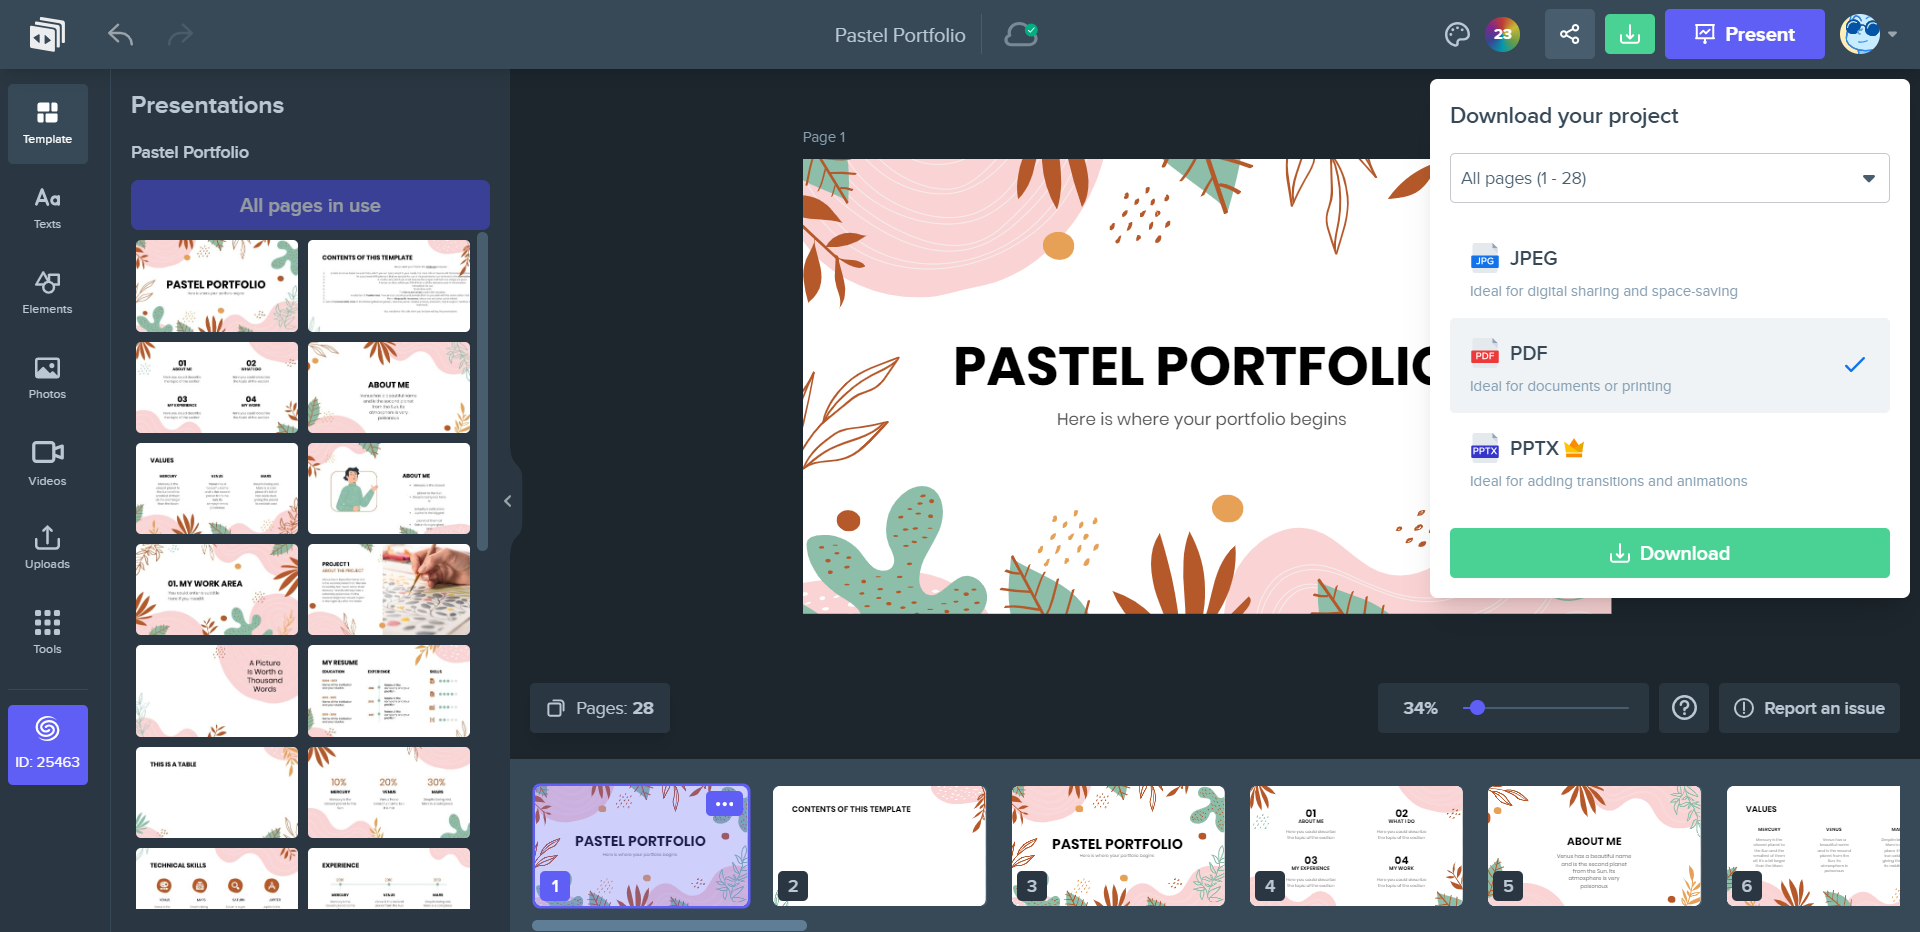
Lastly, if you wish to download the presentation, click on the “Download” button (in green, next to the “Present” button) to see the different formats available. You can download the presentation in .jpg and .pdf formats, as well as in .pptx, the one used in PowerPoint. For the latter, you’ll need to be a Premium member on Slidesgo.
Wrapping up!
This is just a quick overview of this new tool. Of course, the best thing you can do is simply use it and discover everything as you go. What kind of presentations will you be able to create? We’re eager to see!
IMPORTANT: Please note that, as of this writing (October 2023), the editor is still in beta phase, so you might encounter some bugs. Use the “Report an issue” button to notify us of any errors you find. Thank you!
Tags
Edit & FormatDo you find this article useful?
Related tutorials
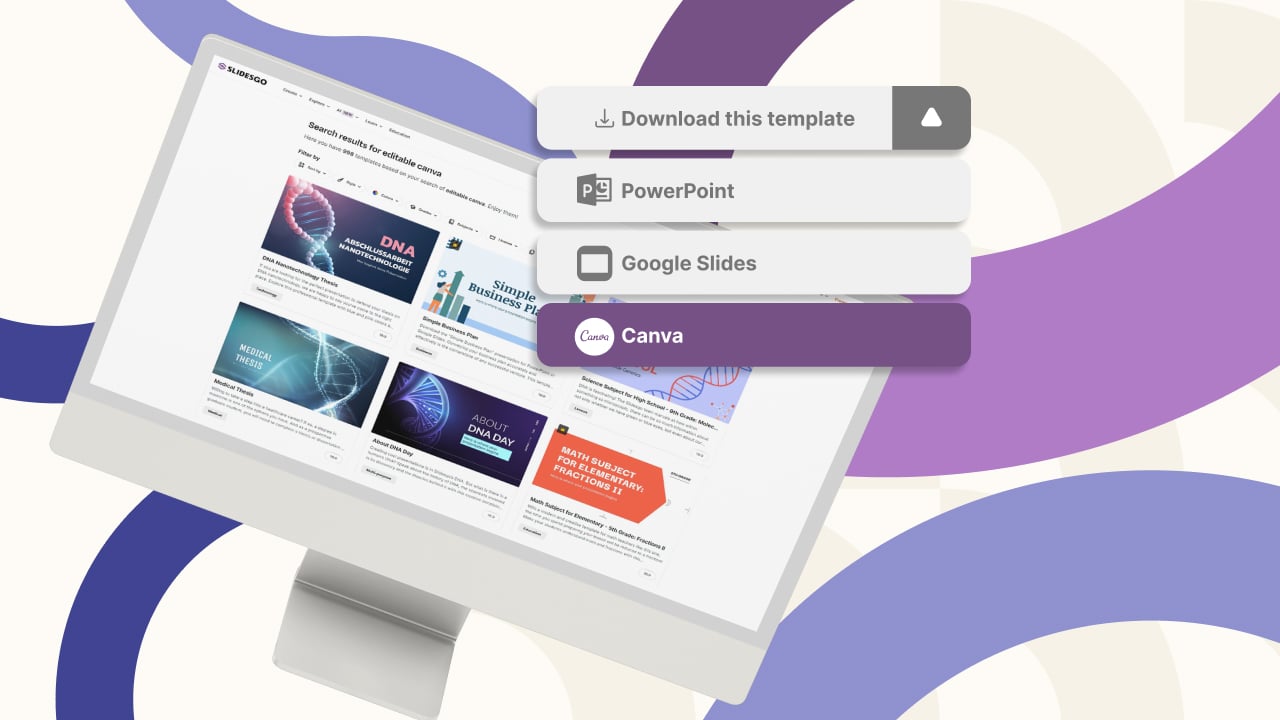
New feature available: edit our templates with Canva
Whenever you need to create, Slidesgo is there. We’re continually enhancing your presentation design process with templates that are primed to impress for any occasion. And in order to let your ideas flow best, comfort is key. How could Slidesgo help you with this? By making you feel right at home with...
How to print PowerPoint notes
Crafting an impactful PowerPoint slideshow and delivering a captivating presentation are distinct skills. The first focuses on designing appealing visuals to convey a clear message, while the second involves employing effective presentation techniques to ensure the audience grasps the idea. The content of this article will help you with the latter...
Webinar: Presentation Audit
With more than 15,000 templates released on Slidesgo and a user base composed of millions of people, we estimate that the total number of presentations created adds up to… um, a lot! Our team of professional designers work very hard to provide you with editable slides so that the only thing...
How to Change Slides Orientation in Google Slides
A change of perspective is always good! Do you want your public to look at your slides in a new way? Changing slides orientation will do the work. In this tutorial you’re going to learn how to go from horizontal slides, to vertical ones (and vice versa!).