
How to Edit the Master Slides in Our Templates

Whether you’ve been working with Google Slides for years or just for a couple of days, adding, editing or moving elements on the slides is not a difficult task per se. However, when you download our templates, you might come across some elements that cannot be selected, and thus, cannot be edited either.
That is due to them being placed in the master slides. What is a master slide, we hear you ask? Keep reading to know more about them and how to access them so that you can customize the templates even more!
Master Slides
The master slides are the slides where the layout and the basic structure of the elements are defined, which will then be applied to the other slides. These make up the framework of your design: the text styles, the placeholders and the graphic elements are set, as well as their arrangement.
There are two types of master slides:
- Slide master: This is the parent slide, and by default it includes two text boxes: title and body text. This is the most important one, as everything done on it will be applied to the whole presentation.
- Layout masters: These are slides where you can define the placement and the structure of the elements. Whenever you create a new slide, you can choose the layout that it will have, so these layout masters are like the “templates” within the template. Every time you make a change to a layout master, all its “child” slides will be automatically updated accordingly.
Accessing the Master Slides
Since we create all our templates originally in Google Slides, we’ll explain the process for this program. If you have a PowerPoint presentation, you can convert it to Google Slides first. Follow the instructions in this tutorial on how to convert presentations from PowerPoint to Google Slides to know how!
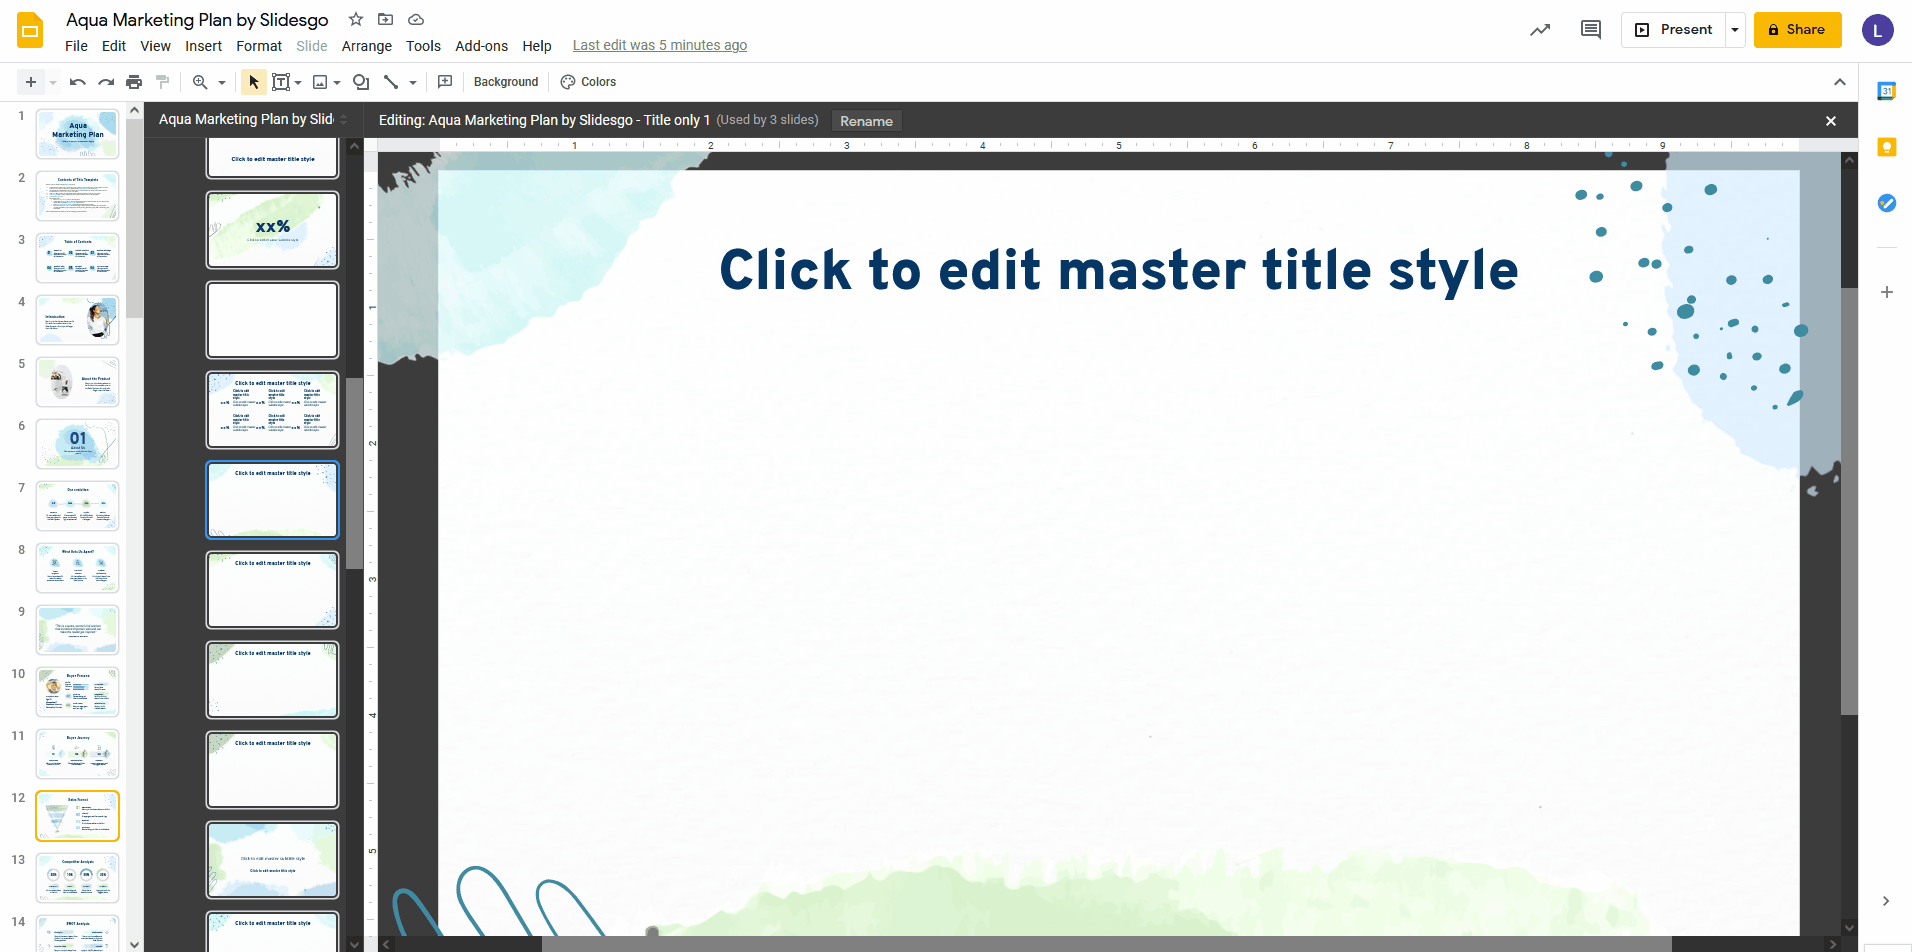
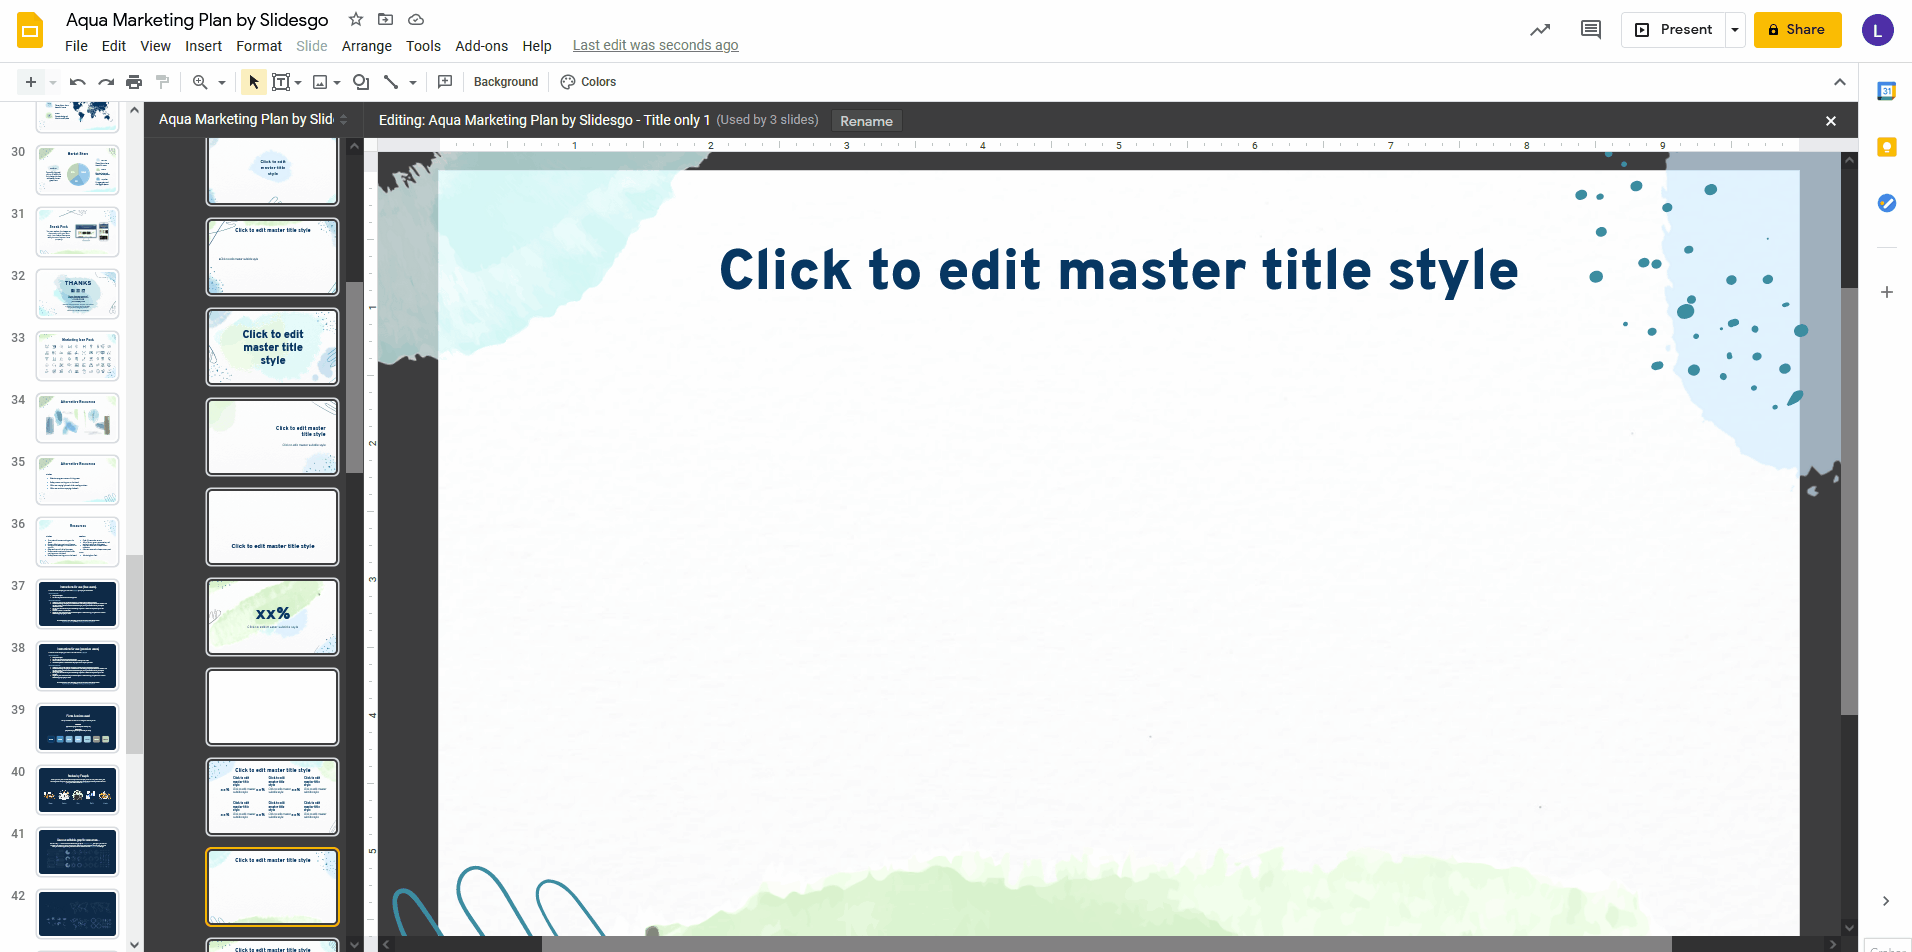
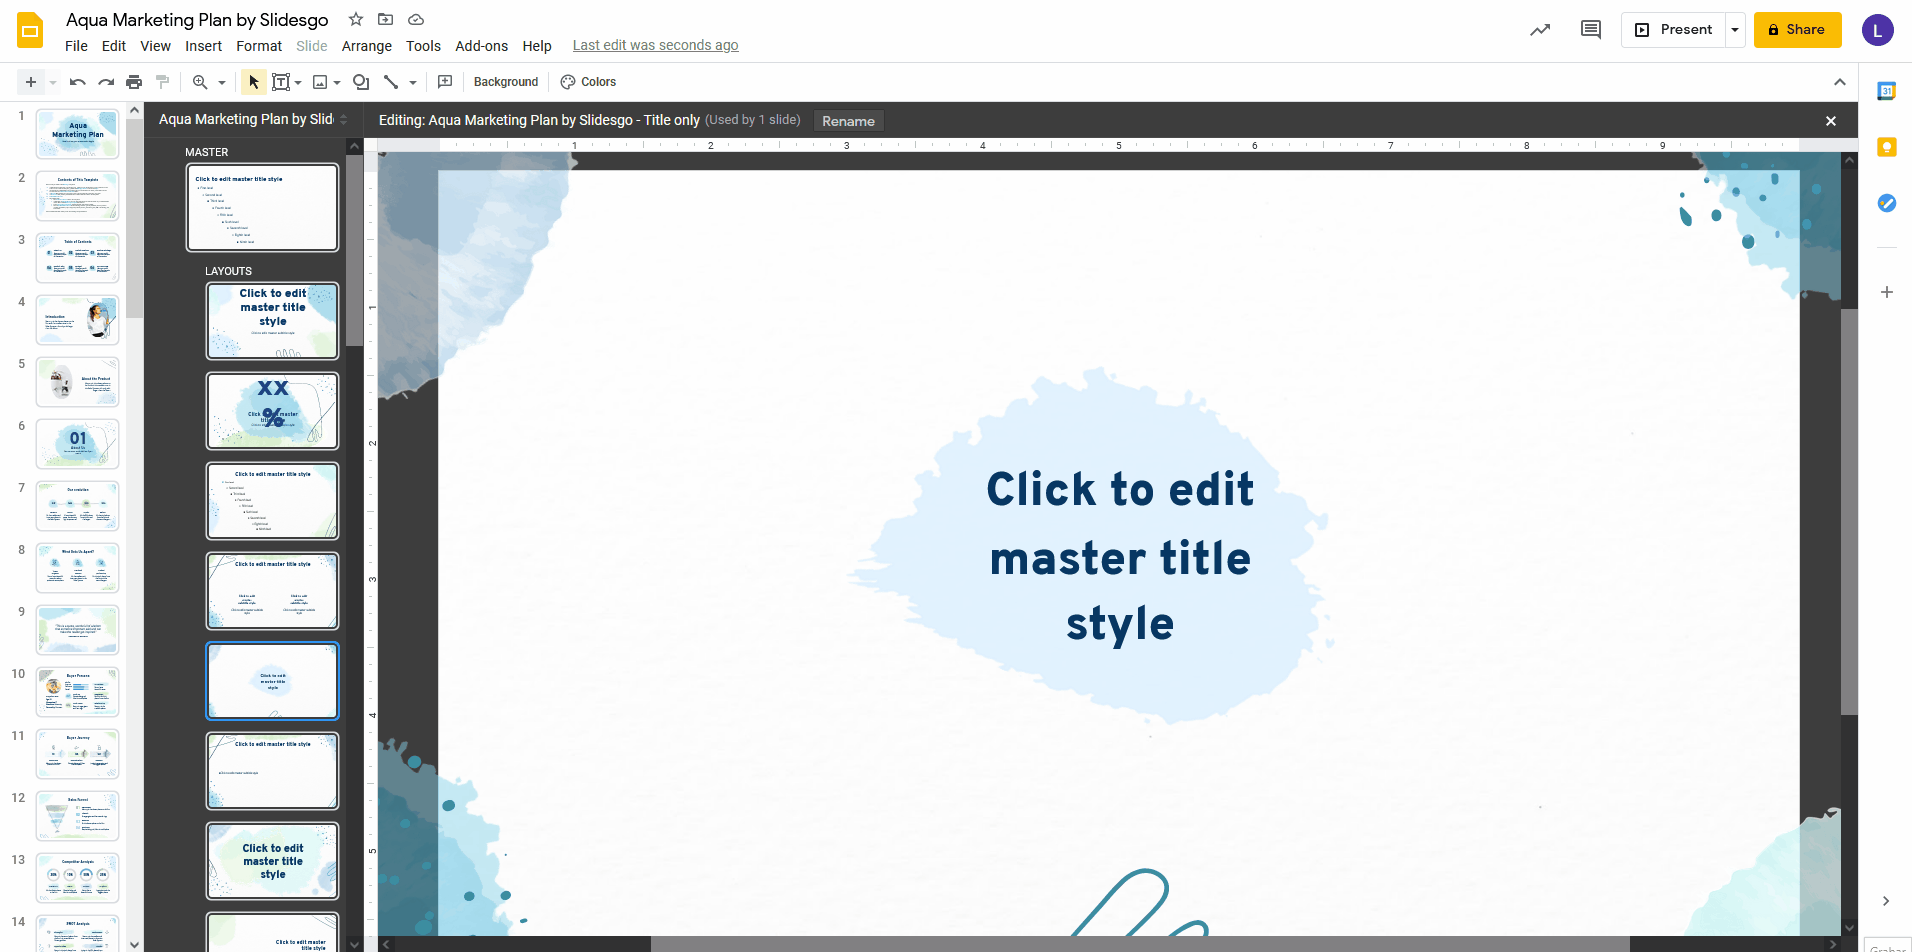
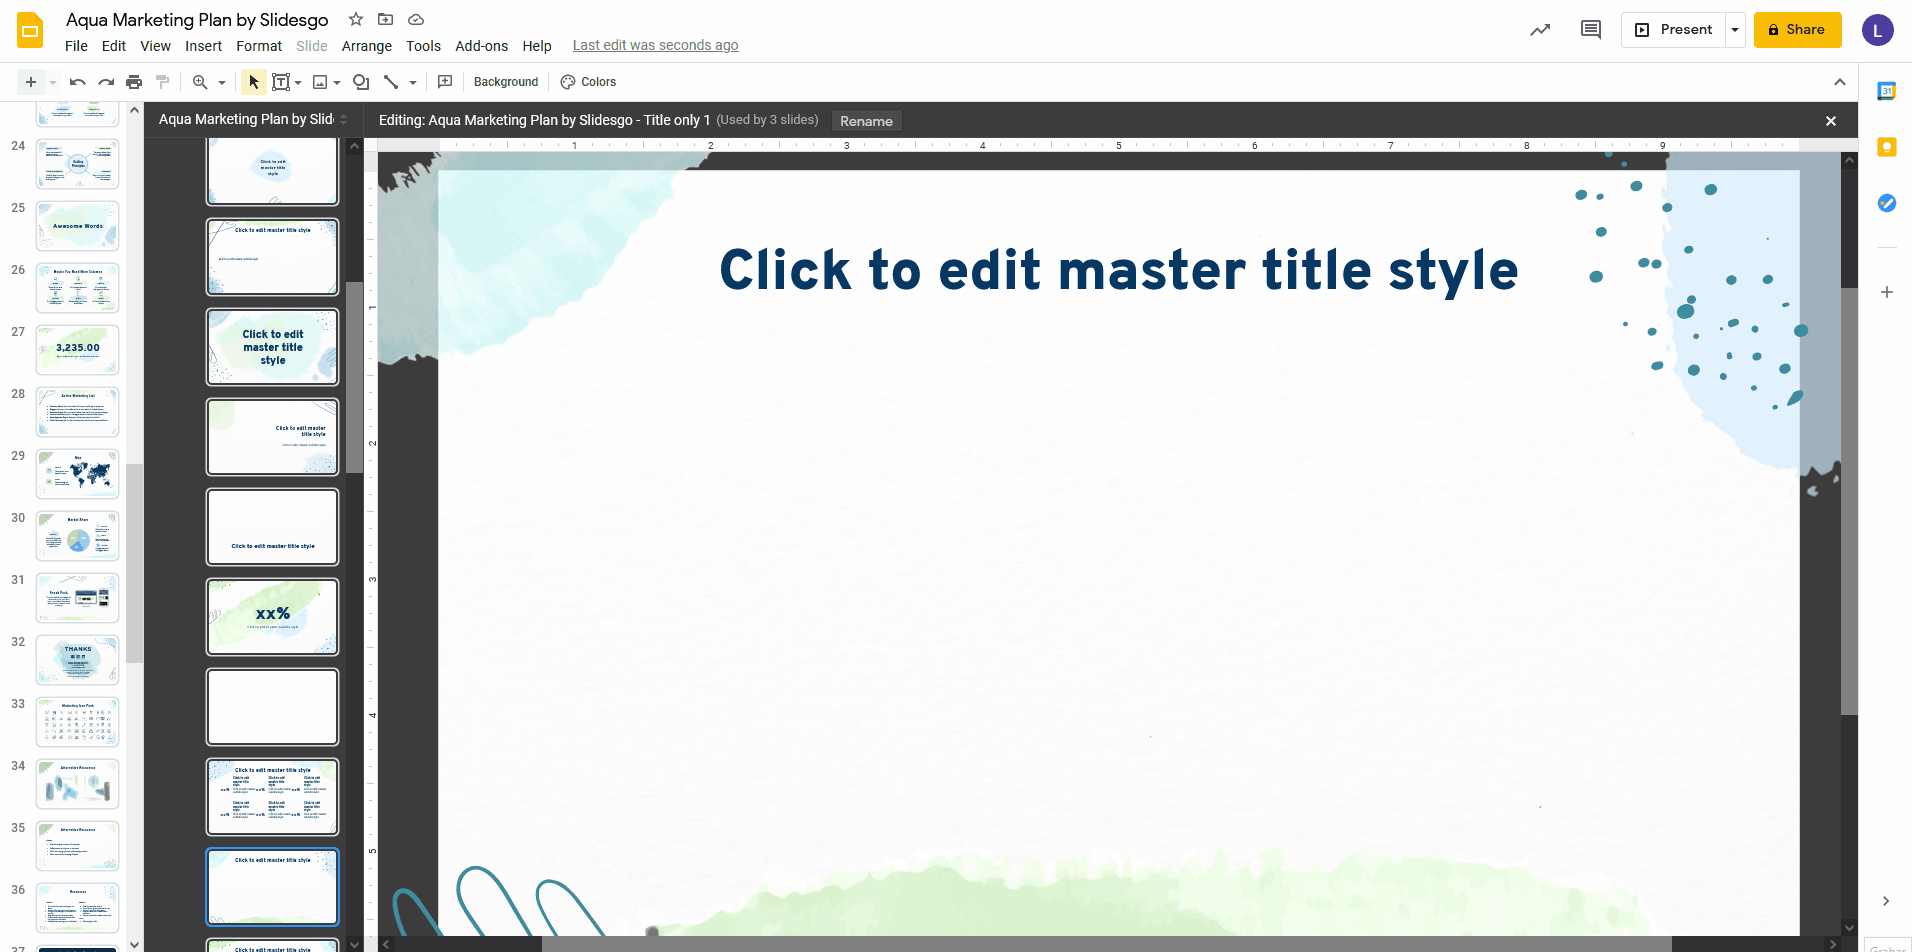
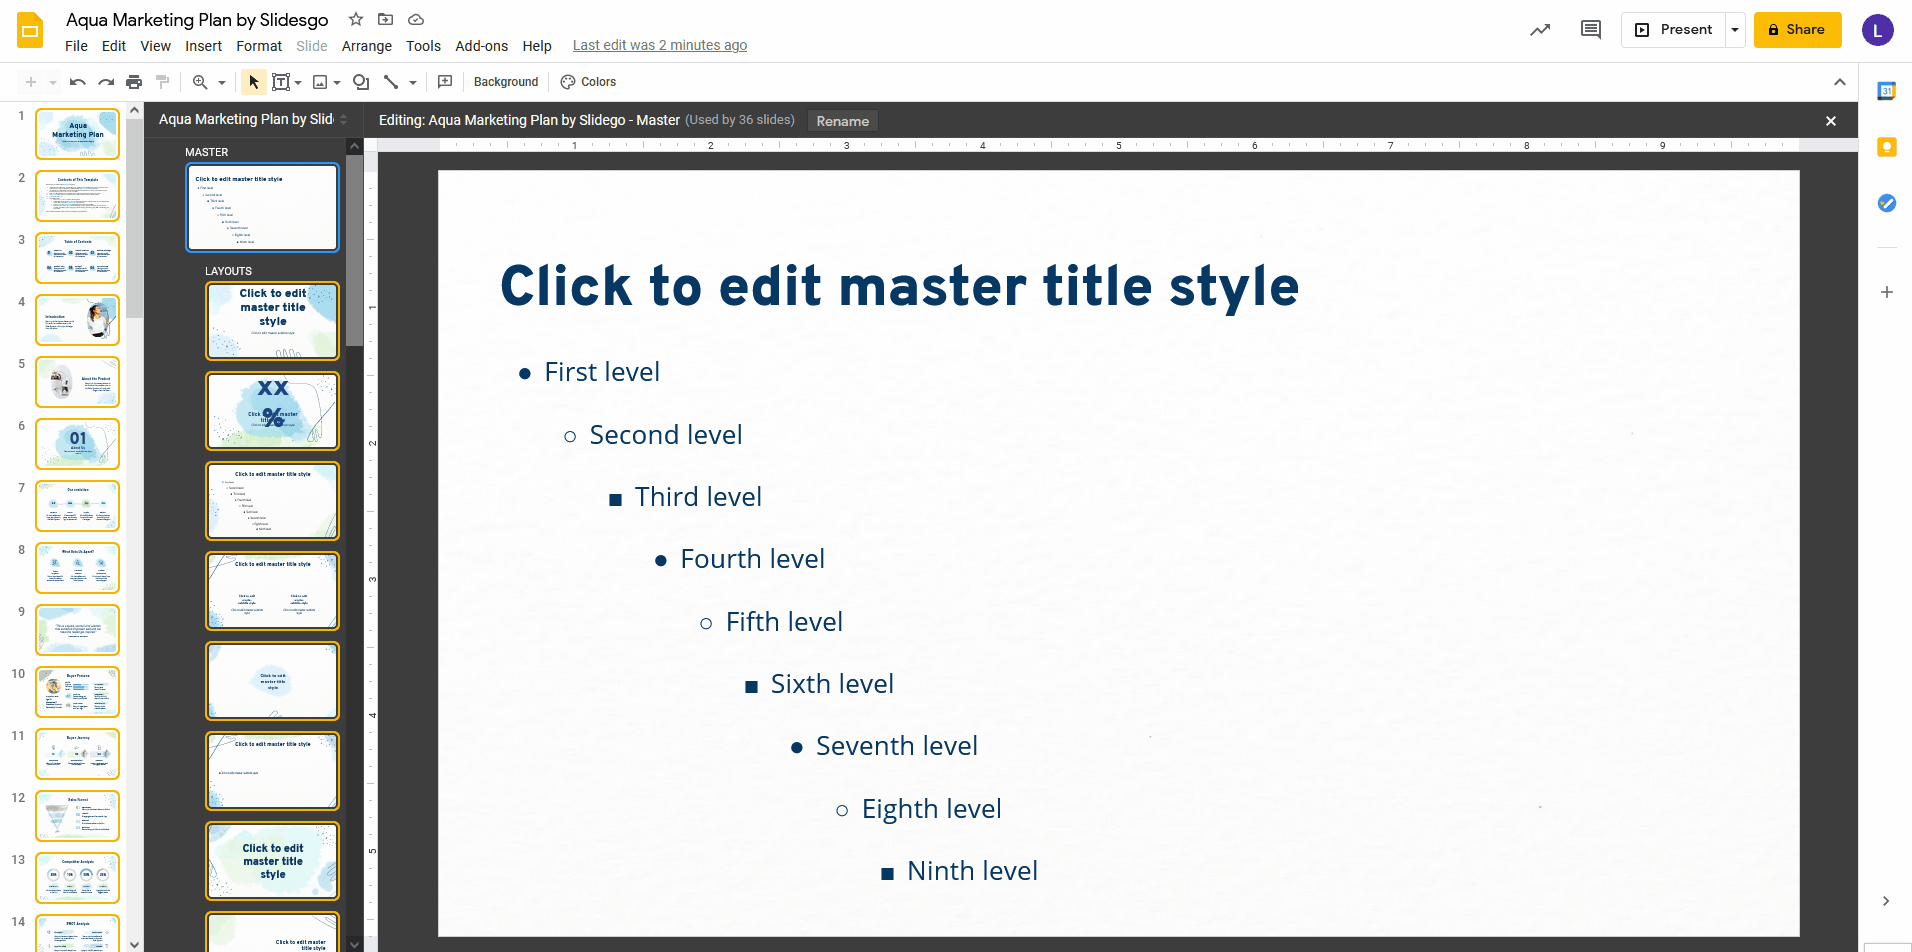
To access the master slides in Google Slides, you just need to click Slide > Edit master. By default, Google Slides will select the layout master that is being used in the slide you were last in.
On the left side of the screen, you’ll see the list of master slides. The topmost one is the slide master (the “parent” slide, so to speak). The first text box sets the font and the style of all the titles in the presentation, and the second text box does the same for all body text.
All the other master slides below are the layout masters. If you select any of them, you’ll see on the top how many slides are currently using that layout in particular.
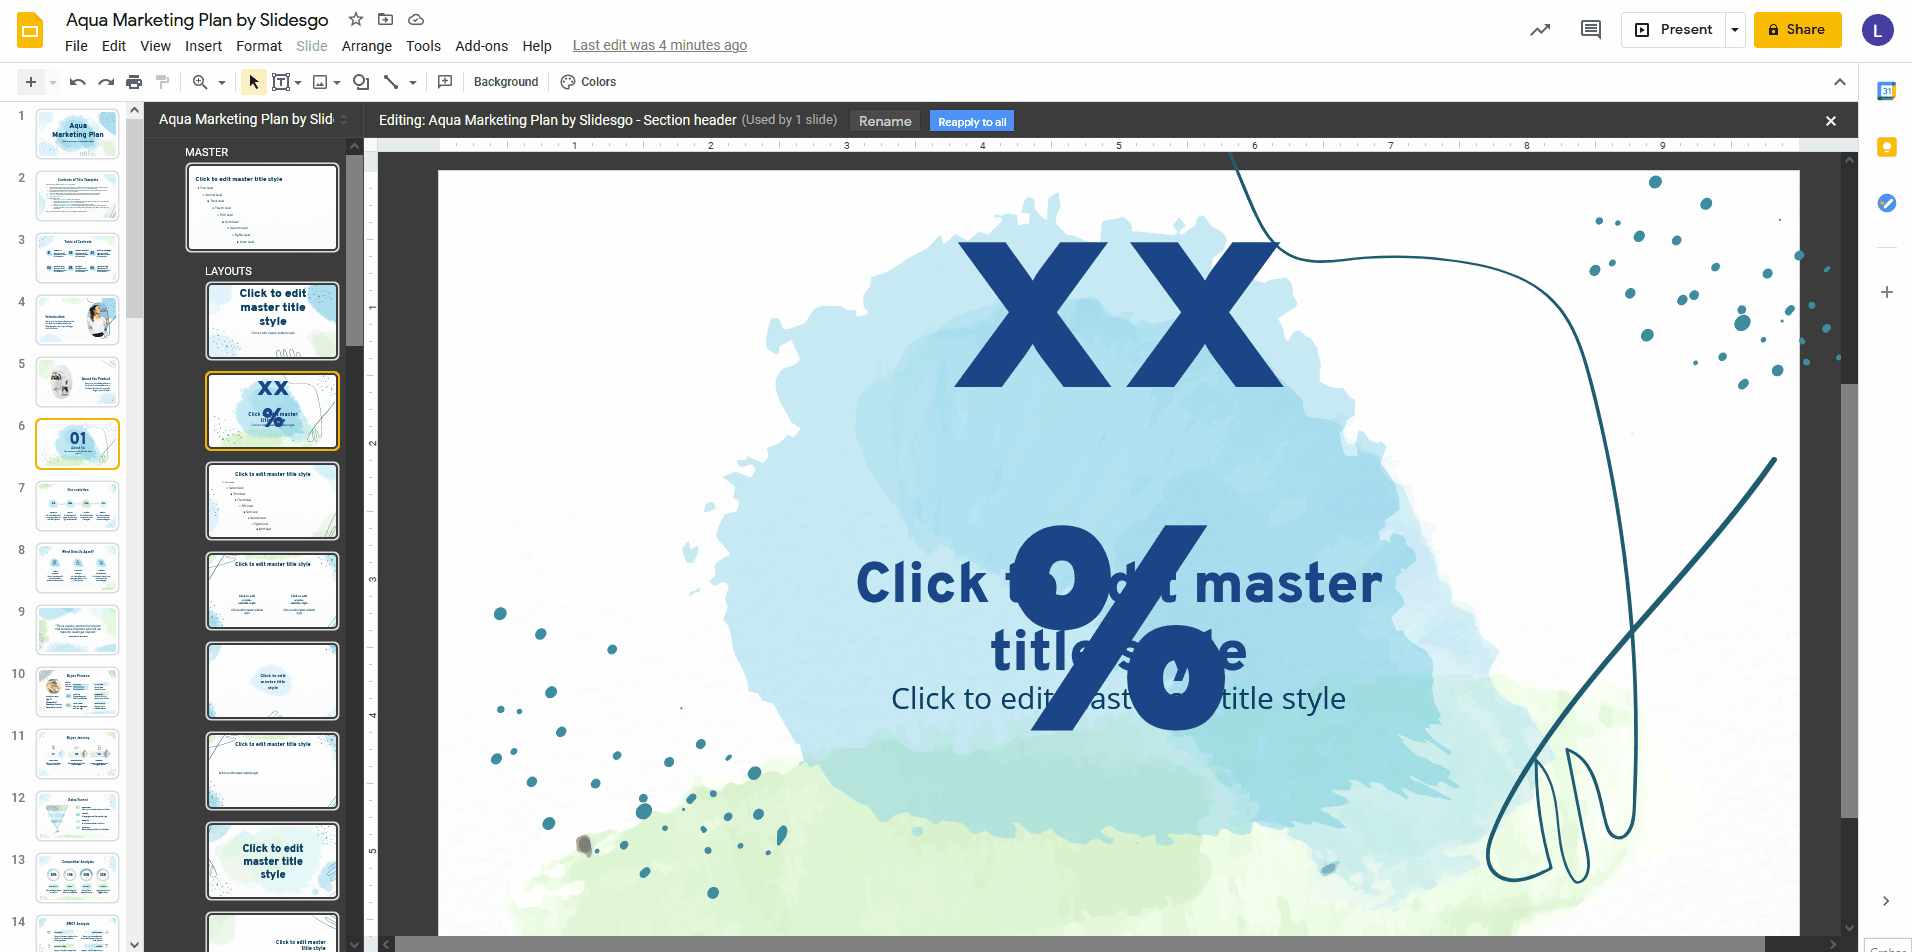
You can make any modifications in this slide, just as if it were a normal slide. The only difference is that any changes done here will be applied to all the slides in your presentation that use this layout in particular. So, if you want to have some elements in common in multiple slides, this is the place where you can do so, instead of doing it individually in each slide.
If you need more information about how to work with slides, we have some tutorials that will help you get started in no time. For example, do you need to format your text? Perhaps you’d like to learn how to add footers? Do you like your slides to have numbering so you know exactly at what point of your presentation you are? We’ve got you covered with these and many more tutorials.
You can also set the color palette for the entire presentation. To access it, go to the toolbar and click on “Colors”. The “Theme colors” panel will appear on the right side. Click on the drop-down arrow to see all the different colors that are assigned for the text and the background, the accents and the links. Click on any of them to change the color to your preferred one. You can use the color selector, enter the hex code or select any of the default ones.
Whenever you want to exit the master slides and go back to your presentation, just click on the “X” located at the top-right corner.
Changing the Layout of a Slide
Let’s say you’ve worked on a layout master and now you want to apply it to a new slide or to a slide that you already have in your presentation. To do so, just select the slide and do one of the following:
- Click Slide > Apply layout > Select one of the available layouts (they’re all the layout masters!)
- Go to the toolbar, click the "Layout" drop-down arrow and select one of the available layouts.
Inserting an Image as a Background
You can insert an image as a background too! This can be handy if you want several slides (or the whole presentation!) to have the same photo, illustration or texture.
There are two ways of doing this. Let’s see the first one:
Access the master slides, then go to the toolbar and click "Background". A dialog box will appear, where you can set a solid color as background, or you can choose your own image. Please note that it will be inserted purely as background, so it won’t be modifiable unless you replace it with another one.
The second one is inserting the image normally in the master slides, so it will be applied to all the slides in the presentation (if done in the slide master) or in some slides (if done in a layout master), and will still be modifiable within the master slide view. Access the master slides, then select the layout master to which you want to apply a background (or the slide master if you want to apply it to the whole presentation) and click Insert > Image > From computer. Locate the file and click Open. All the slides that use this layout will now have the same background!
When working with our templates, if you cannot select the background picture of a slide normally, that means it’s on the layout master. Just repeat the same steps to change it to the one you prefer!
Adding New Master Slides
Since you’re using one of our templates, you’ll find all the layouts that we’ve used. But what if you would want to create your own layouts? You can do so easily!
Access the master slides. Then, locate the layout master called "Blank", select it and click on the "+" sign at the top-left corner. A new layout master will be created, ready for you to start customizing it to your liking! Remember that this new layout will appear in the list of layouts available, so you can apply it to any existing slides or new one you create!
These are just some very basic things you can do with master slides in Google Slides. As you gain experience, you’ll see how much time they can save when editing. Most of the editing options are available in the master slide view, so almost everything you can do in a normal slide can be done in the slide master or any layout masters. Download one of our templates and practice a bit!
Tags
BasicsDo you find this article useful?
Related tutorials
How to Personalize Your Presentations with Slidesgo’s AI-Powered Tools
You’ve got the story—now make it look and sound like you. Whether you’re teaching a lesson, designing a sales pitch, or sharing your research, Slidesgo’s updated AI Presentation Maker puts more creativity and control right at your fingertips. (And we all want more control, right?).What you’ll find here:New personalization features make it...

How to Write a Great AI Prompt
Our tools are built to be simple and easy to use (though, honestly, there's a lot happening behind the scenes). Have you ever struggled with an empty text box?:Condensing all your ideas and goals into a single prompt can feel overwhelming. But don’t worry—there are a few simple tricks that can...

How to Download Google Slides Templates
When preparing a presentation, many people start panicking because they realize how much time it will take to edit each and every slide. Creating them from scratch, filling them in, looking for pictures, moving the elements...How stressful! But there is a solution that saves you a lot of time. We're...

Discover our collection of printable templates
With the advance of technology, printing has become something that is no longer a necessity. Smartphones have made the paper format less and less frequent, but there are still certain cases in which having physical resources is much more convenient. Whether it's for taking notes, handing out assignments, making worksheets...