
How to Add Footers in PowerPoint
Sometimes, you might need some fixed elements to appear in all your slides, such as the date or a text. You can insert footers in your PowerPoint presentation to further customize it, so in this Slidesgo School tutorial, we’ll teach you how to do it.
Adding Footers
- Open your presentation in PowerPoint.
- Select the slide where you want to add a footer.
- Go to the Insert tab and, in the Text group, click Header & Footer.

- A new window will open. On the Slide tab, check the “Footer” box. There’s a text field below where you can enter the text for the footer.

- When you’re done, there are two ways to apply the changes:
- Apply: If you click this button, the changes will be applied to the selected slide.
- Apply to All: If you click this button, the changes will be applied to all the slides.
- Once you choose the desired option, your footer text will appear on your presentation.

- The text on the footer is still editable. First, go to the Home tab. To change the font, the size or the color of the text, use the options from the Font group. To change the alignment, use the settings found in the Paragraph group. To change the fill color, the outline color or to apply effects such as a shadow, use the options found in the Drawing group.
- If you’ve applied a footer to all the slides, any adjustments made on one individual slide won’t affect the footer on the rest of the slides.

Adding Footers in Our Templates
- Open one of our templates in PowerPoint.
- Access the master slides. To do so, on the View tab, in the Master Views group, click Slide Master.

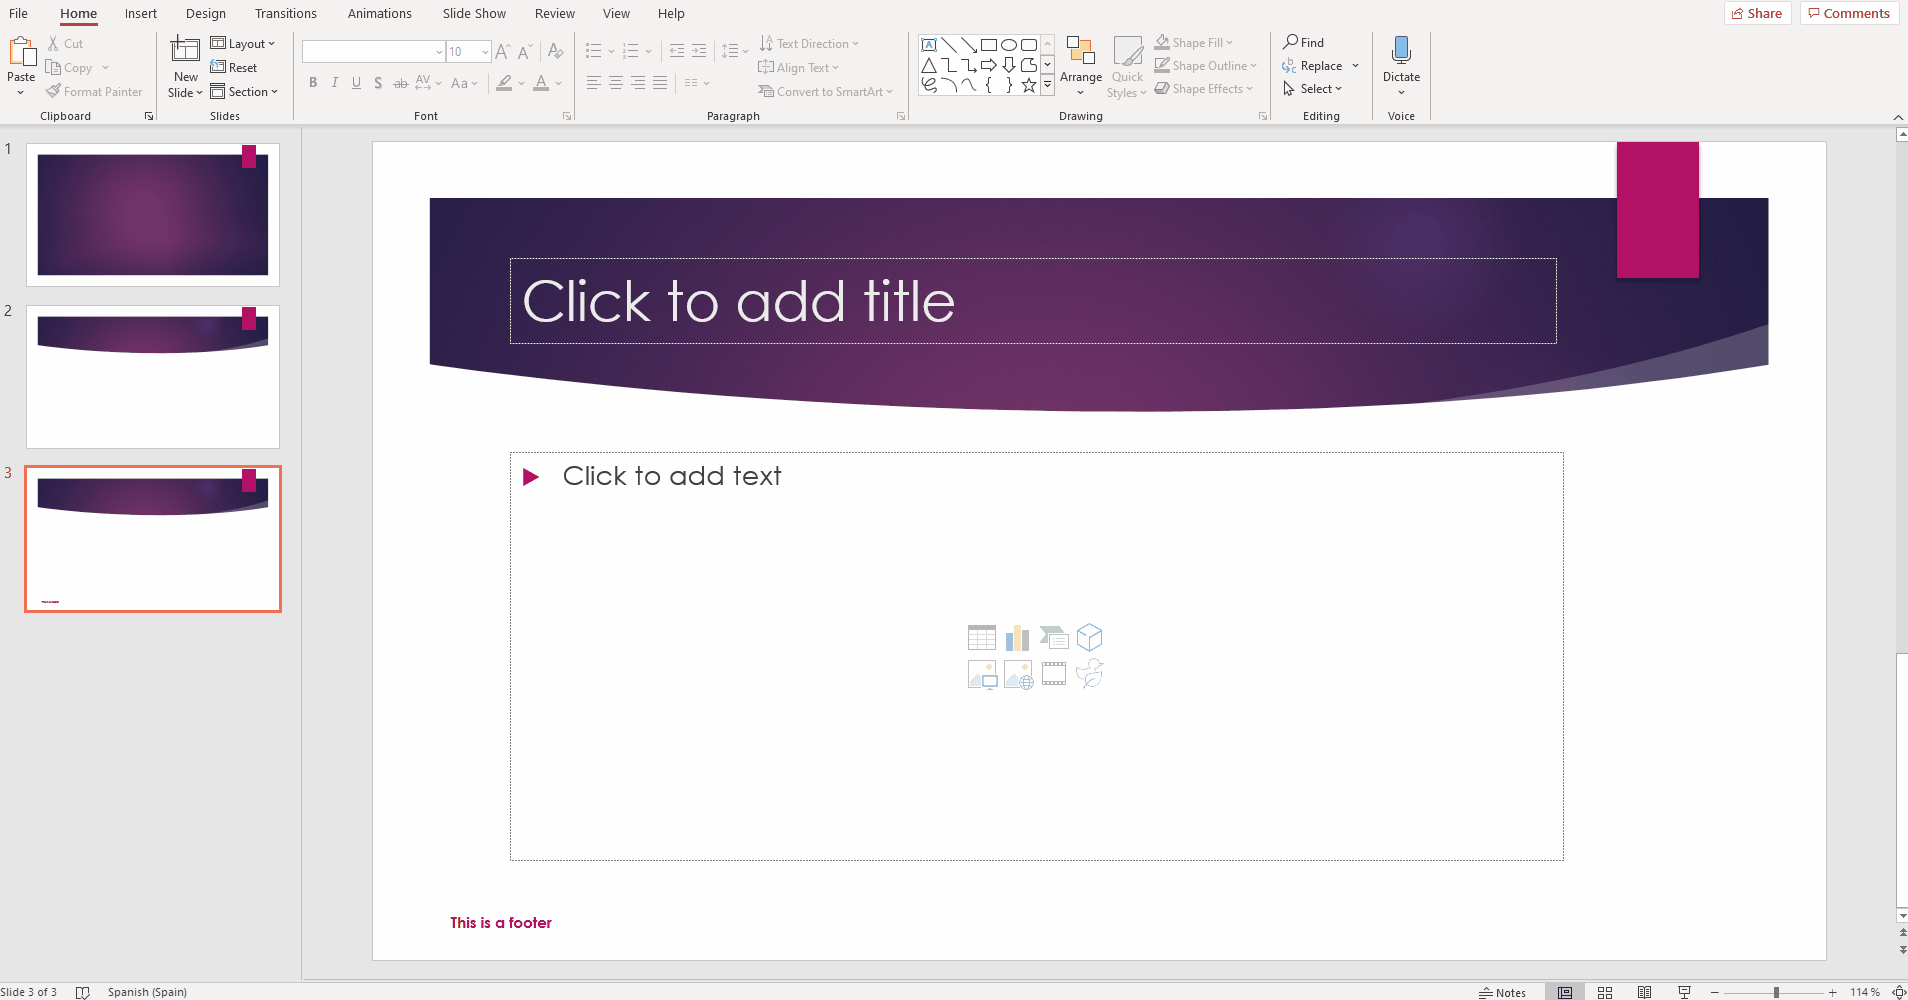
- Select the slide master (the first one, which acts as the parent slide), then go to the Slide Master tab and click Master Layout.

- A dialog box will appear, where you must check “Footer”. Then click OK. A footer text box will appear at the bottom.

- For this box to appear in all the slides, make sure you check “Footers”, located in the Master Layout group, on the Slide Master tab. This box needs to be checked for all the layout masters (please note that selecting multiple layout masters at the same time and checking this box doesn’t work as intended, since the change will be applied only to the current layout master). If you want the footer to appear only in some slides, check “Footers” only in those layout masters which the desired slides derive from.

- Exit the Slide Master by clicking Close Master View, located on the Slide Master tab.

- Now follow the instructions explained in the first section of the tutorial to edit the footers.

Tags
Edit & FormatDo you find this article useful?
Related tutorials

New feature available: edit our templates with Canva
Whenever you need to create, Slidesgo is there. We’re continually enhancing your presentation design process with templates that are primed to impress for any occasion. And in order to let your ideas flow best, comfort is key. How could Slidesgo help you with this? By making you feel right at home with...

How to print PowerPoint notes
Crafting an impactful PowerPoint slideshow and delivering a captivating presentation are distinct skills. The first focuses on designing appealing visuals to convey a clear message, while the second involves employing effective presentation techniques to ensure the audience grasps the idea. The content of this article will help you with the latter...

Discover Our Online Presentation Software for Free
We have great news for you today! If you’ve been a Slidesgo fan for years (or months, or weeks, or days, or mere hours, we welcome everyone!), you’ll probably know for now that our templates are available mostly in two formats: for use in Google Slides and PowerPoint.Google Slides is a...

Webinar: Presentation Audit
With more than 15,000 templates released on Slidesgo and a user base composed of millions of people, we estimate that the total number of presentations created adds up to… um, a lot! Our team of professional designers work very hard to provide you with editable slides so that the only thing...