
How to Wrap Text in Google Slides
Most of the time, a slide is more impactful when you combine text with images. You can use both to provide context, explain a process with a visual example or make the content more interesting overall.
When text and image are present at the same time, it’s best if they don’t overlap. So you might want to wrap the text properly, which looks nicer and solves this issue. As with PowerPoint, Google Slides does not have an option to do this, but with some smart positioning of text boxes, you can achieve a similar result.
What Is Text Wrapping and Why Use It?
Text wrapping, as its name suggests, is a feature that makes your text wrap around other elements present in the slide, mainly images. In Google Slides, it requires careful positioning of your text boxes, but the best thing is that the text automatically adjusts to the shape of its corresponding box.
Wrapping Text Around an Image in Google Slides
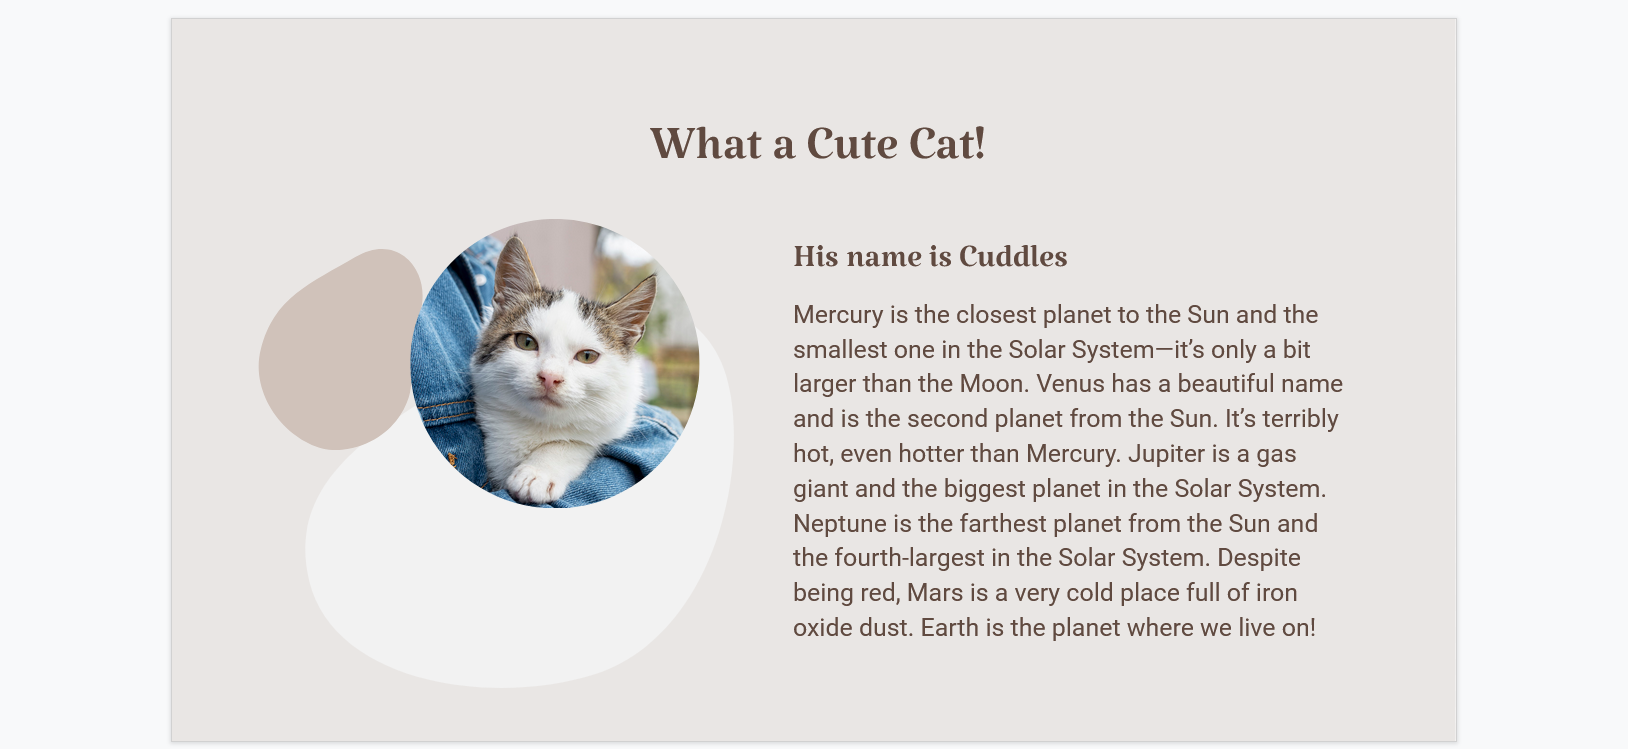
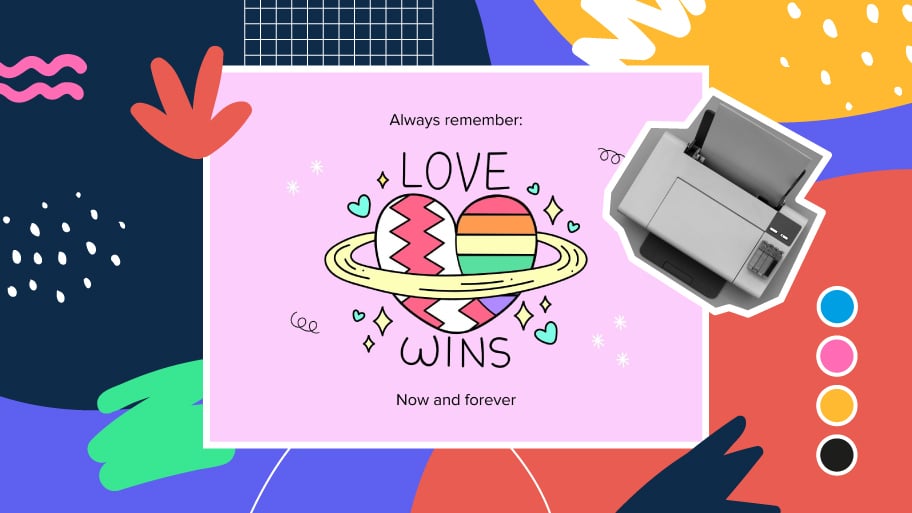
Let’s say you’ve downloaded our Cute Cats template and you’d like to make the most of one of the pictures included to provide information about a cat species in particular.
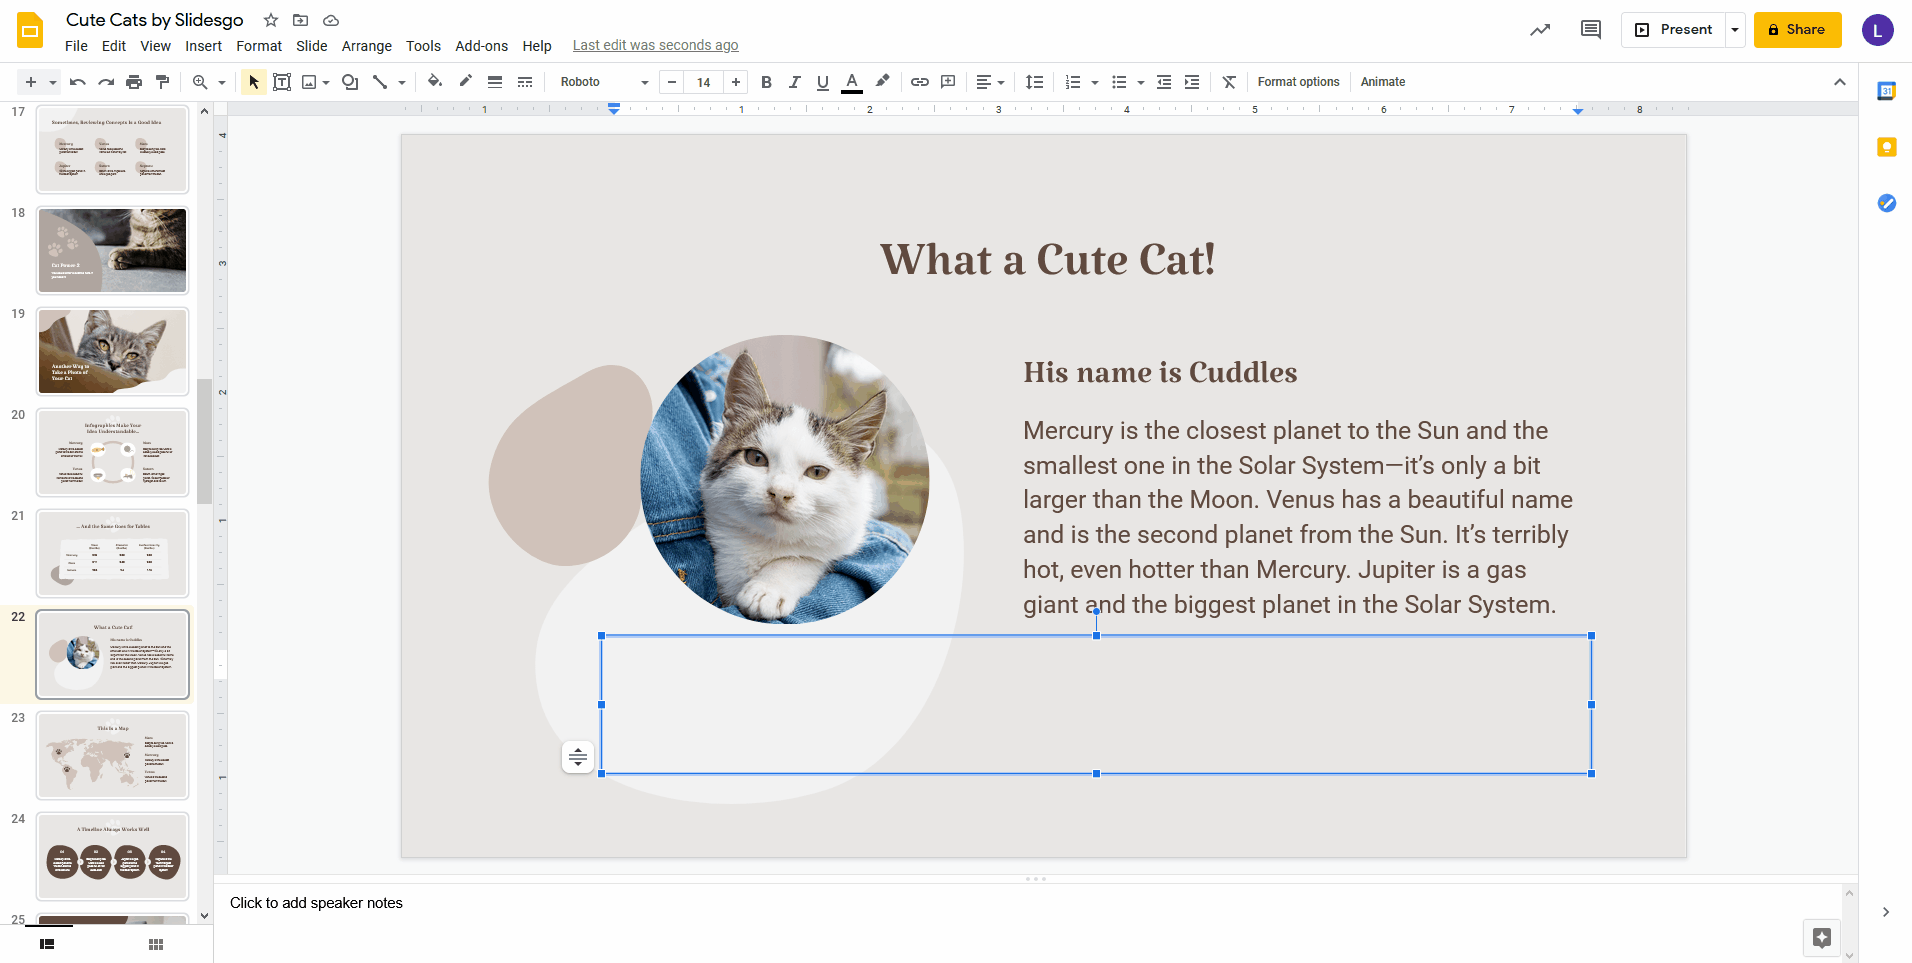
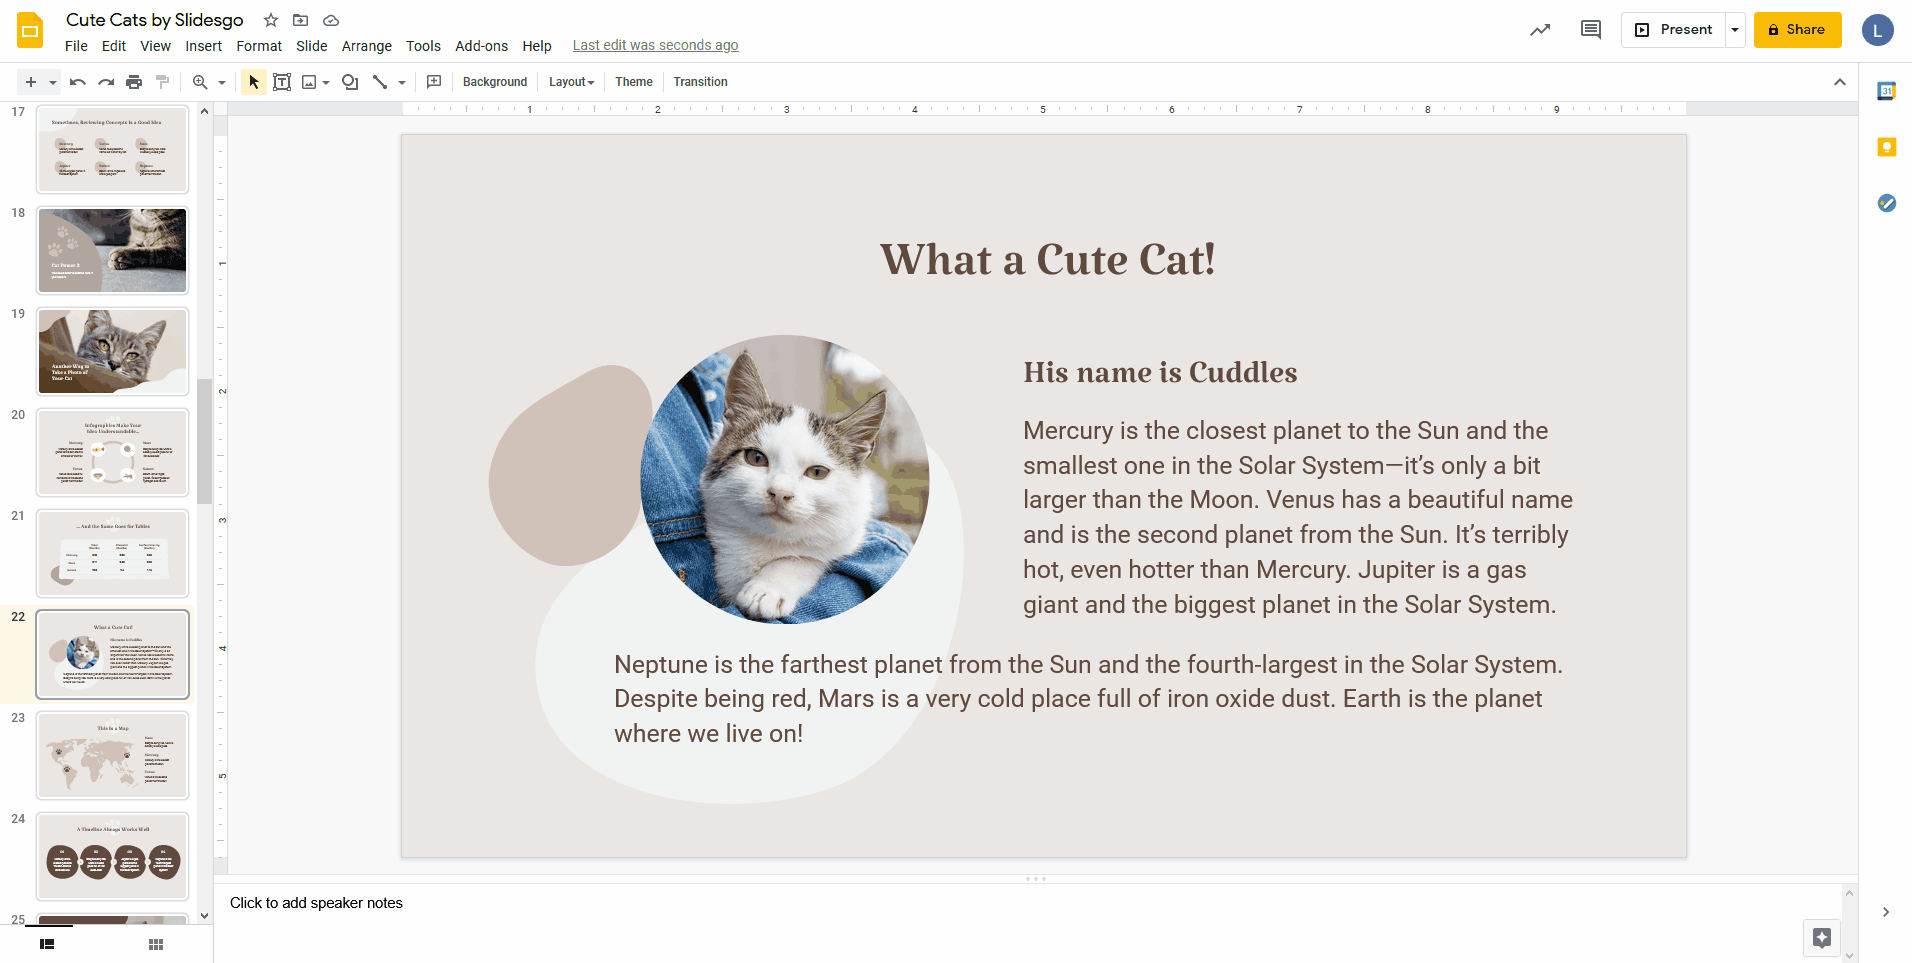
For example, this slide has an image of a cat and quite some text. Let’s see how we can do it so that the text wraps around the image and makes use of the empty space below the photo.
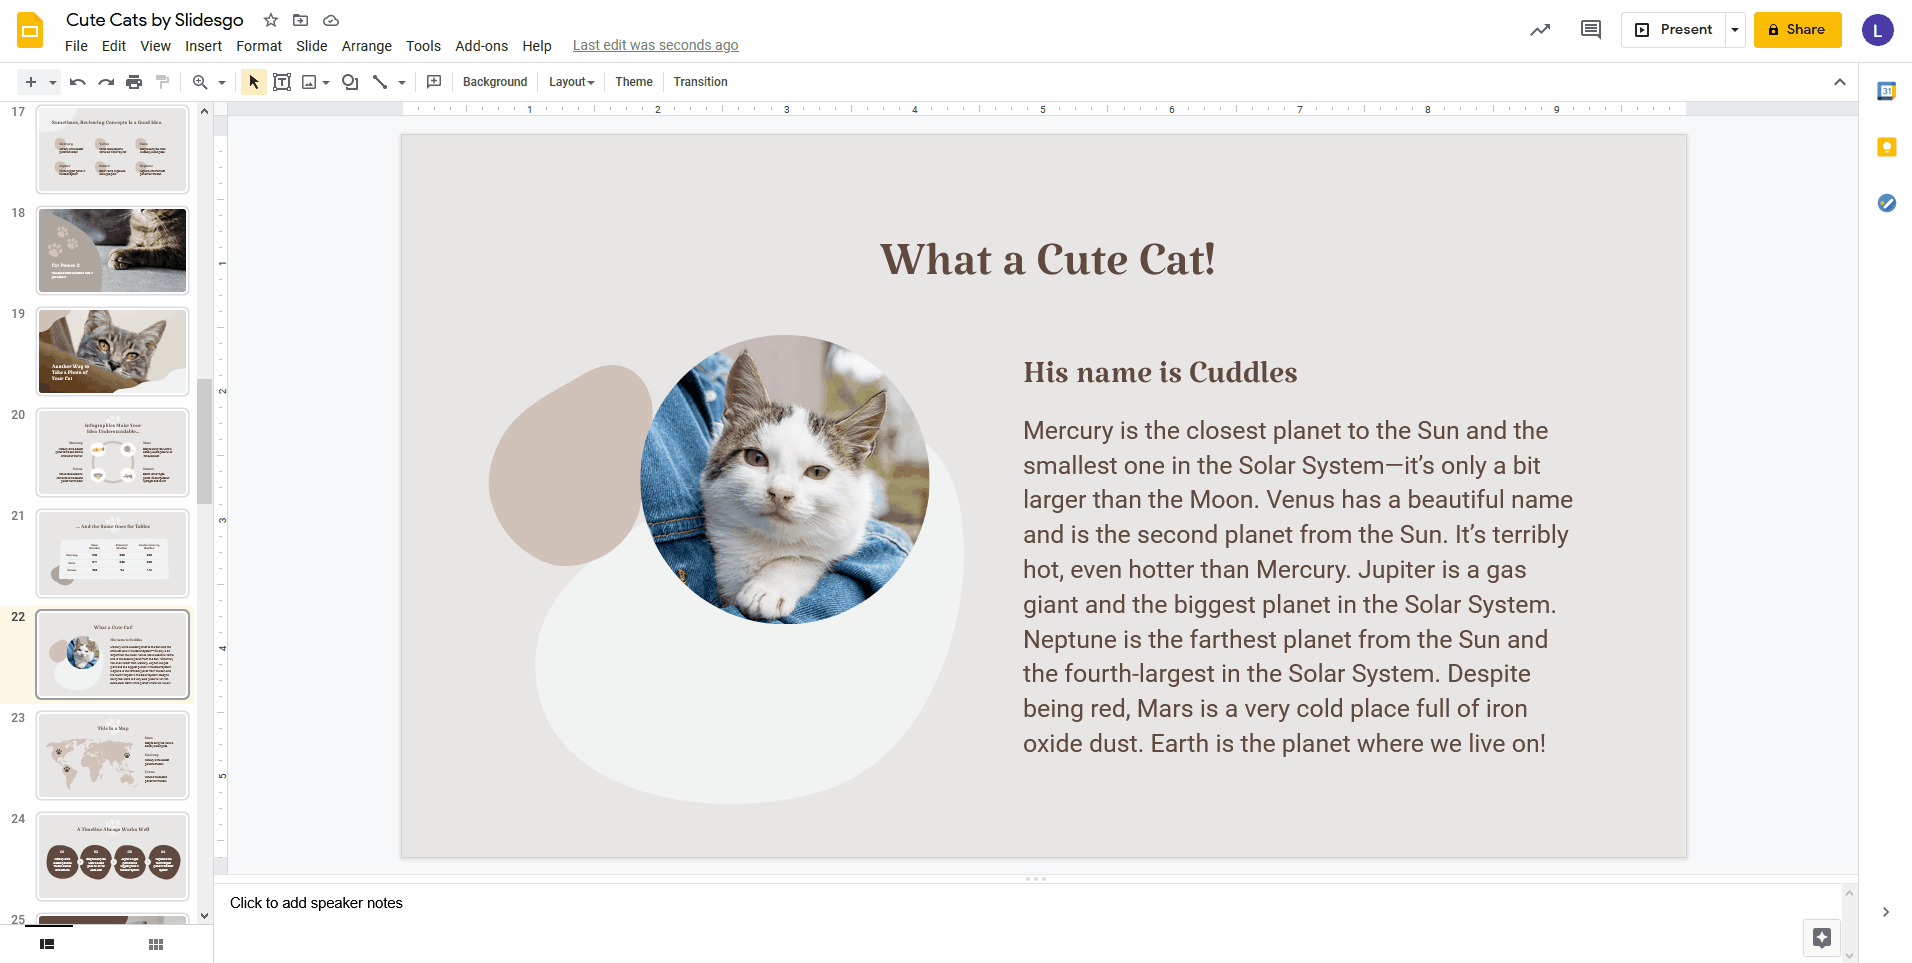
First, select the text box and cut part of the text. In this example, we’ll cut the part that begins with “Neptune”. Remember that you can cut it by pressing Ctrl + X or by clicking Edit > Cut after selecting the text.
Now, we need a new text box for the part that we’ve just cut. To create it, click Insert > Text box. The cursor will change to a cross. Click and drag to draw the shape of the new text box.
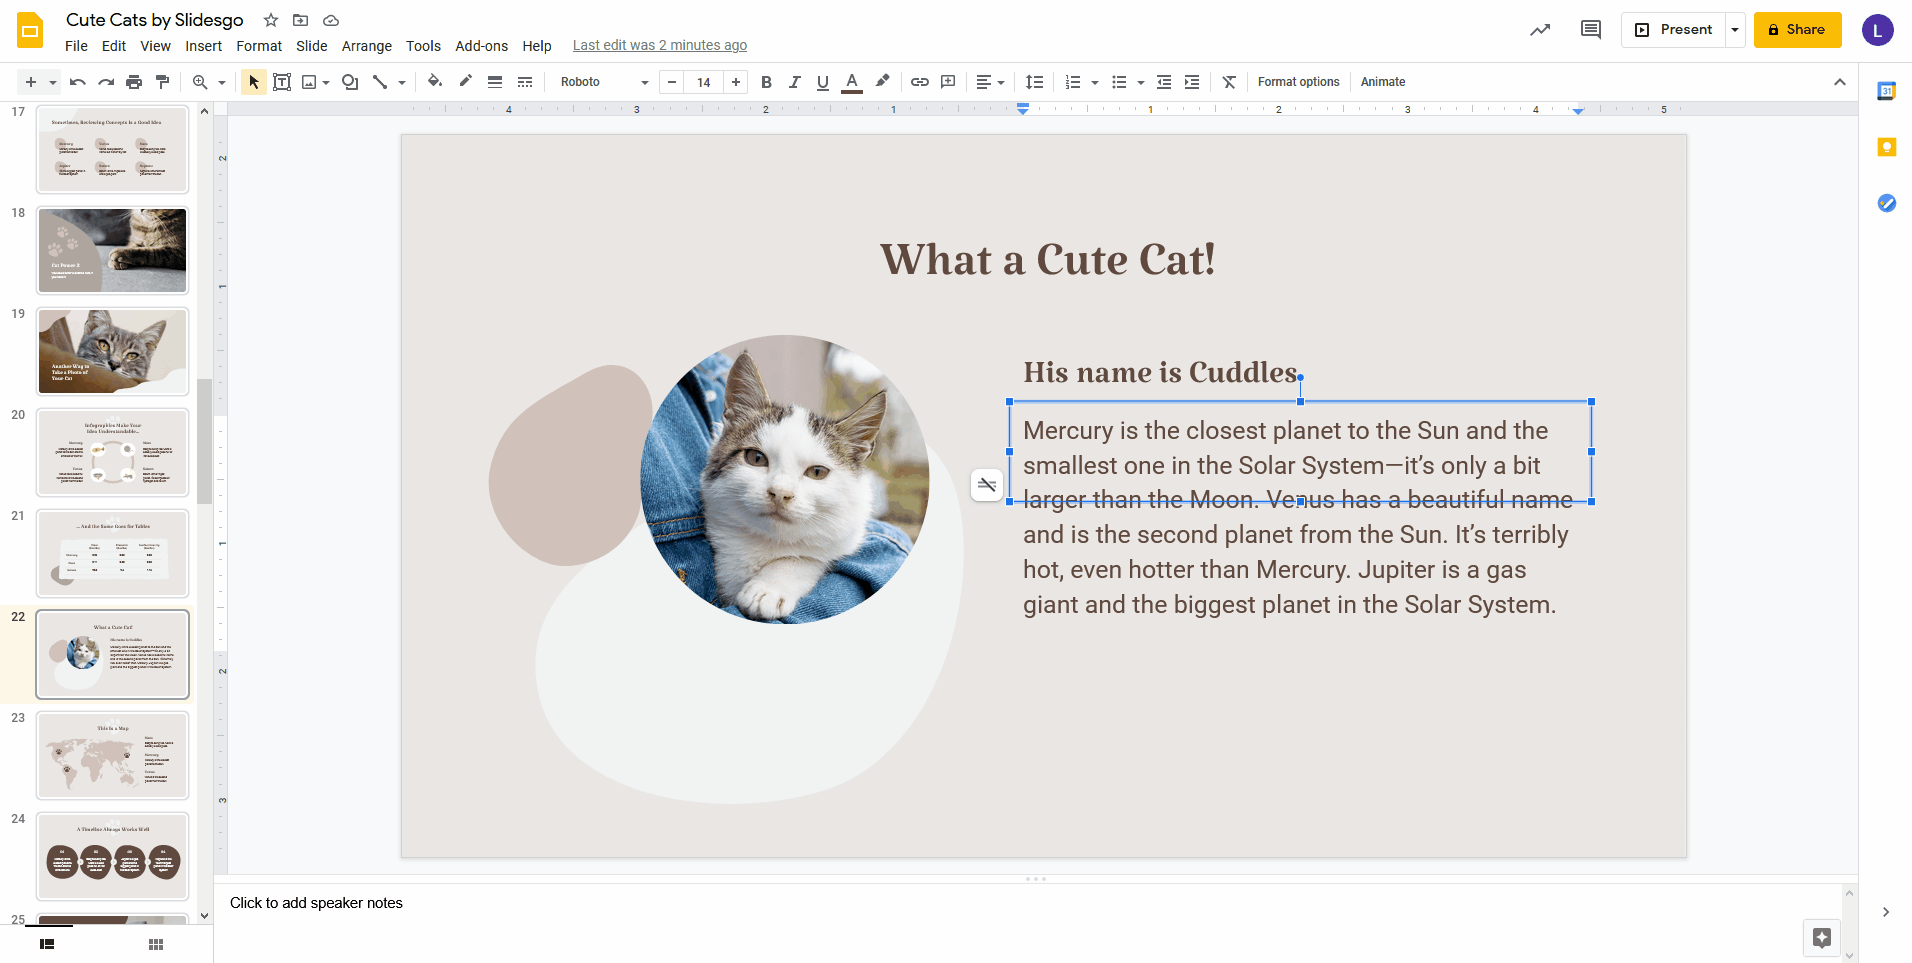
Paste the text that we previously cut. To do so, press Ctrl + V.
Now, as with any text box, you can modify its shape by dragging one of the handles. This will allow you to adjust the position of the text. Besides, if you wish to change other settings, such as color, size or the font, we have a tutorial for Google Slides that will teach you very quickly!
As you can see, it’s just a matter of positioning and creativity. Of course, it will depend on the shape of the image and how long the text is. You can try this with our 100% editable templates for Google Slides. Have a look and download the one you prefer!
If you need more information on how to edit the text or other elements on a slide, you can check out our tutorials for Google Slides. You’ll be creating presentations in no time!
Tags
BasicsDo you find this article useful?
Related tutorials
How to Personalize Your Presentations with Slidesgo’s AI-Powered Tools
You’ve got the story—now make it look and sound like you. Whether you’re teaching a lesson, designing a sales pitch, or sharing your research, Slidesgo’s updated AI Presentation Maker puts more creativity and control right at your fingertips. (And we all want more control, right?).What you’ll find here:New personalization features make it...
How to Write a Great AI Prompt
Our tools are built to be simple and easy to use (though, honestly, there's a lot happening behind the scenes). Have you ever struggled with an empty text box?:Condensing all your ideas and goals into a single prompt can feel overwhelming. But don’t worry—there are a few simple tricks that can...

How to Download Google Slides Templates
When preparing a presentation, many people start panicking because they realize how much time it will take to edit each and every slide. Creating them from scratch, filling them in, looking for pictures, moving the elements...How stressful! But there is a solution that saves you a lot of time. We're...
Discover our collection of printable templates
With the advance of technology, printing has become something that is no longer a necessity. Smartphones have made the paper format less and less frequent, but there are still certain cases in which having physical resources is much more convenient. Whether it's for taking notes, handing out assignments, making worksheets...