
How to Change the Display Language in PowerPoint
If you want to change the display tongue in PowerPoint, this is your tutorial. No matter if you have downloaded a version of the software with the incorrect default language or you want to improve your reading skills, we will teach you, step by step, how to do it.
Setting a new preferred language in PowerPoint
Ready to choose a new preferred language for PowerPoint? It’s as simple as following the next steps.
- In the toolbar, go to Files → Options.
- Then, in the left menu, click on Language.
- In the section Office display language, click on any of the options from the list and, then, click on Set as preferred.
- If you want to match the tongue of Office with the one of your own Microsoft Windows, click on Match Microsoft Windows.
- Then, a popup window appears. It will ask you to relaunch the program to apply the changes.
- Close the program and open it again. Remember to save the changes if you modified your presentation.
Installing additional display languages in PowerPoint
- If the tongue that you want to set as preferred is not on the list, click on Install additional display languages from Office.com.
- Click on any of them → Install.
- A new window will appear in your browser. It will allow you to download the linguistic module of the tongue that you have selected.
- Click on Download.
- The browser will show a new window. There, you can read the specifications of the selected tongue.
- Click on Download and wait a few seconds.
- Your browser will show the latest downloads at the bottom. Double click on the pack to install it.
- PowerPoint will ask you to save your current work before proceeding. Click on Save. Download it as a 64-bit or 32-bit pack, depending on your Windows version.
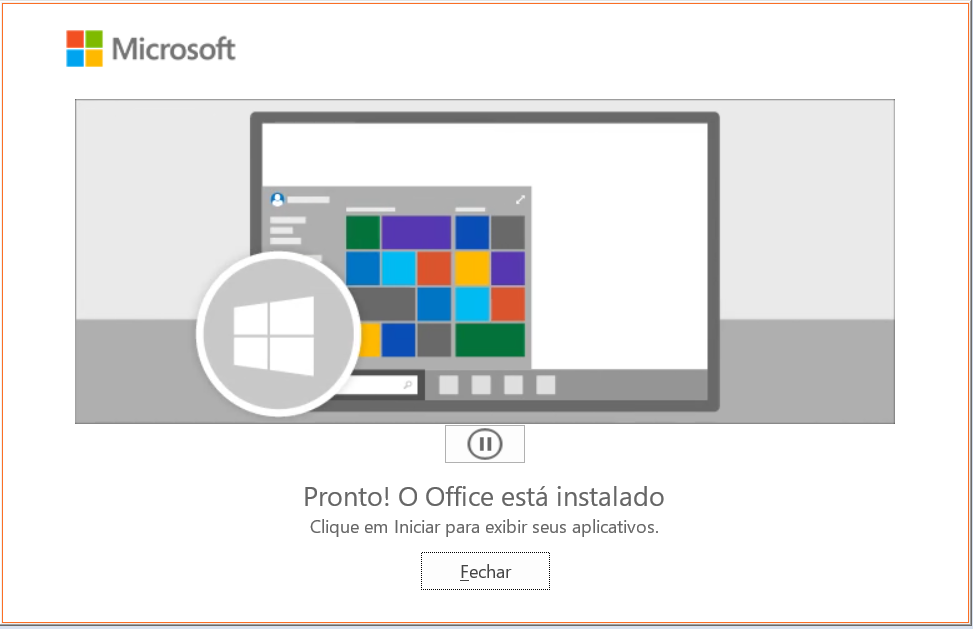
- Wait until it finishes, it will take a couple of minutes. Then, a popup appears to let you know that you have completed the installation. Click on Close or its translation, depending on the language. As we have selected Portuguese, you’ll see Fechar.
- Now open PowerPoint again.
- Click on File → Options → Language. The new tongue appears there. Click on it and, later, on Select as preferred. Click OK.
- A popup window will ask you to close the program and to open it again to apply the changes. Click OK.
- Open PowerPoint.
- Now it displays the new language!
If you want to modify the tongue in Mac, follow these directions:
- To change the user interface, Go to the Apple menu.
- Then, go to System Preferences → Language & region.
- Select one option from the list of Preferred Languages.
- If you are not able to find your tongue, click on + and add it. Then, restart Office.
- To change the Editing language, press Tools → Language.
- Pick up a tongue → OK.
- If you want to make it Default, mark that option.
Changing the language for Office 2016 or earlier versions
- Open Office.
- In the toolbar, go to File → Options → Language.
- Click on any of the options → Set as Default.
- If you can’t find a given tongue, press Add additional editing languages.
- Choose one from the list → Add.
Make sure that the Keyboard Layout appears as Enabled. Otherwise:
- Click on Not enabled.
- Click on Add languages → pick one one of them → Add → close the dialog box.
You also need to double check if the Proofic option is working. If it says Installed, it will work. But if it is not:
- Click on Not installed. Download the tongue Accessory Pack and follow the instructions. This step is pretty similar to the one in the section above.
- In PowerPoint, go to File → Options → Language.
- Click on the new tongue and select Set as Default or Match Microsoft Windows, if that is the Office display tongue. If you need more information on the issue, you can read this Microsoft tutorial.
Changing the language of PowerPoint proofing tools
In PowerPoint, you can establish the authoring language of a text, i.e., setting the tongue in which you are going to write. It also offers a series of tools that will help you with the grammar and spelling checks. It’s very useful when making mistakes, as the software will spot them easily. Does it sound good? Let’s see how to work with them.
- In language options again, go to Office authoring languages and proofing.
- As before, click on any of them and choose Set as Preferred.
- Click on OK, and a warning window will pop up. Click OK.
- If the one you are looking for is not in the system, click on Add a Language…
- Choose one from the list. If you want the program to check your grammar and spelling, mark the Get proofing tools → Add. This will direct you to the installation page. Some of the tongues don’t allow you to get them, so you won’t be able to select it. For this part of the tutorial, we have chosen German.
- Once on the webpage, click on download and wait until it finishes.
- Open the file and a window appears to let you know that the installation is ready. Click on Close or its translation, that will vary depending on the tongue. As we have chosen German, you’ll see Schließen.
- Close PowerPoint and relaunch it again. Go to File → Options → Language. As you can see, German is now ready for you to use.
- Click on that (or other) language → Set as Preferred. When a window appears, click on OK. Select OK once again.
As you have seen, changing the tongue in PowerPoint is as easy as it can be! Go to the language settings and follow these simple steps. This program will correct your spelling mistakes and will help you with grammar.
If you liked our Language Learning App template, download and edit it now and, if you are looking for new templates for PowerPoint, have a look at our collection of presentations.
Remember that this tutorial is applicable to Office 365. If you have any other version, you may encounter slight differences.
Tags
BasicsDo you find this article useful?
Related tutorials

How to Personalize Your Presentations with Slidesgo’s AI-Powered Tools
You’ve got the story—now make it look and sound like you. Whether you’re teaching a lesson, designing a sales pitch, or sharing your research, Slidesgo’s updated AI Presentation Maker puts more creativity and control right at your fingertips. (And we all want more control, right?).What you’ll find here:New personalization features make it...

How to Write a Great AI Prompt
Our tools are built to be simple and easy to use (though, honestly, there's a lot happening behind the scenes). Have you ever struggled with an empty text box?:Condensing all your ideas and goals into a single prompt can feel overwhelming. But don’t worry—there are a few simple tricks that can...

How to Download Google Slides Templates
When preparing a presentation, many people start panicking because they realize how much time it will take to edit each and every slide. Creating them from scratch, filling them in, looking for pictures, moving the elements...How stressful! But there is a solution that saves you a lot of time. We're...

Discover our collection of printable templates
With the advance of technology, printing has become something that is no longer a necessity. Smartphones have made the paper format less and less frequent, but there are still certain cases in which having physical resources is much more convenient. Whether it's for taking notes, handing out assignments, making worksheets...