
How to Add, Record or Edit Audio or Music in PowerPoint
Do you want to set the right mood and keep your audience engaged and entertained during your next presentation? In this new Slidesgo School tutorial, you’ll learn how to add audio or music to your presentations. You’ll also find out how to edit them to your liking.
Adding Audio from your Computer
- Before we begin, please note the following: in PowerPoint 2010 or older, you should use .wav or .wma files in Windows, and .wav files in Mac. If you’re using a newer version, we recommend that you work with AAC .m4a files.
- Open your PowerPoint presentation and select the slide where you want to add audio.
- On the Insert tab, in the Media group, click the Audio drop-down arrow. You’ll see two options: the first one allows you to add audio from your PC, whereas the second one allows you to record audio (you’ll need to have a microphone set up in your computer).
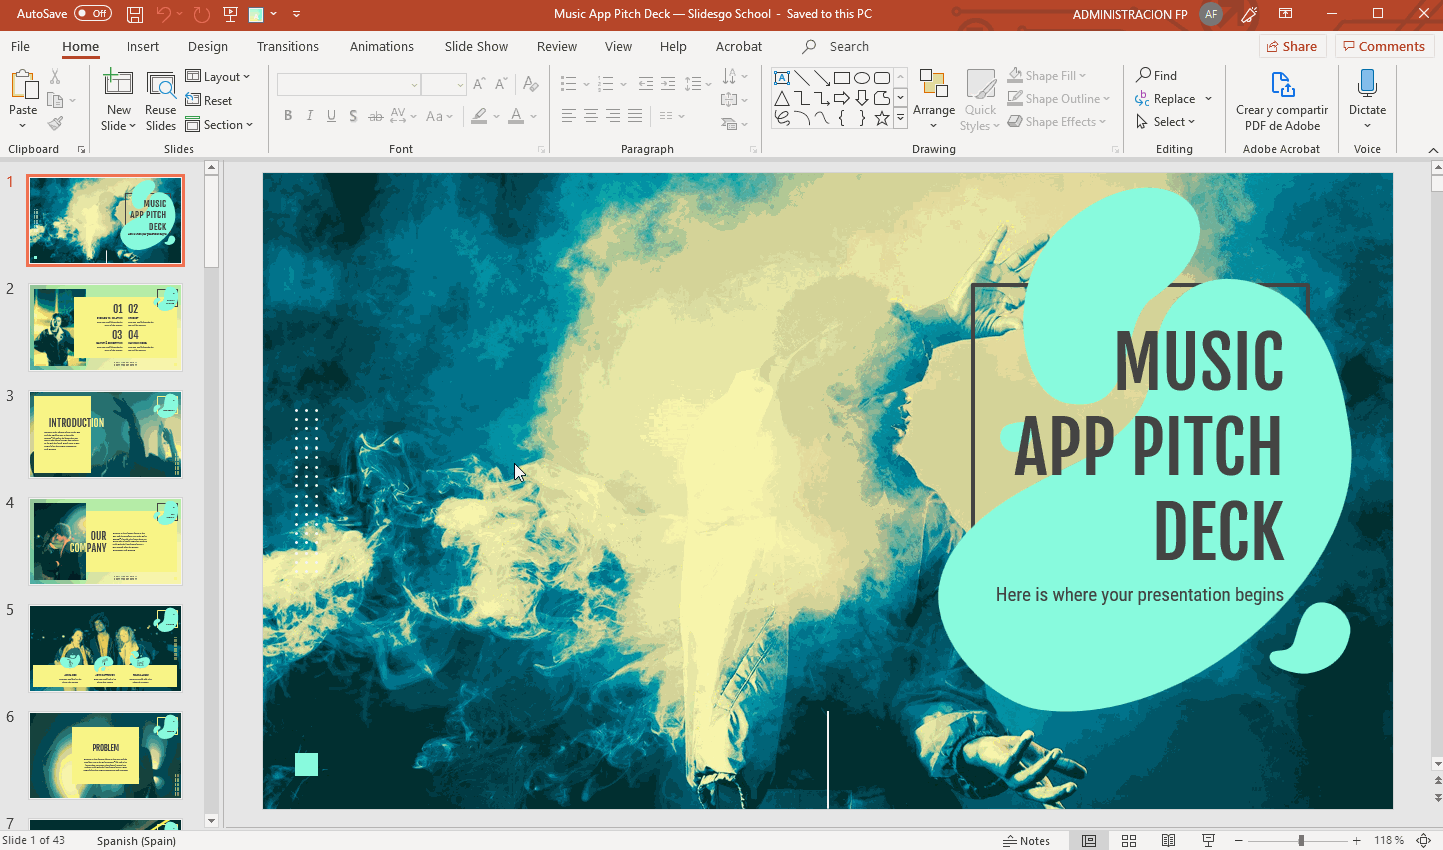
- Select Audio from My PC. A new window will open, where you have to locate the audio file you want to add to your presentation.

- Once located, click the drop-down arrow next to Insert. You’ll see two options:
- If you choose Insert, the audio will be directly inserted into your presentation, increasing the size of the document.
- If you choose Link to File, a link to the file will be created, reducing the size of the document. However, there could be issues if you use the presentation in a different computer, forcing you to link the audio file to the presentation again.

- Select the option that best suits your needs.
- If you want to export any audio included in your PowerPoint presentation, right-click its icon → Save Media As (you can only do this with audio inserted from your PC).

- Please note that if you want to play a different audio in each slide, you’ll need to add the audio files one by one. You’ll also need to uncheck “Play Across Slides”. You can refer to the “Editing Audio” section in this tutorial if you want more information.
Recording Audio from PowerPoint
- Open your PowerPoint presentation and select the slide where you want to add audio.
- On the Insert tab, in the Media group, click the Audio drop-down arrow. Select Record Audio. A new window will open.

- Enter the name of the audio file you’re about to record.

- Press Record to start recording. To stop, press the Stop button. To play what you’ve recorded, press Play.

- If you’re happy with what you’ve recorded, click OK. If that’s not the case, click Cancel.
Editing Audio
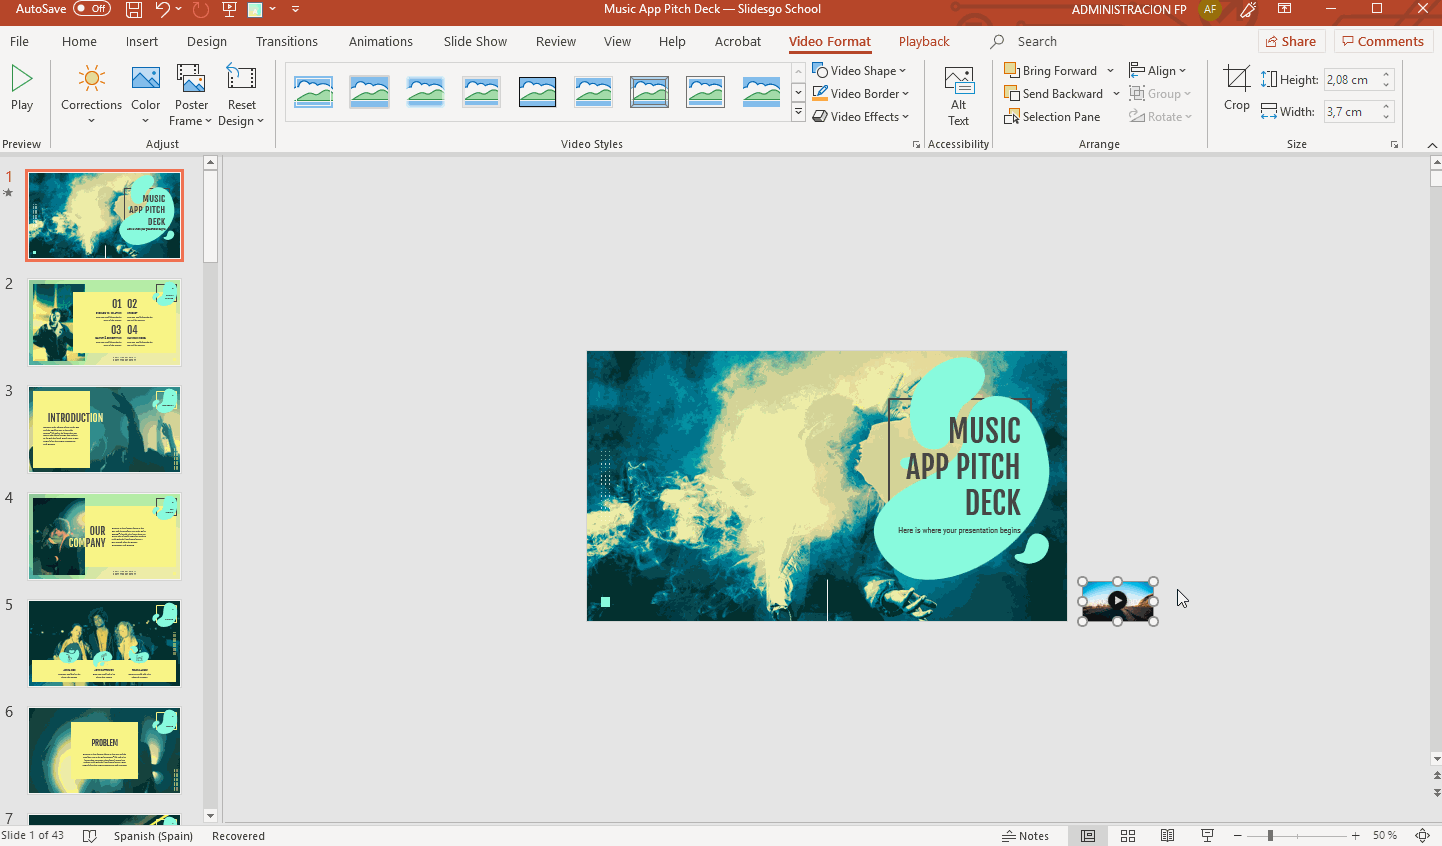
- Select the audio whose format you want to adjust. A new set of tabs, called Audio Tools, will appear on the toolbar.

- In the Bookmarks group, you’ll find an option to add bookmarks, which will be visible in the timeline. These can be helpful if you want to quickly find the main points in your audio during the presentation.

- In the Editing group, there are options to add a fade in and a fade out. You’ll also find the Trim Audio option. If you click it, a new window will open, where you can set the start point and the end point of the audio clip.
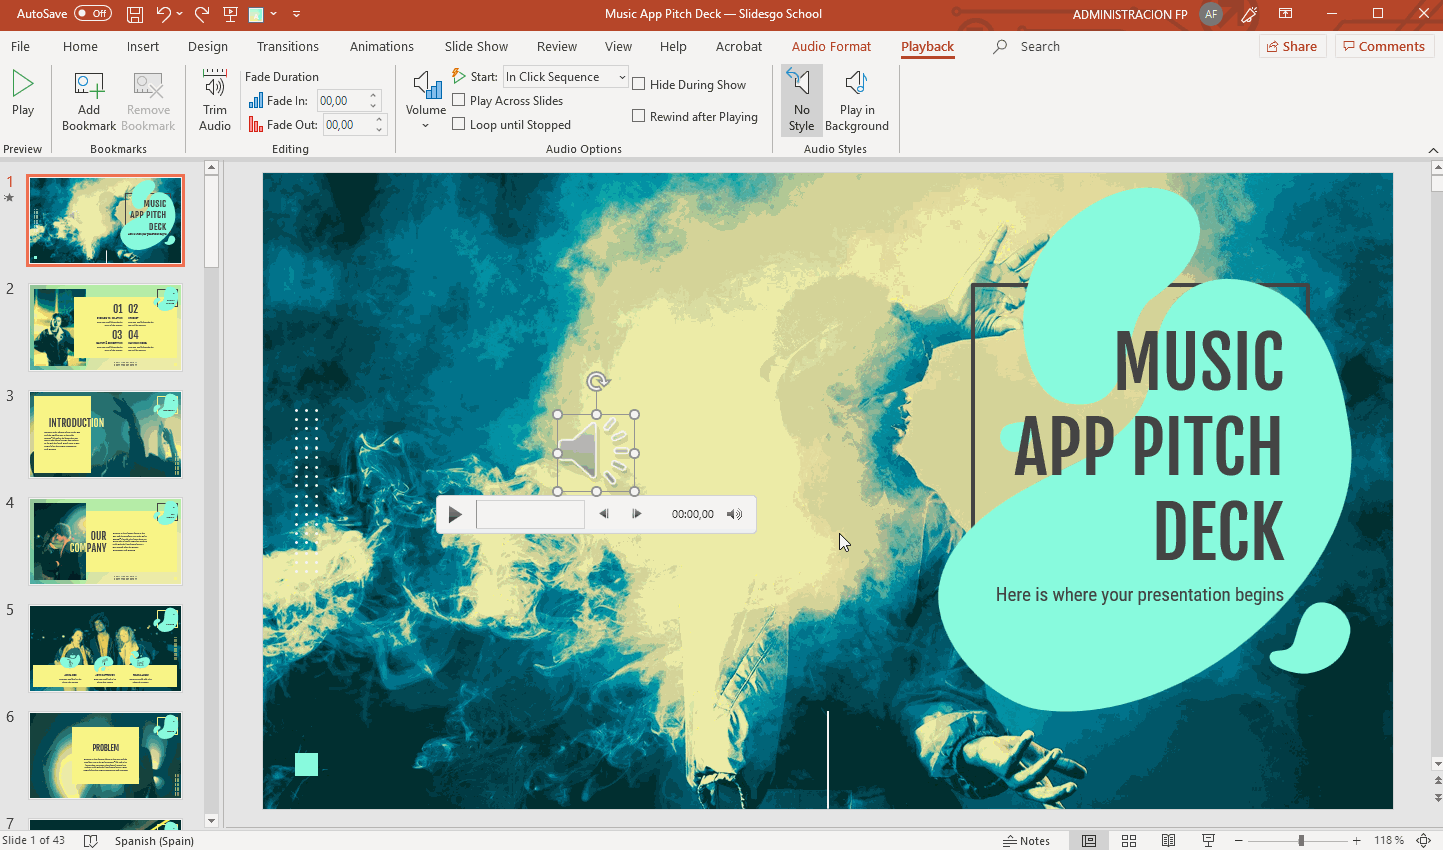
- In the Audio Options group, you’ll find the following options to adjust the behavior of the audio clip:
- Volume: It allows you to set the volume of the clip.
- Start: Click the drop-down arrow to choose how you want the audio to start. If you’re using Office 2010, you’ll also find an option here to play the audio clip during the entire presentation.
- Loop until Stopped: Once the audio clip finishes, it starts again indefinitely until you stop it.
- Play Across Slides: If you enable this, the audio clip will be played during the entire presentation. If “Loop until Stopped” is enabled too, it won’t stop playing until you reach the end of the presentation.
- Hide During Show: Check this option if you want to hide the icon.
- Rewind after Playing: Check this option if you want the timer of the audio clip to go back to the beginning when it reaches the end.

- If you’re using newer versions of PowerPoint, you’ll find a group called Audio Styles. Choose “No Style” if you don’t want additional effects. Choose “Play in Background” if you want the audio clip to be played in the background during your presentation.

- You can change the icon of the audio clip. To do so, on the Format tab, in the Adjust group, click Change Picture.

Adding Online Audio
- Open your PowerPoint presentation and select the slide where you want to add audio.
- Insert an icon or a picture. We’ll use it to link the online audio. Please refer to the How to Add and Modify Icons tutorial to learn how to insert icons.

- Add the link to the online audio resource. If you don’t know how to do it, please refer to the How to Insert a Hyperlink in PowerPoint tutorial.

- Once added, click the icon of this audio. A new window will open, where you must click the Play button. Some audio platforms, such as Soundcloud, allow you to generate an autoplay sharing link. With that, you just need to click the icon to play the audio automatically.
- If you want to pause the playback, you’ll need to exit the presentation mode and do it manually.
Adding Music from YouTube
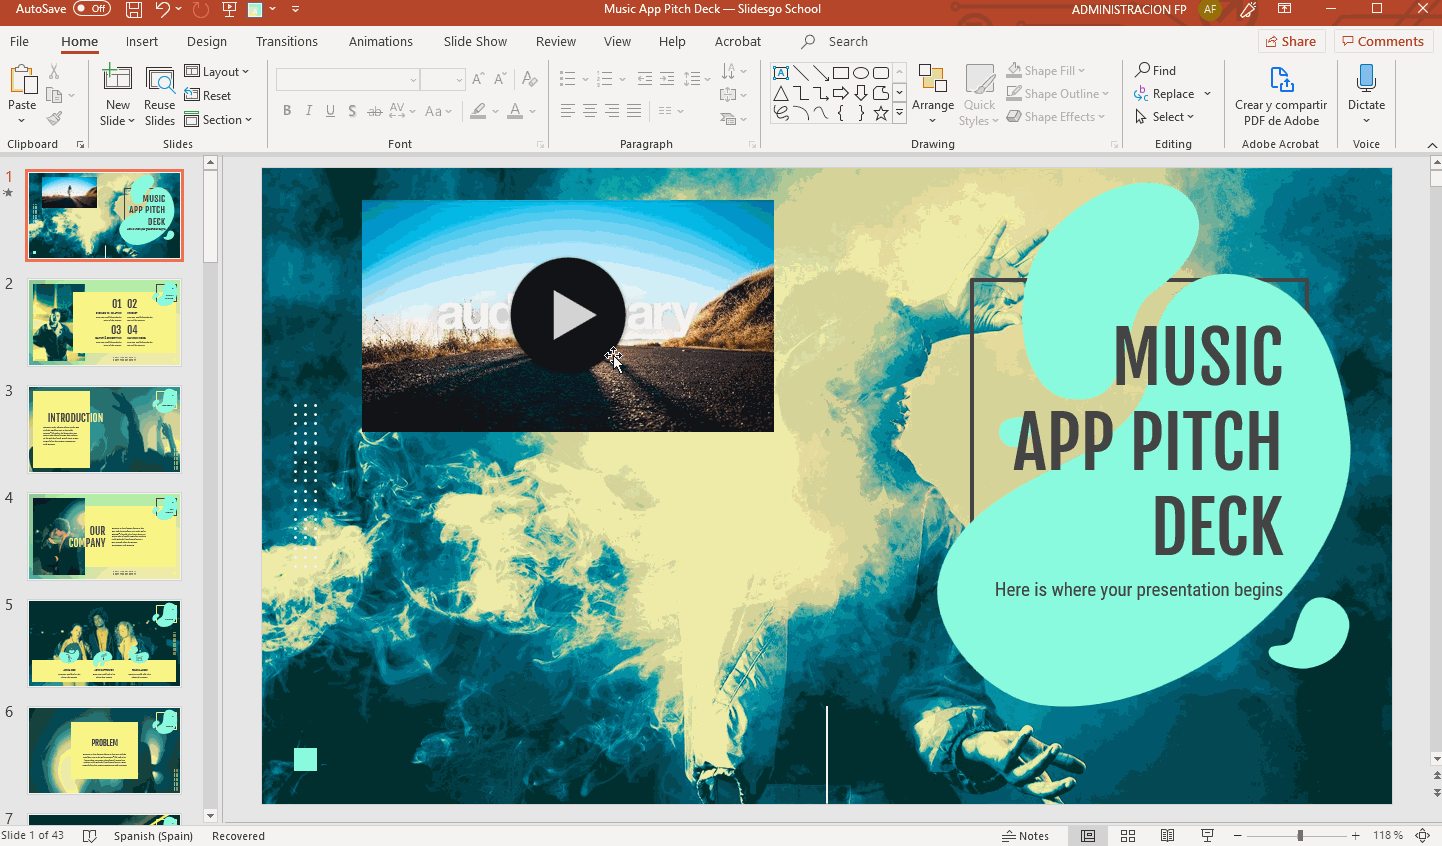
- Open your PowerPoint presentation and select the slide where you want to add audio.
- Insert the video containing the audio or music you want. If you don’t know how, please refer to the How to Add a Video in PowerPoint tutorial.
- Decrease the size of the video and place it outside the visible part of the slide.
- We need to set it to automatically play in presentation mode. To do this, on the Playback tab, in the Video Options group, click the Start drop-down arrow and select “Automatically”. If you need more information, please refer to the How to Add a Video in PowerPoint tutorial.
- Please note that the audio will stop when changing slides.
Playing Several Clips in Succession During Your Presentation
To create a playlist that plays across all slides during your presentation, you need to use an audio editing software, such as Audacity or Adobe Audition, and edit the clips so that they come one after another. When you’re done, export it as a single audio file, which you can now use in your presentation.
Tags
Edit & FormatDo you find this article useful?
Related tutorials
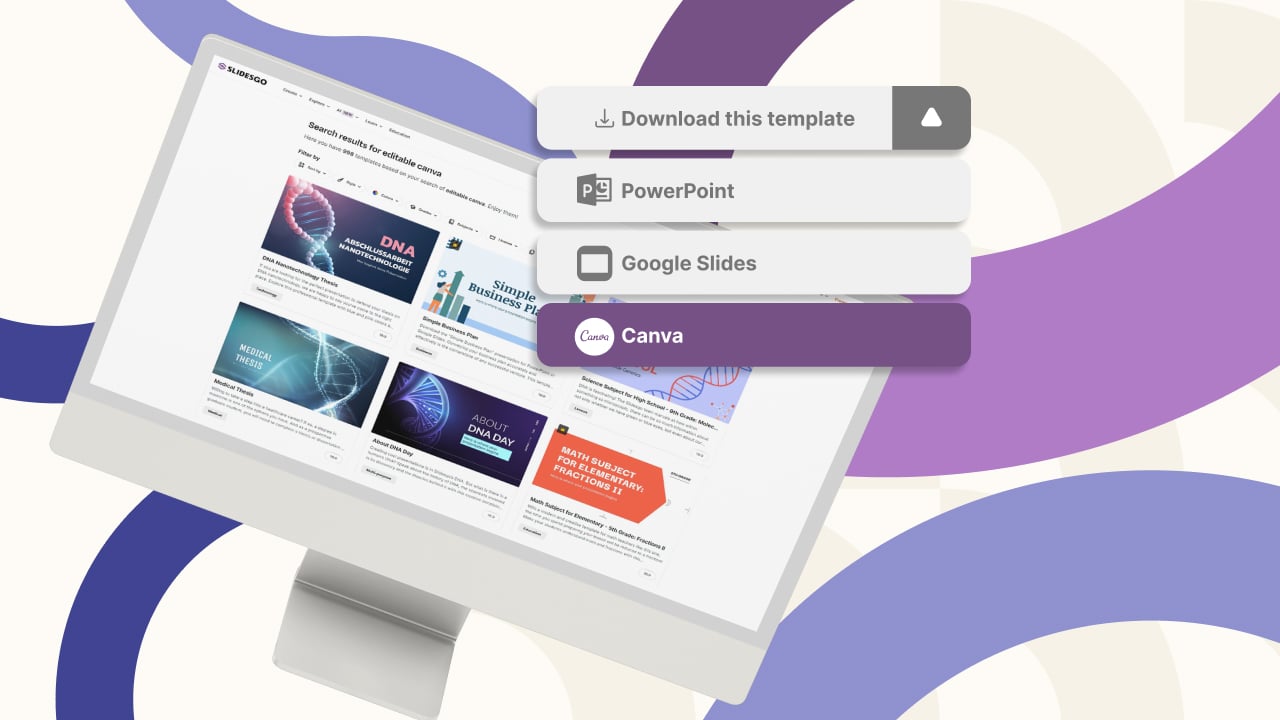
New feature available: edit our templates with Canva
Whenever you need to create, Slidesgo is there. We’re continually enhancing your presentation design process with templates that are primed to impress for any occasion. And in order to let your ideas flow best, comfort is key. How could Slidesgo help you with this? By making you feel right at home with...
How to print PowerPoint notes
Crafting an impactful PowerPoint slideshow and delivering a captivating presentation are distinct skills. The first focuses on designing appealing visuals to convey a clear message, while the second involves employing effective presentation techniques to ensure the audience grasps the idea. The content of this article will help you with the latter...

Discover Our Online Presentation Software for Free
We have great news for you today! If you’ve been a Slidesgo fan for years (or months, or weeks, or days, or mere hours, we welcome everyone!), you’ll probably know for now that our templates are available mostly in two formats: for use in Google Slides and PowerPoint.Google Slides is a...

Webinar: Presentation Audit
With more than 15,000 templates released on Slidesgo and a user base composed of millions of people, we estimate that the total number of presentations created adds up to… um, a lot! Our team of professional designers work very hard to provide you with editable slides so that the only thing...