
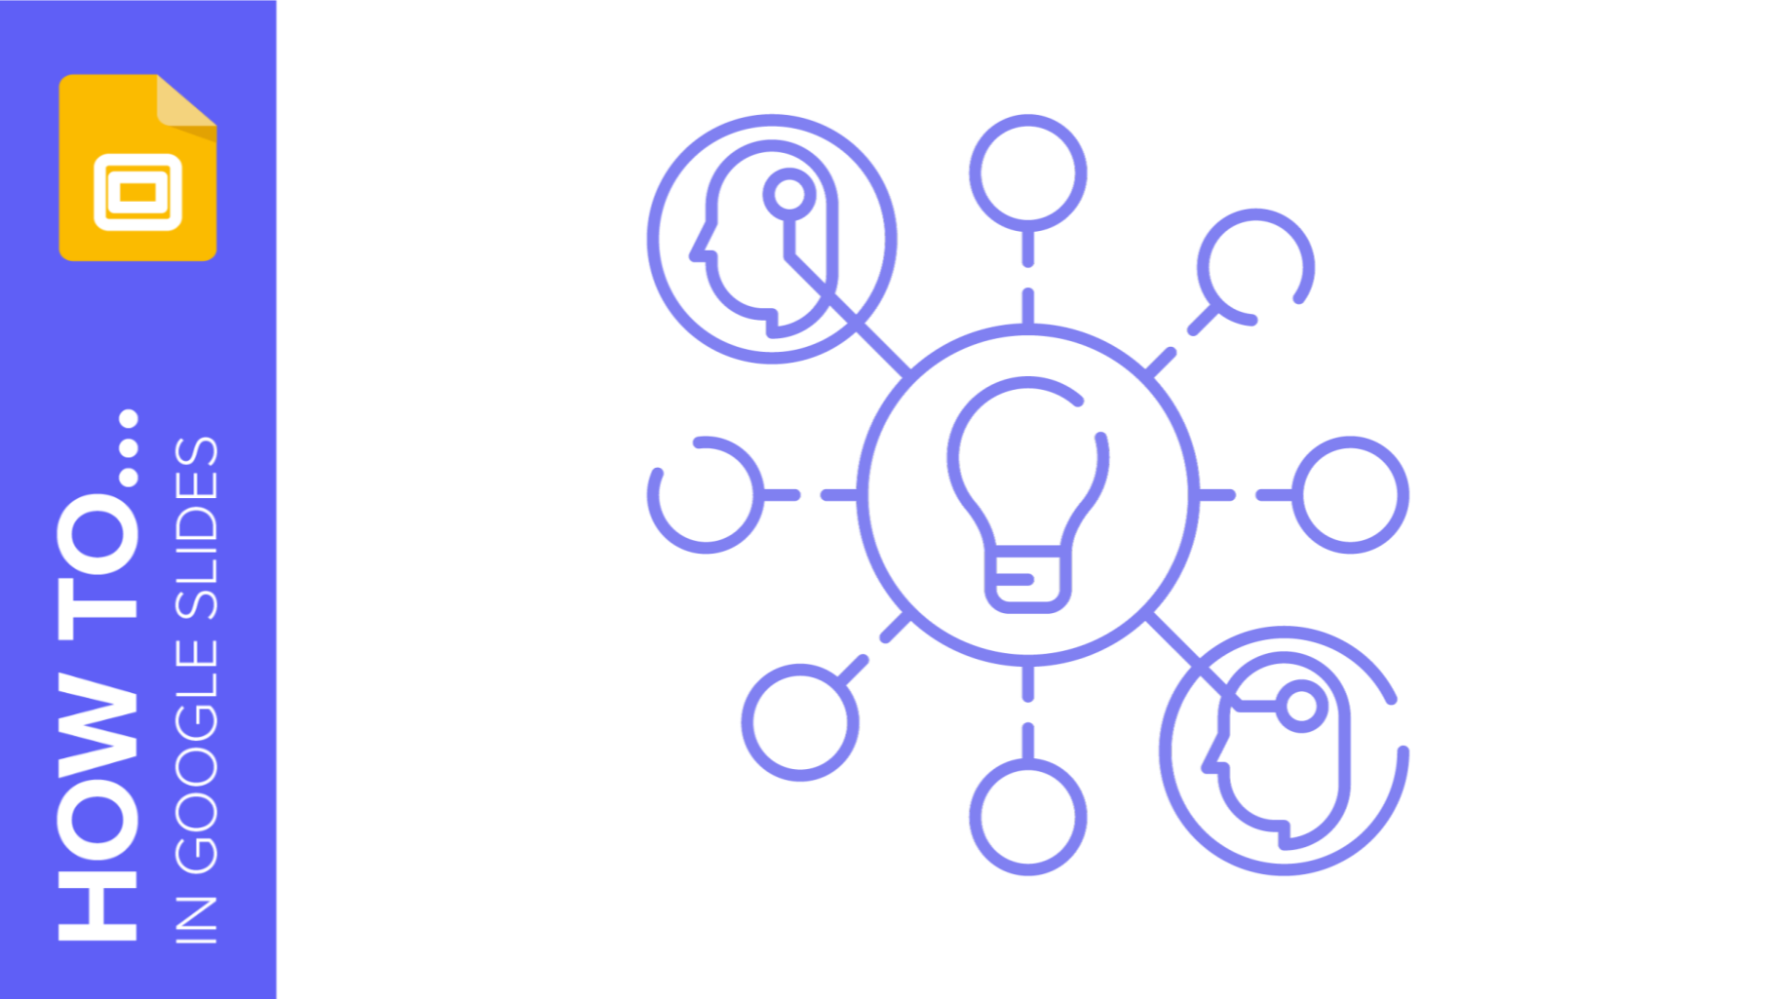
How to Create a Mind Map in Google Slides
A mind map is a powerful tool that allows you to create a hierarchy with your ideas and concepts. Its main aim is to help you understand and acquire information in an easier way. It resembles a diagram and it helps you learn in a visual way.
Mind maps are pretty useful. It can help you analyze, comprehend or recall information. Hence, they can be used in different contexts. For example, they are convenient for children. In educational templates, it will help them review key concepts. They are also appropriate when you want to develop your project.
If you want to express complex ideas, keep reading. In this tutorial, we are going to show you how to create mind maps in a Google Slides theme.
Planning your mind map
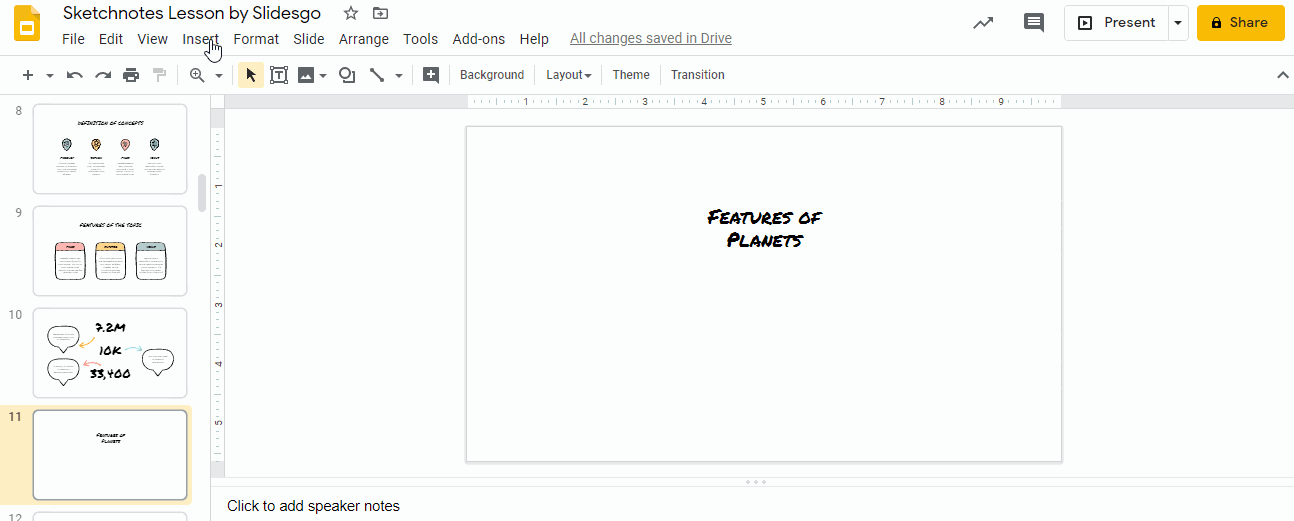
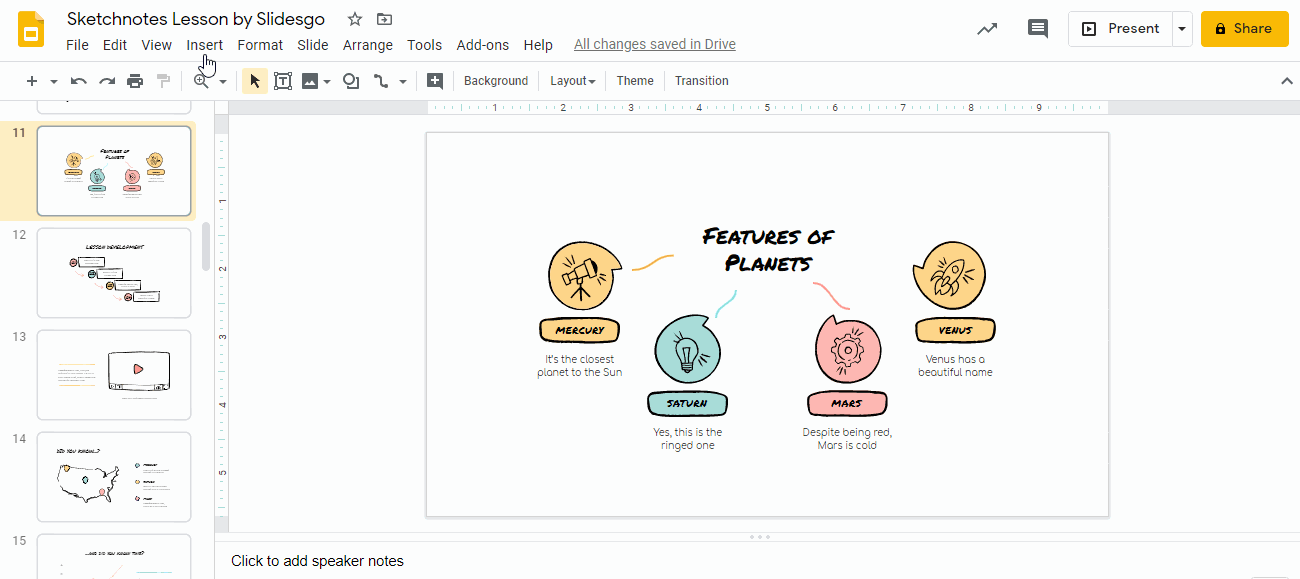
The purpose of mind mapping is to transform large or complex topics into shorter chunks. The first step is to think about what you want to include in your mind map. For our example, we will talk about some planets in the Solar System.
Regarding the structure of a mind map, its branches need to be harmonious, apart from having the same sort of hierarchy. It is also worth taking into consideration that all those branches or arms must begin with a concept in the center of the map. Also, remember to use colors according to the field or idea. This way, you’ll be able to memorize them quickly.
Astronomy is a very complex subject, as any other that you may choose. Hence, it’s necessary to think about how many levels we need to include and the keywords that are going to represent our ideas. Our map is simple; it is going to have a central idea and we are going to add another level.
Central idea
Let’s begin! We are going to create the central idea or the main level of the hierarchy. This is the major concept and all the branches are related to it.
- Open the presentation and add a new slide in which you’ll create the mind map.
- Now insert a text box to add the main idea: Insert → Text box
- Place the box in the upper half of the screen so you create a clear hierarchy.
- Type your concept.
- Select the text.
- Go to the toolbar and you’ll see a series of editing options for the text. Click on Font and select one in the dropdown menu
- Change the size in Font size.
- Apply other effects as Bold, Italics or Underline. Choose the color in Font color. Remember to use the colors of the theme! Click on Align and select your preferred option: Left align, Center align, Right Align or Justified.
Pro tip: the weight of a font, i.e. its thickness, can help you when creating a hierarchy. Thicker typefaces usually go at the top.
Adding branches
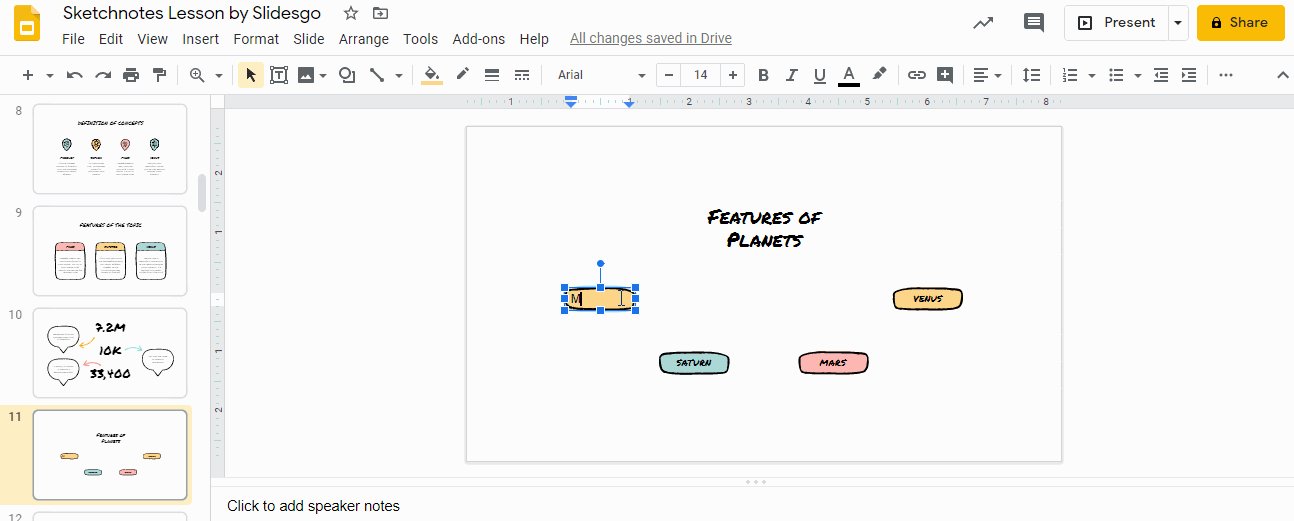
Your central idea is ready. Now it’s time to add the branches. For our example, we are going to create four: Mercury, Saturn, Mars and Venus. To do so:
- Define how many branches you need. In our mind map example, we will include four branches representing four planets.
- Define how your branches will be. For this example, our branches will consist of a rectangle that will contain a keyword and, underneath, a text box that will explain a little bit more about the keyword.
- To add a rectangle or any shape: Insert → Shape → Shapes → Rectangle.
- Click and drag to create the shape. Make it big enough to type the keyword inside!
- Use the options Fill color and Border color to edit it as necessary.
- Add a rectangle per branch. To copy and paste the existing shape, click on it while pressing Ctrl or ⌘ if you are using Mac and drag the new shape.
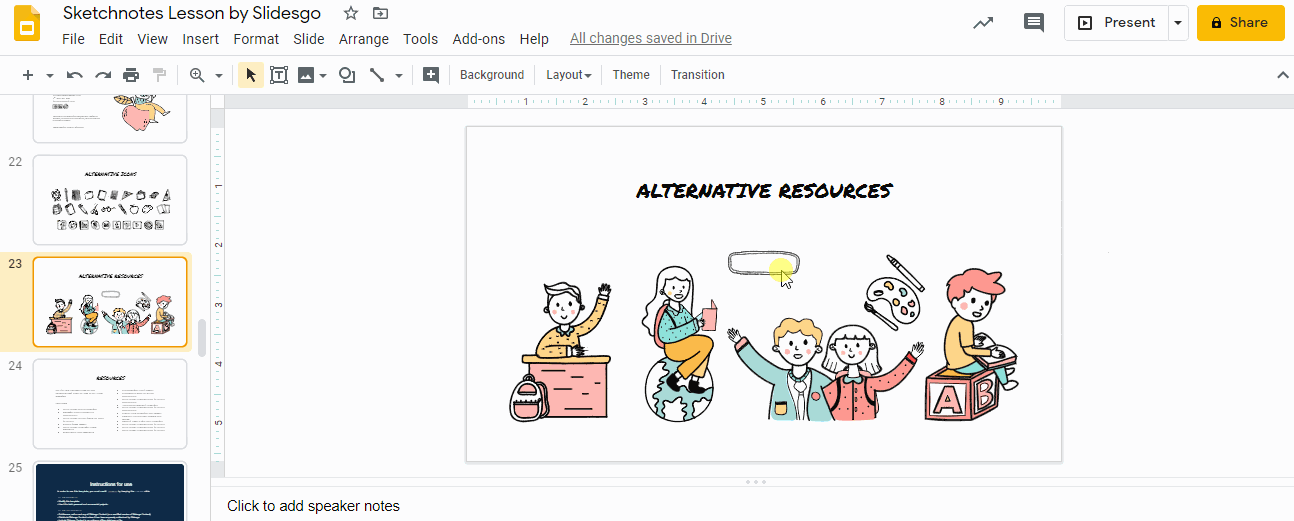
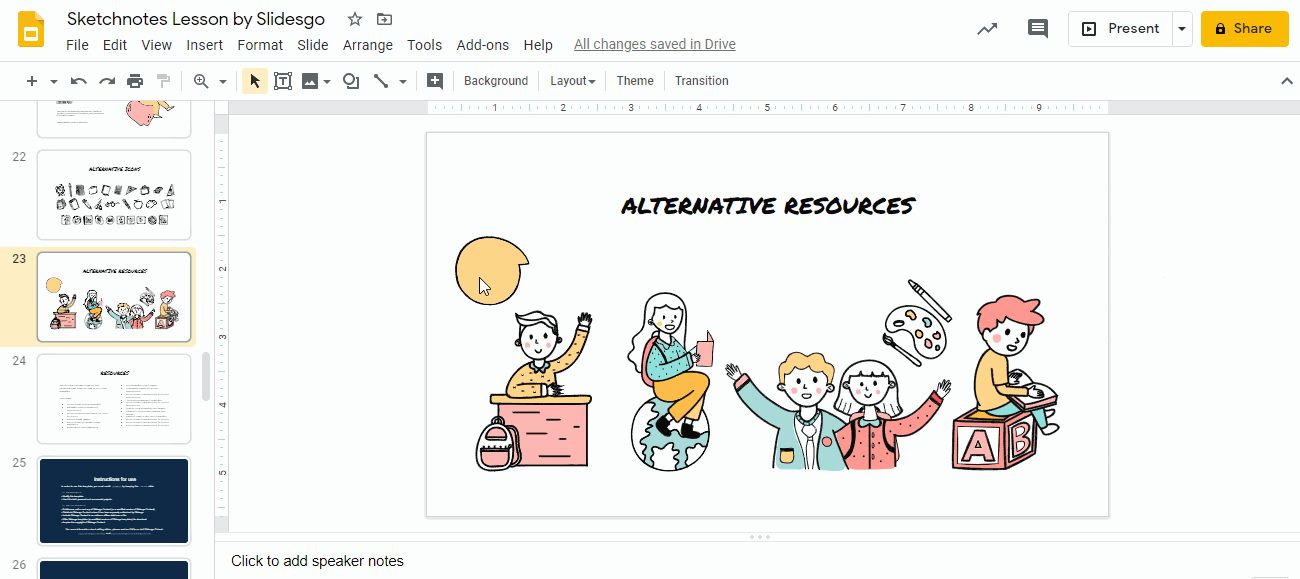
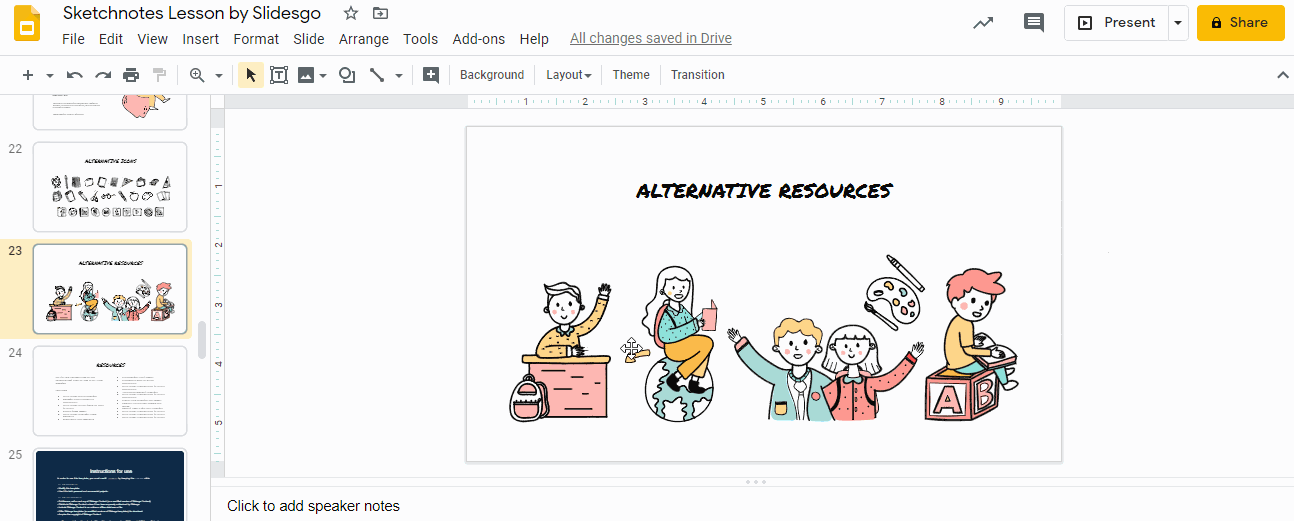
- There is another option to add shapes in order to create the branches. Our templates offer a range of alternative resources and icons. Go to the alternative resources slides and select the icon, shape or drawing you’ll like to add.
- Press Ctrl+C or ⌘+C in Mac to copy the shape.o to your mind map slide and press Ctrl+V or ⌘+V in Mac. Move the shape as needed.
- To copy and paste this rectangle, click on it and press Ctrl or Cmd, ⌘, in Mac. Repeat until you have one shape per branch.
- Add colors: click on it, to go to the toolbar and make use of the Fill color and Border color options.
Pro tip: use different colors to depict different ideas. It will help you and your audience establish a clear distinction between concepts when you study them.
- Great! Now it’s time to add keywords to the rectangles! To do so, click on the shape. The outline will appear in blue. Type your text.
- In the toolbar, there are font edition tools. Use them: change the font, size or apply other effects, such as Bold or Italics. Align the text if needed.
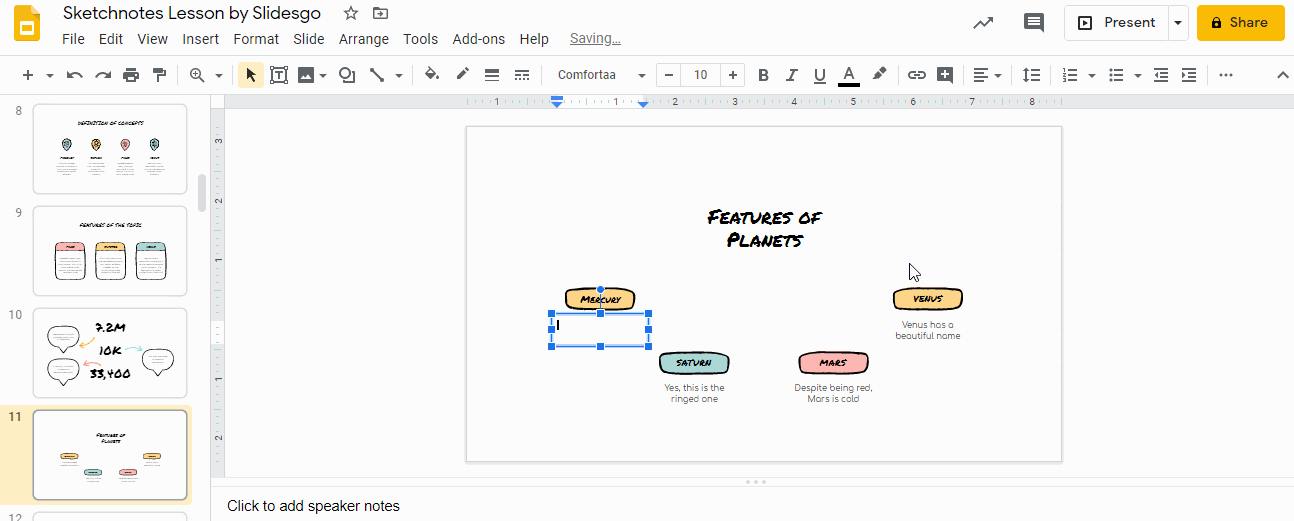
- The next step is completing the keywords with some extra bits of information. We are going to write a feature per planet under each keyword.
- You’ll need to create a text box under each rectangle. You can learn more about how to add, copy and delete text boxes reading our tutorial.
Brilliant! You have added the keywords and the features. Now we need to connect the branches to the main idea and add some elements. Let’s see how to do it.
Design, colors and icons in mind maps
An amazing mind map should have, apart from color-coded ideas and engaging fonts, some icons or illustrations and lines or arrows connecting the nodes with the main idea. The process will take a few minutes, but it’ll make the difference.
- For our mind map, we have decided to add a speech bubble above each keyword. As seen, you can add shapes with an option that appears in the toolbar: Insert → Shapes → Callouts. Select the one you like the most. Click and draw to create it.
- In order to duplicate the speech bubble, click on it while pressing Ctrl or ⌘ in Mac and move the new one. Apply colors using the features Fill color and Border color in the upper toolbar, as in previous steps.

- The other option is making use of one of the illustrations included within our templates. Go to the alternative resources slide, select the one you like and then press Ctrl+C or ⌘+C in Mac.
- Go to the mind map slide and press Ctrl+V or ⌘+V in Mac to paste it. To duplicate the speech bubble, click on it while pressing Ctrl or ⌘. Change its style and color as needed.
- If you want to rotate the speech bubble, go to Format options. If it doesn’t display due to screen resolution, click on … (More) → Format options in the toolbar. Then select Size and Rotation and click on 90º.
- Now let’s decorate the speech bubbles with some icons. This is great to associate the keyword with an image. Go to the alternative icons slide and select the one you prefer. Press Ctrl+C or ⌘+C in Mac.
- In the mind map slide, press Ctrl+V or ⌘+V and place the icon in the correct spot. If you want to know more about how to add and modify icons, read our tutorial.

- The last thing to do is to connect the nodes with the central idea. As before, there are two ways of doing so. We are going to add some arrows from the alternative resources slide. Copy the one you like pressing Ctrl+C or ⌘+C if you are using Mac.
- In the mind map, press Ctrl+V or ⌘+V in Mac. Change its position. To duplicate it, click on the arrow and press Ctrl or ⌘ in Mac.
- Change the colors using Fill color and Border color in the toolbar.
- In case you prefer adding some of the lines or arrows that Google Slides offers, click on Insert → Line if you want to add this sort of connector. Choose one.
- Instead, if you prefer an arrow, click on Insert in the toolbar as well. Then click on Shapes → Arrows and click on any of them.
- Click close to the main idea and drag until the point in which you want the arrow or line to end.
- Click on Fill color and border color in the toolbar to change the style of the arrow and select Line color and Line weight for lines.
Pro tip: your brain likes curves, so it’s better if you choose them over straight lines to connect nodes. If you are using connectors, you can edit the style of their ends. Click on them, and in the toolbox click Shape outline. There, select Arrows and choose the ones you like the most.
That’s it! Your mind map is ready for a brainstorming or study session!
For this tutorial we have used the Sketchnotes Lesson theme, although we have hundreds of templates, 100% editable and free! Try some of them now!
Do you find this article useful?
Related tutorials

How Smart Template Matching Saves Hours on Your Next Presentation
Content Find your perfect template, automatically How it works Templates that match your topic Get better results FAQ Skip the Search, Start Creating Find your perfect template, automatically Great presentations look intentional—where the design supports the message. But finding a template that fits usually means scrolling through dozens of options....
Creative PowerPoint Night Ideas
Want to be the star of your next PowerPoint Night? With the right ideas and a spark of creativity, you can turn any theme into a show-stopping experience that keeps everyone laughing and engaged. Whether you’re planning a friendly game night, a classroom challenge, or a team-building session, this guide is your...
Smart Guide: Best AI Prompts for Powerful Presentations
Ever stared at a blank slide, knowing your message matters but not sure how to bring it to life? You’re not alone. With the rise of AI Presentation Maker, more creators, educators, and professionals are asking: What are the best AI prompts for presentations?This guide shows you exactly how to...

How Teachers Are Really Using AI in the Classroom: Voices from the Field
“I hope that AI can ensure students are still doing the planning, writing, and critical thinking needed. Students can't lose these skills.” -6th grade Science Teacher, FloridaFull disclosure: I interviewed my mom for this blog post.My mom, a retired 25+ year veteran educator who recently returned to the classroom, told me...