
How to Add, Copy and Delete Text Boxes in Google Slides
Text elements are important in some presentations, as they’re the perfect support for pictures or images. In this Slidesgo School tutorial, we’re going to teach you how to add and delete text boxes in Google Slides step by step.
Adding a Text Box to a Slide
- Open your presentation in Google Slides.
- Select the slide where you want to add a text.
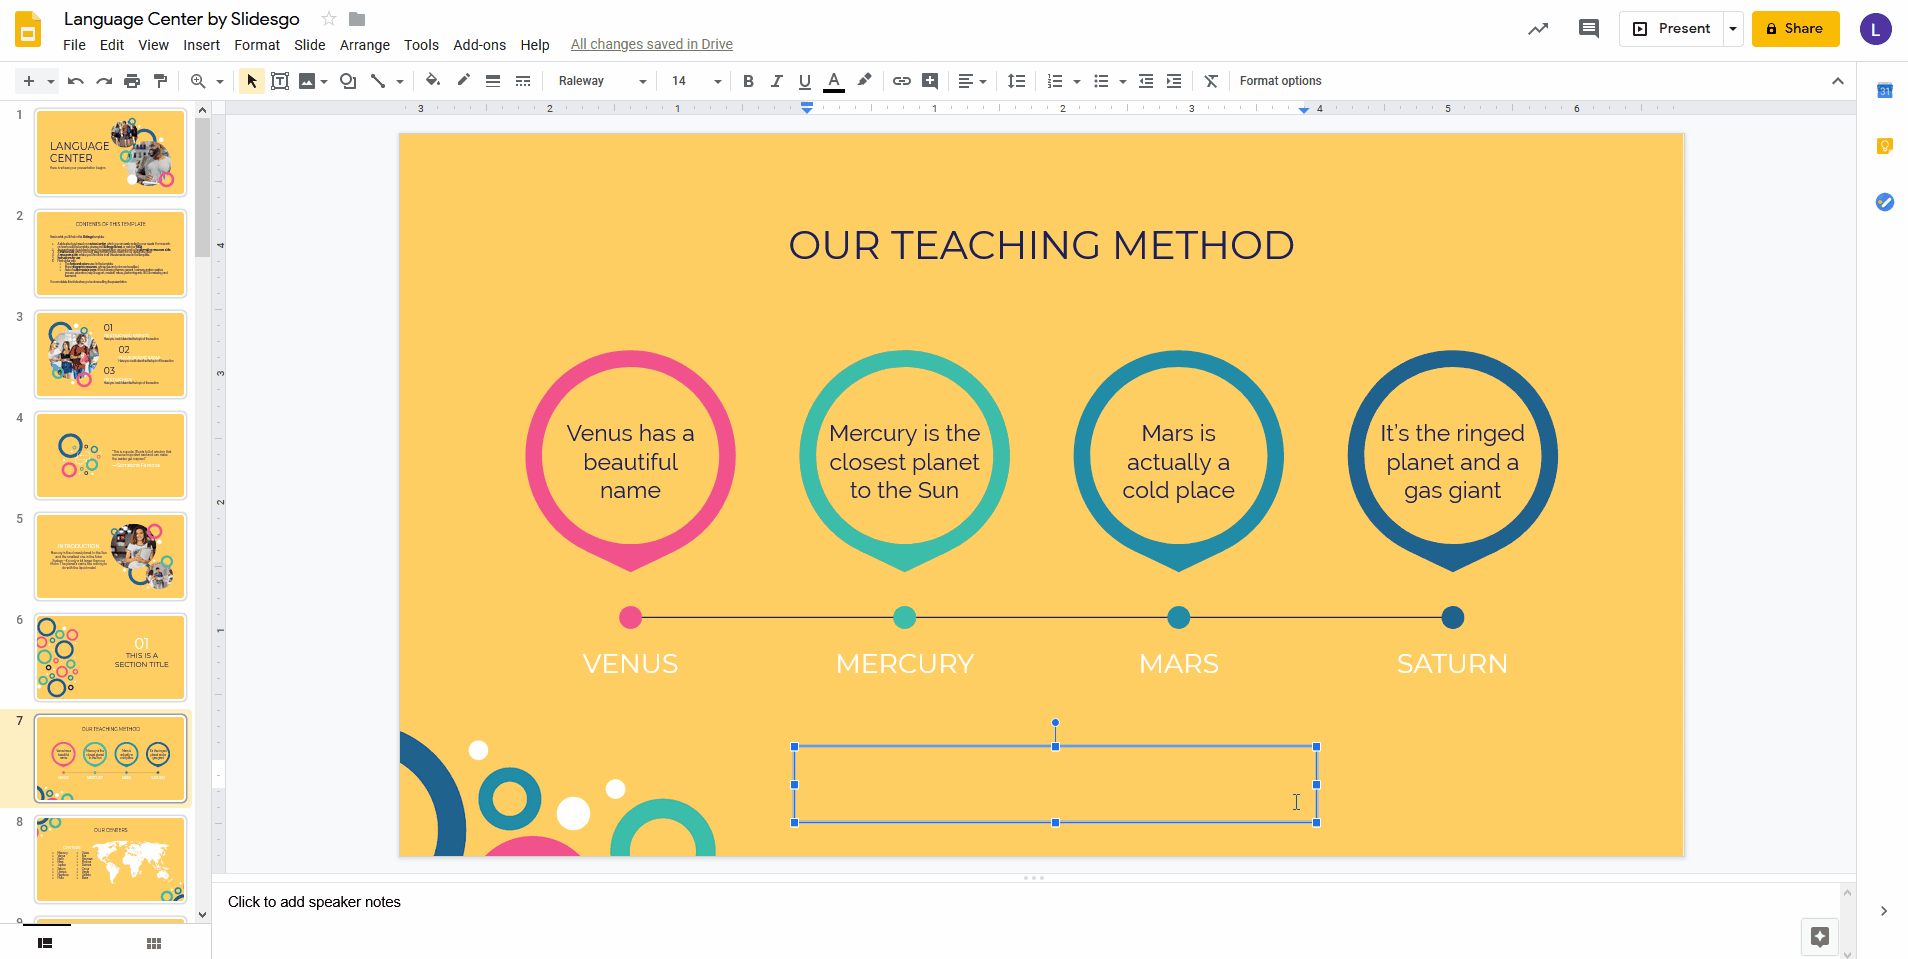
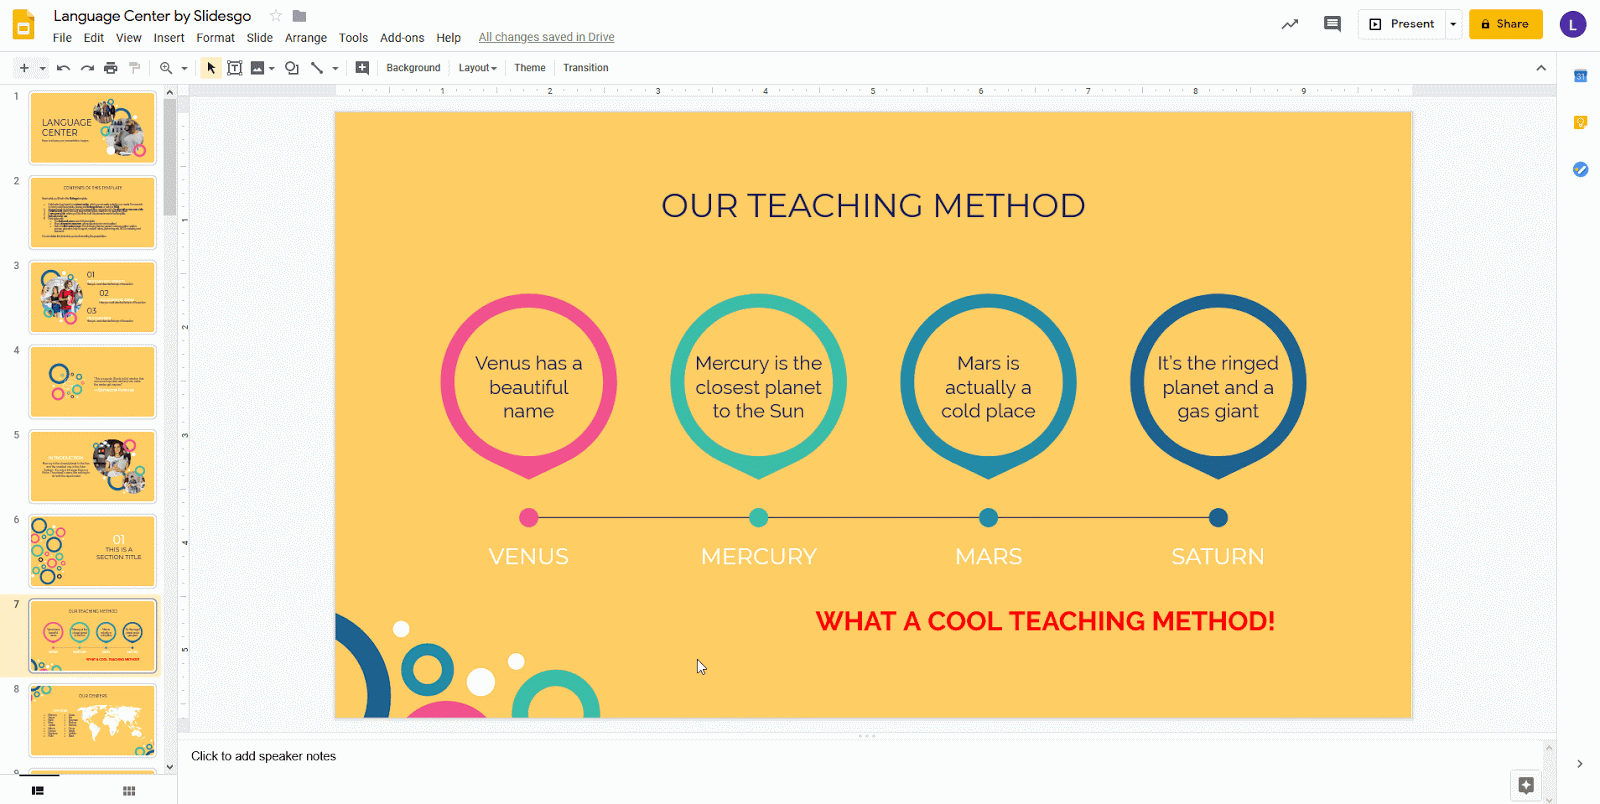
- On the toolbar, select Text box. Then click and drag to create a text box on the slide.
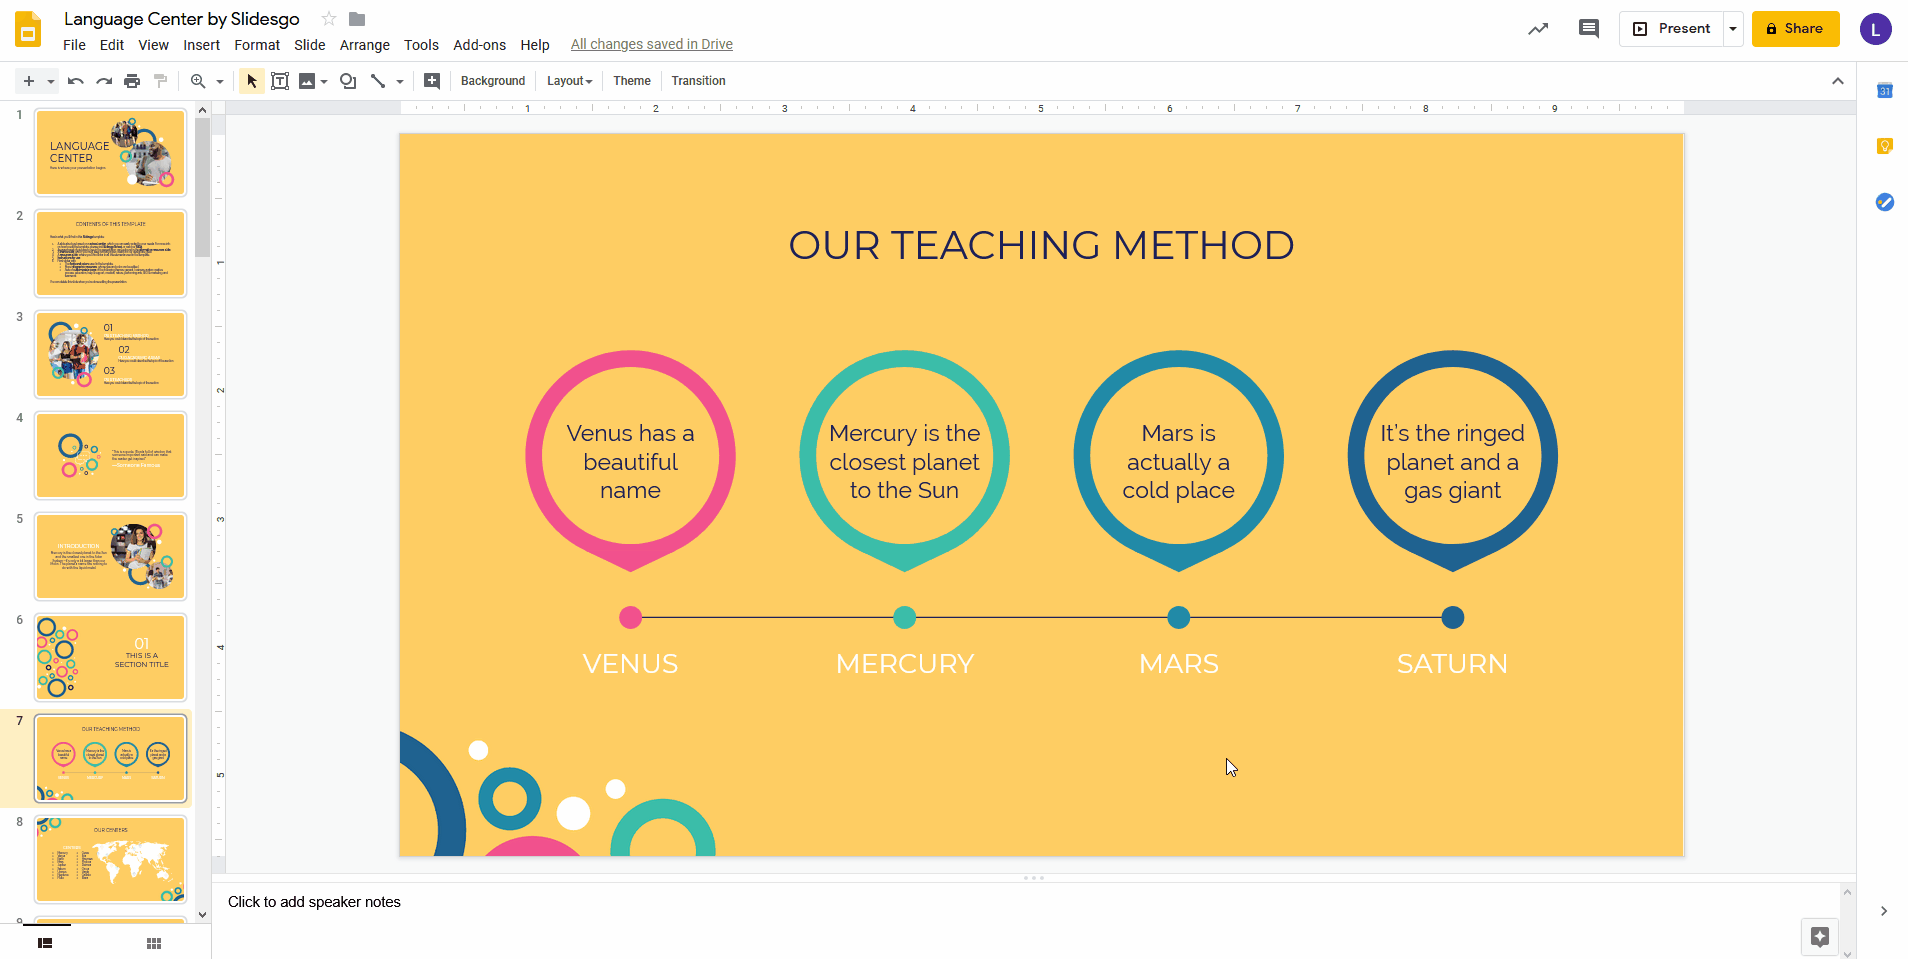
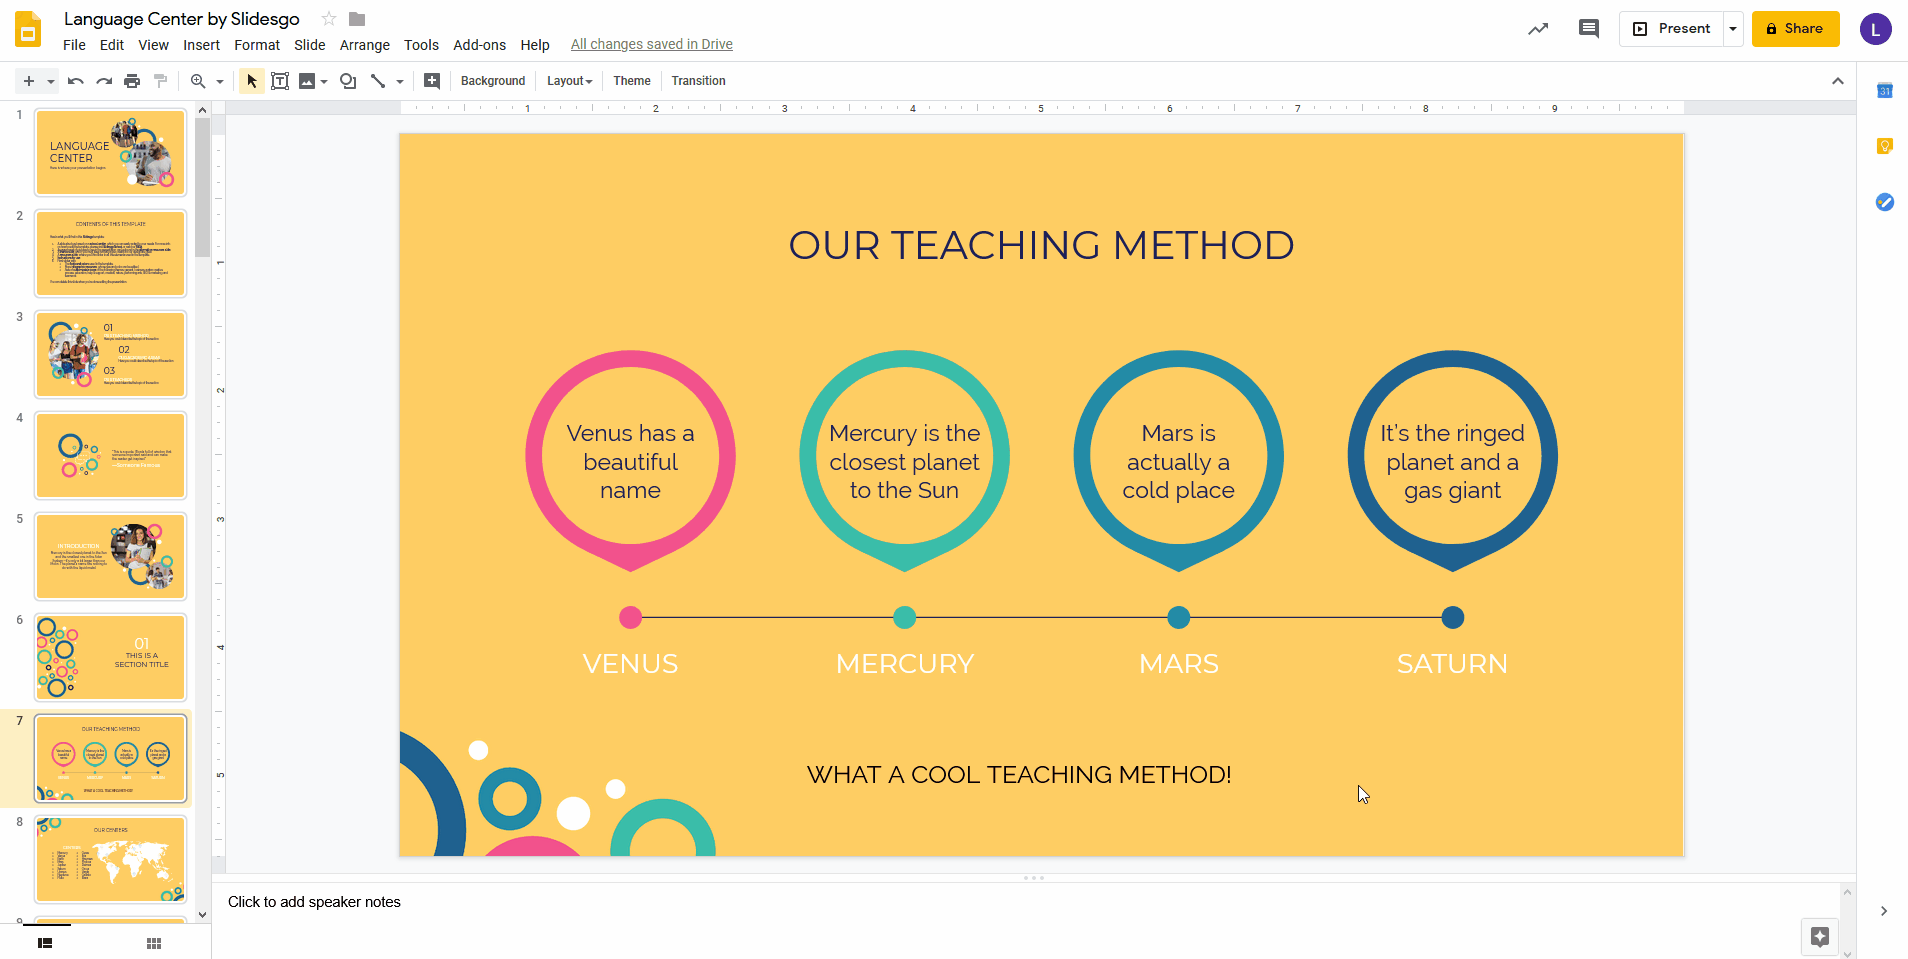
- Now enter the text that you want.
- You can modify the font, the size, the alignment, the style and the color of the text by using the options found on the toolbar. For more information, please refer to the "How to Format the Text in Google Slides" tutorial.
- You can move the text box around. Select it first and, when the cursor becomes a four-headed arrow, drag one of its borders to its new placement.
- You can resize the text box too. Select it and then drag one of its handles.
Adding the Same Text to Multiple Slides
- You can save some time if you have several slides with a similar layout and want to add the same text to all of them in the same place. As long as they derive from the same layout master, you can do it easily.
- Select one of the slides where you want to add a text.
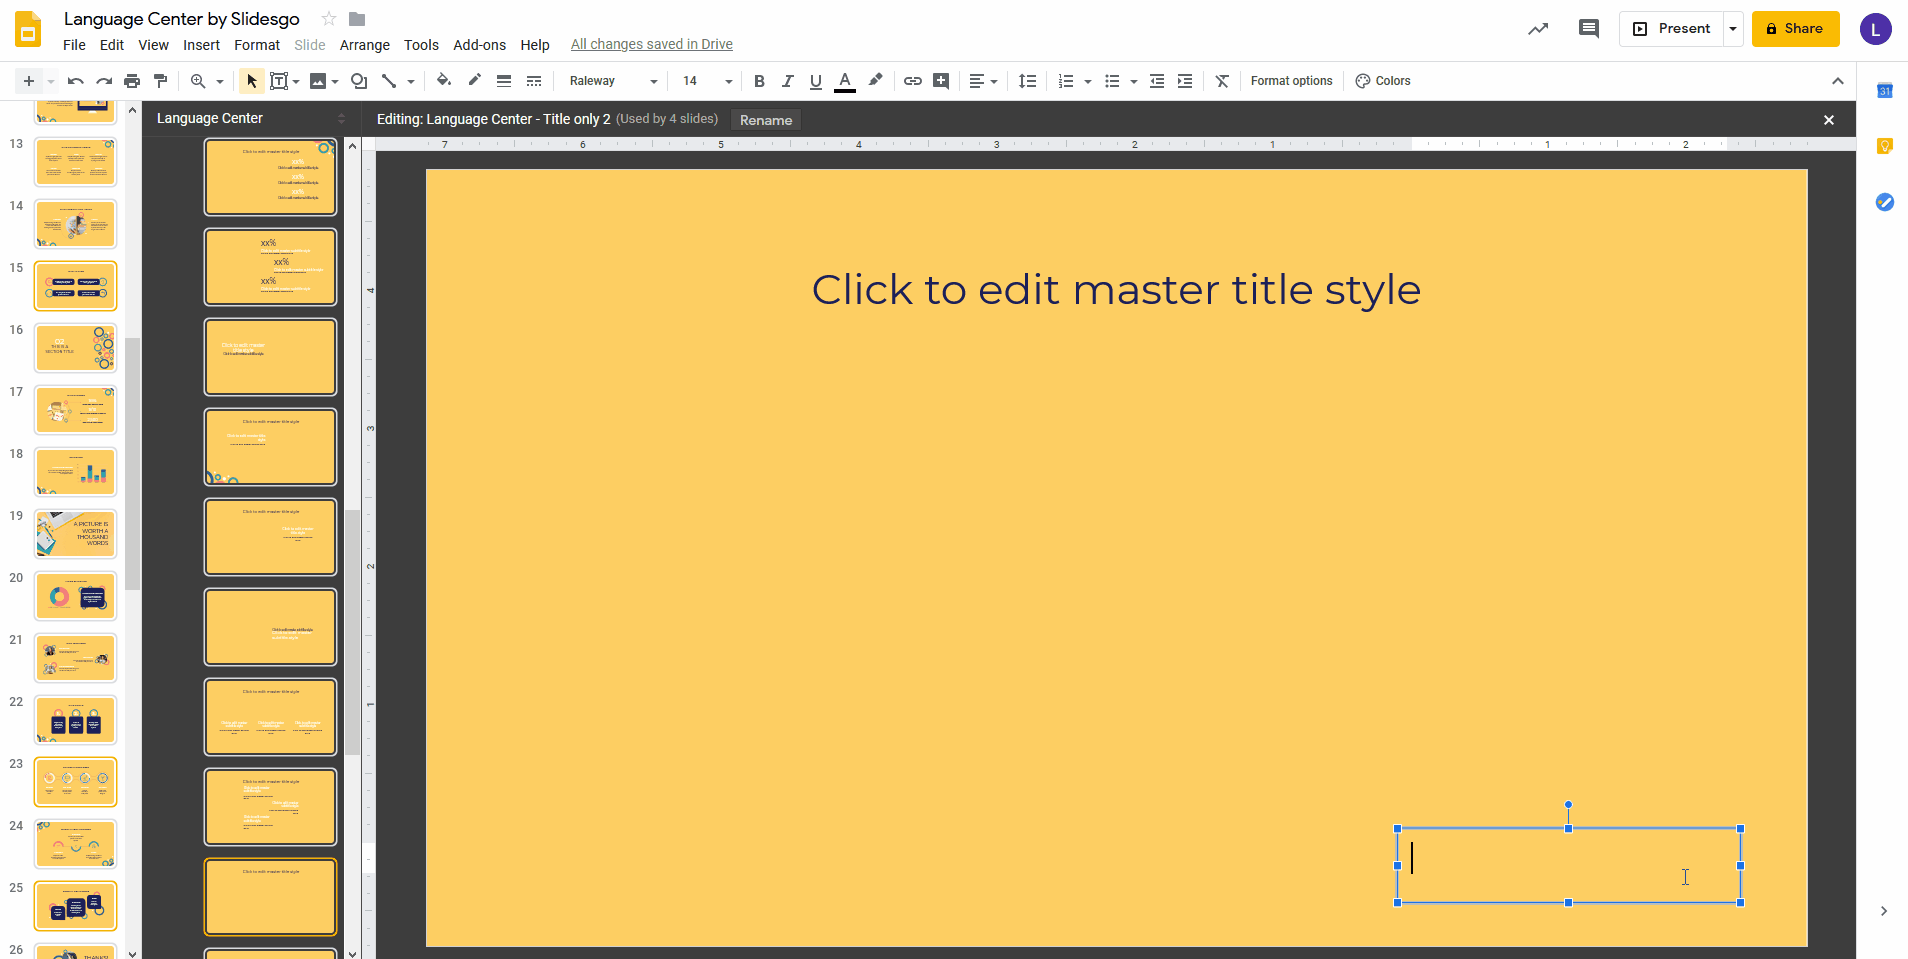
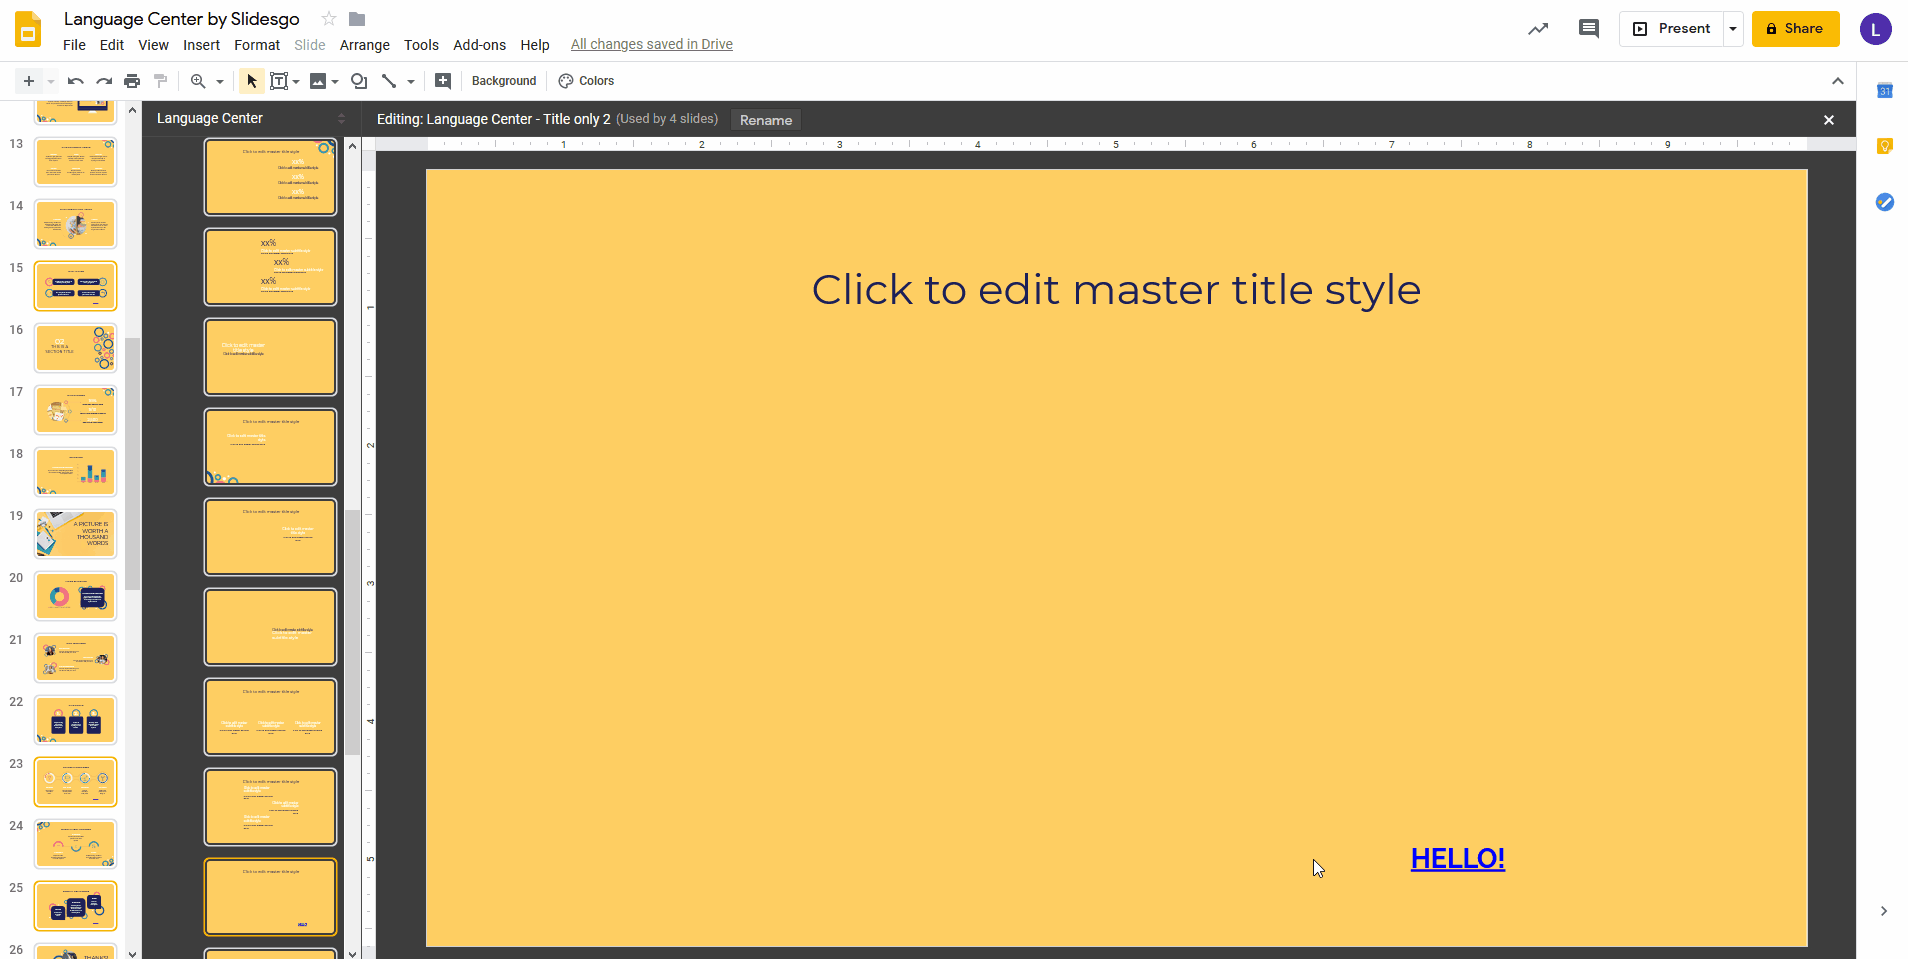
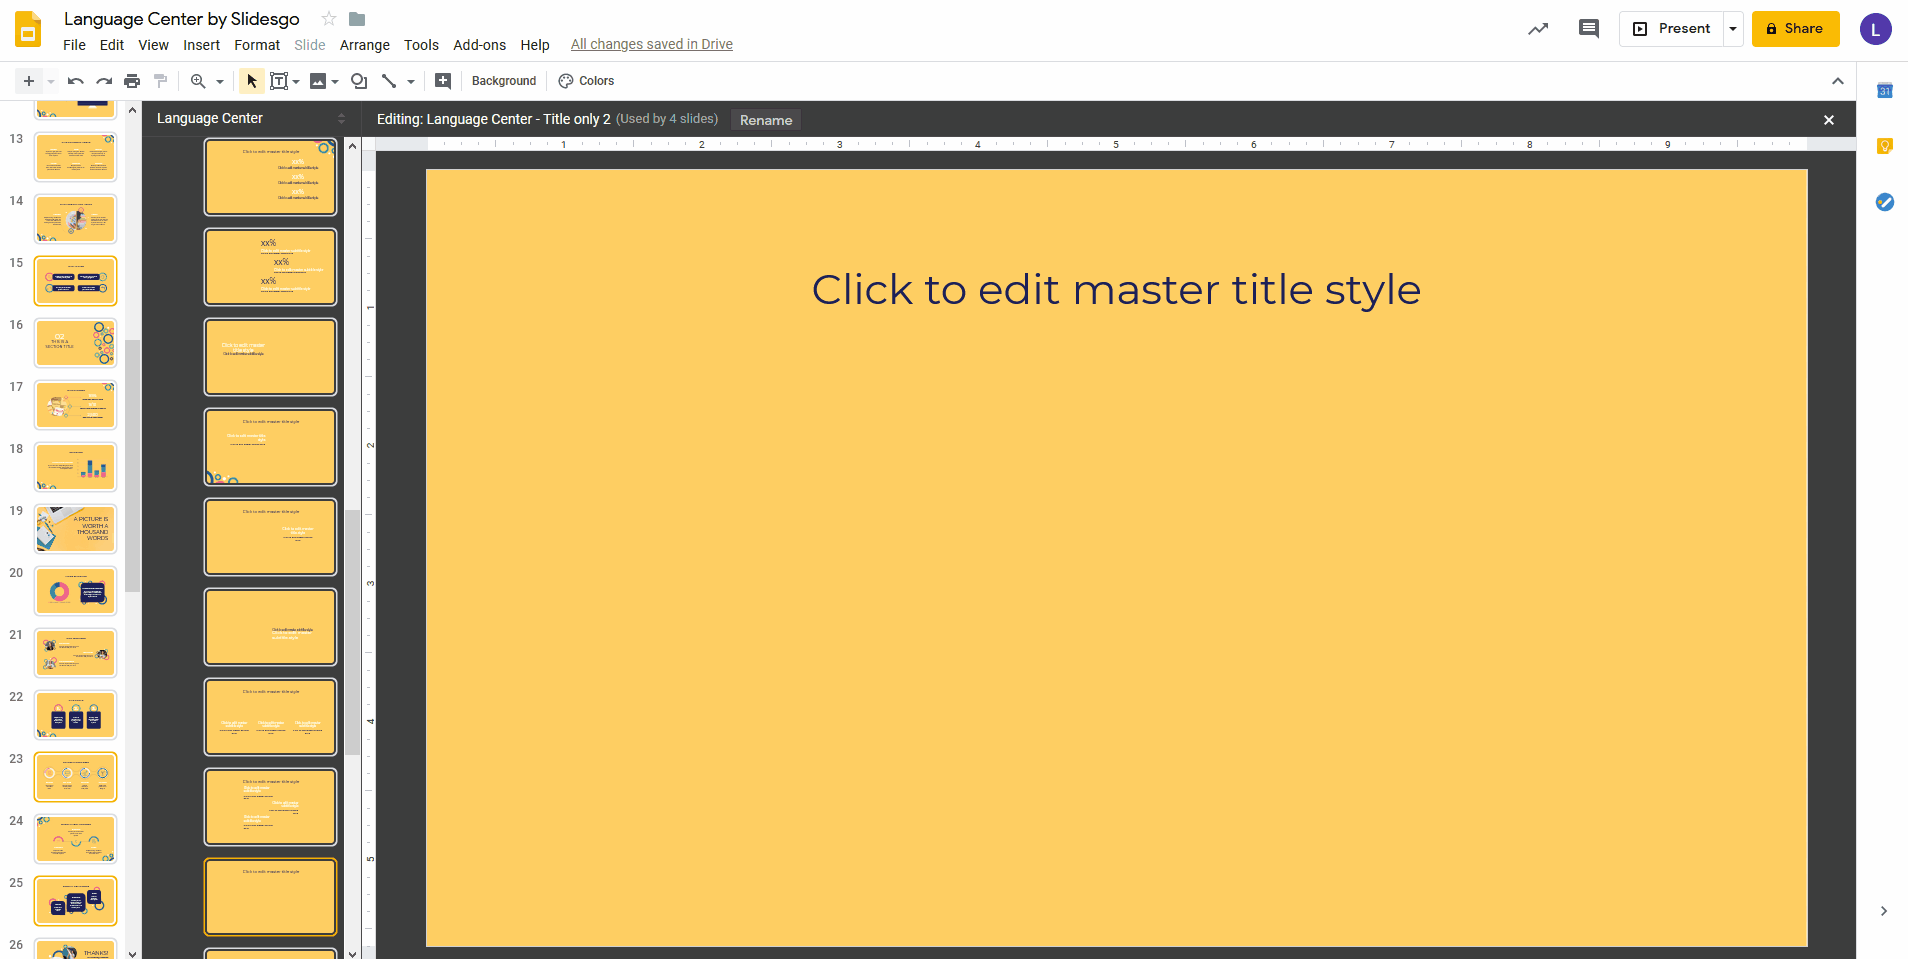
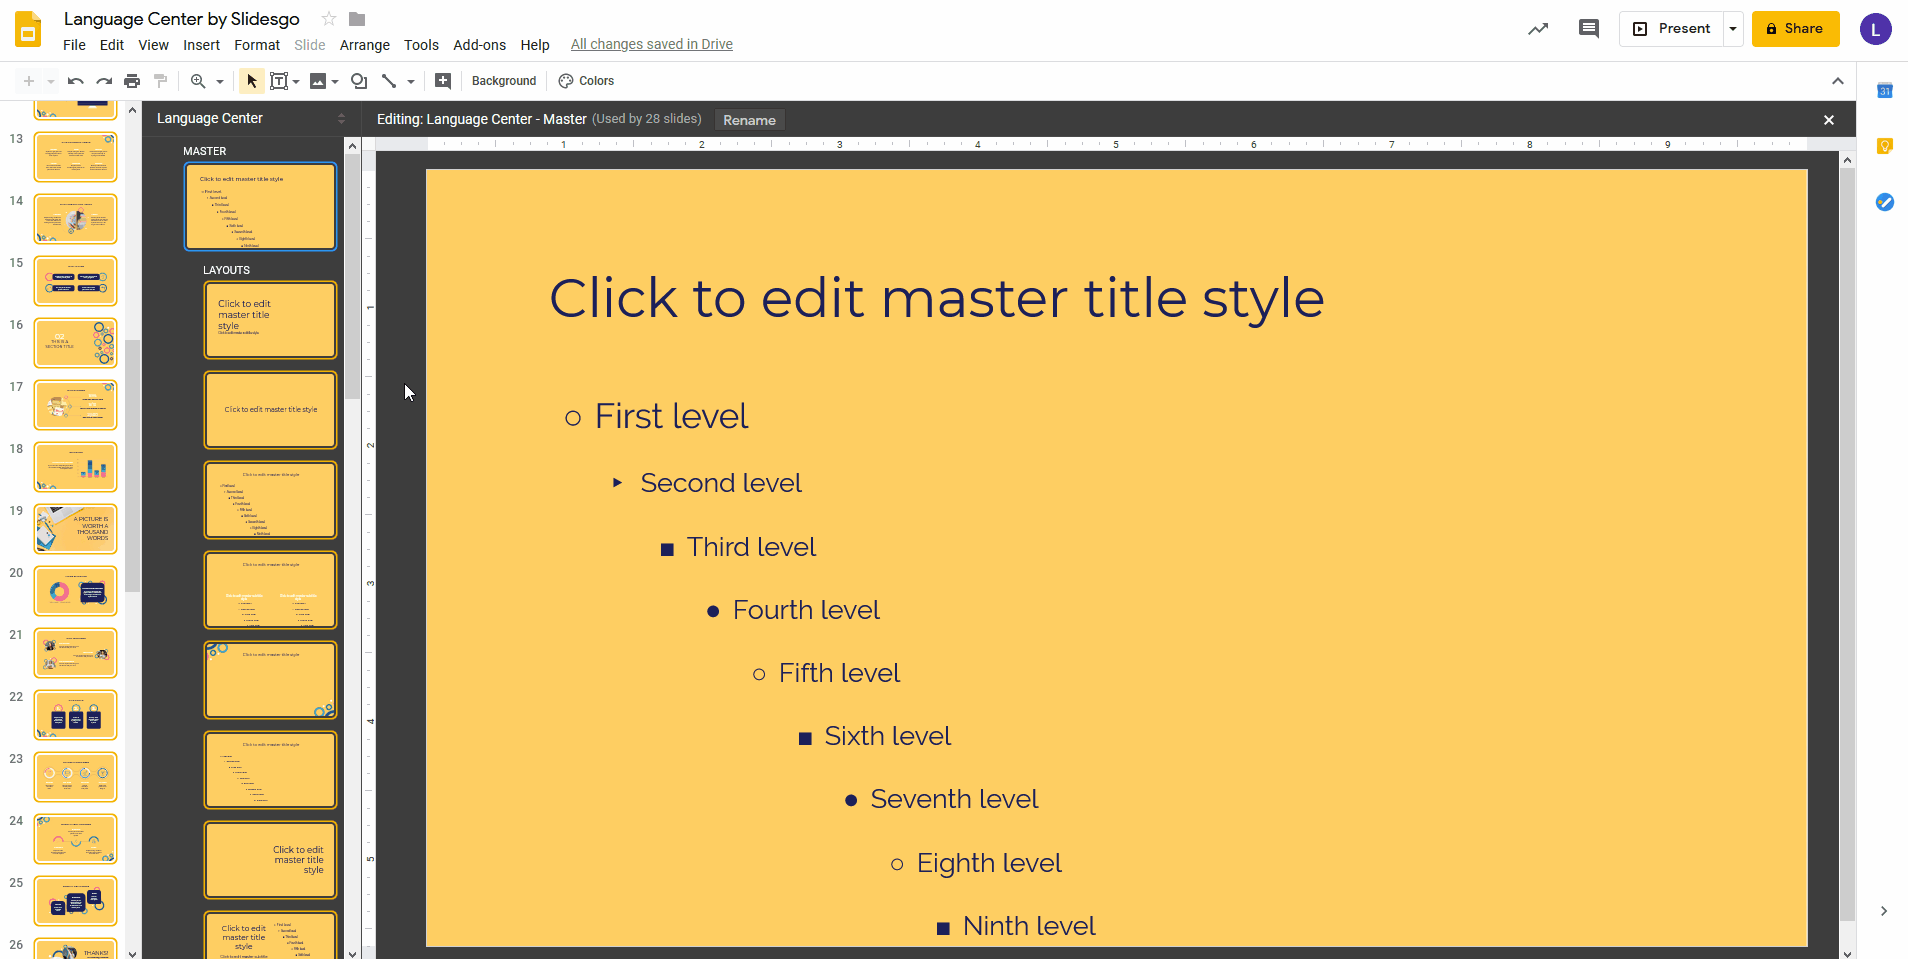
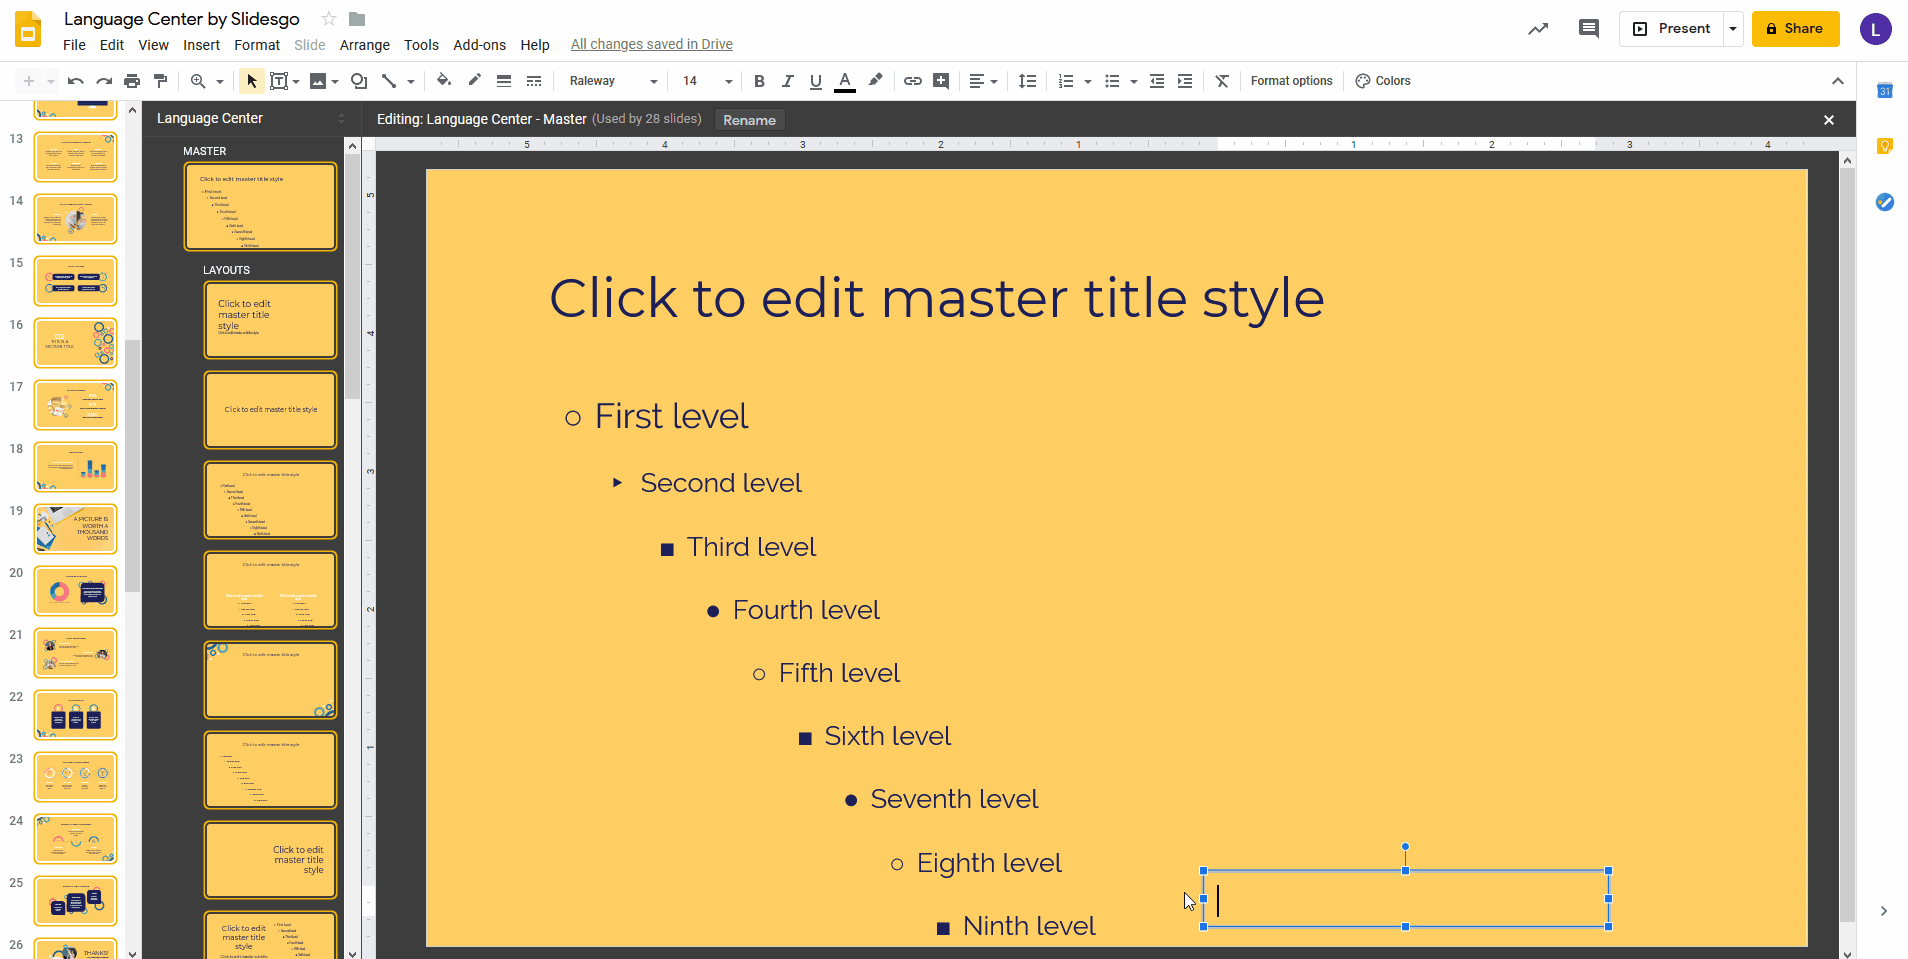
- Access the master slides by clicking Slide → Edit master.
- The master editor view will open. By default, the layout master from which your chosen slide derives will be selected.
- On the toolbar, click the Insert placeholder drop-down arrow and select Text box.

- Now draw a text box where you want to place the text. To do so, just click and drag until you’re happy with the size of the box.

- Now enter the text.
- You can modify the font, the size, the alignment, the style and the color of the text by using the options found on the toolbar. For more information, please refer to the "How to Format the Text in Google Slides" tutorial.

- Exit the master editor view by clicking the “X” button at the top-right. The text will appear on all the slides derived from this layout master.
- This text won’t be directly editable on the slides. If you want to change it, you’ll need to access the master slides again. Remember that this text will be the same in all the slides derived from the same layout master.
Adding the Same Text to All the Slides
- Open your presentation in Google Slides.
- Access the master slides by clicking Slide → Edit master.
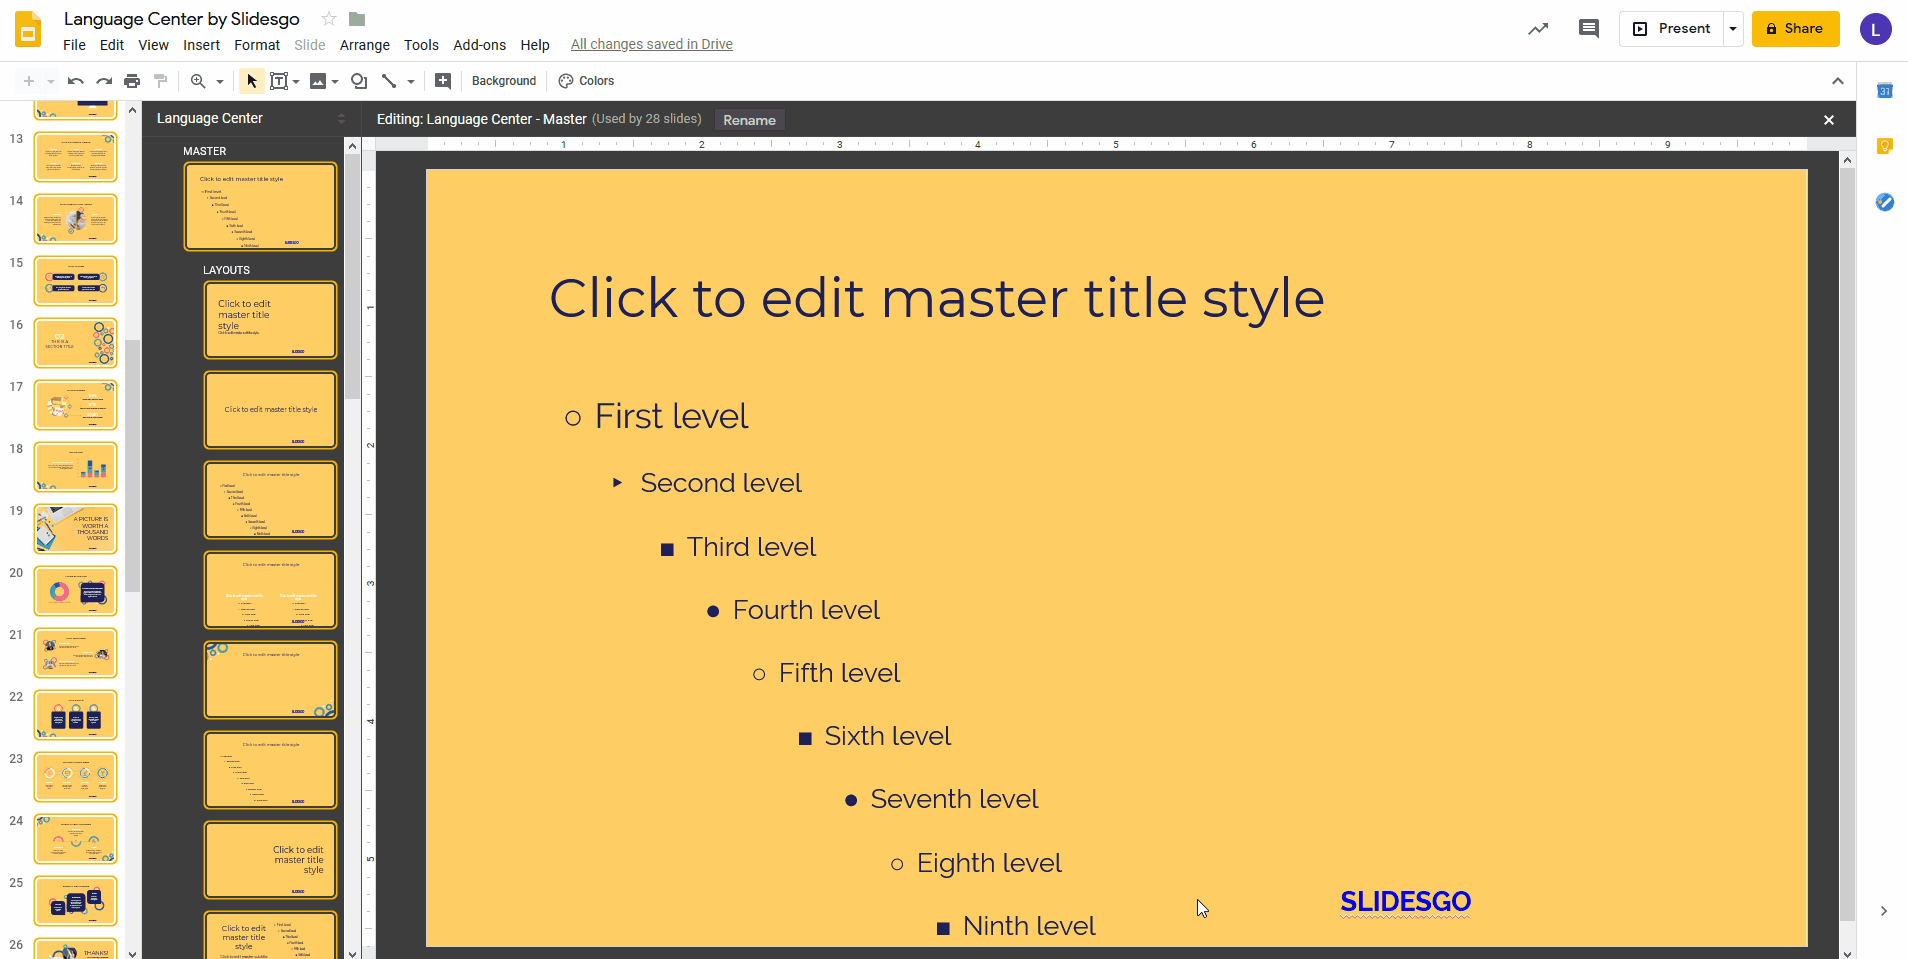
- Select the slide master (the first one, which acts as the parent slide).
- On the toolbar, click the Insert placeholder drop-down arrow and select Text box.
- Draw a text box where you want to place the text. To do so, just click and drag until you’re happy with the size of the box.

- Now enter the text.
- You can modify the font, the size, the style and the color of the text by using the options found on the toolbar. For more information, please refer to the "How to Format the Text in Google Slides" tutorial.

- Exit the master editor view by clicking the “X” button at the top-right. The text will appear on all the slides of your presentation, including the cover slide. If you want a text for all the slides except the cover slide, you’ll have to add a text box to all the layout masters instead. To do so, follow the instructions on the section “Adding a Text Box to Multiple Slides”.
Copying and Pasting a Text Box
- Let’s see how you can copy a text box and paste it somewhere else.
- Select the text box you want to copy and click Edit → Copy. As an alternative, you can press Control + C (or Command + C in Mac).
- Now go to the slide where you want to paste the text box and press Control + V (or Command + V in Mac).
Deleting a Text Box
- To delete a text box, select it, right-click and choose Delete. You can also select it and press the Delete key.
Tags
Edit & FormatDo you find this article useful?
Related tutorials
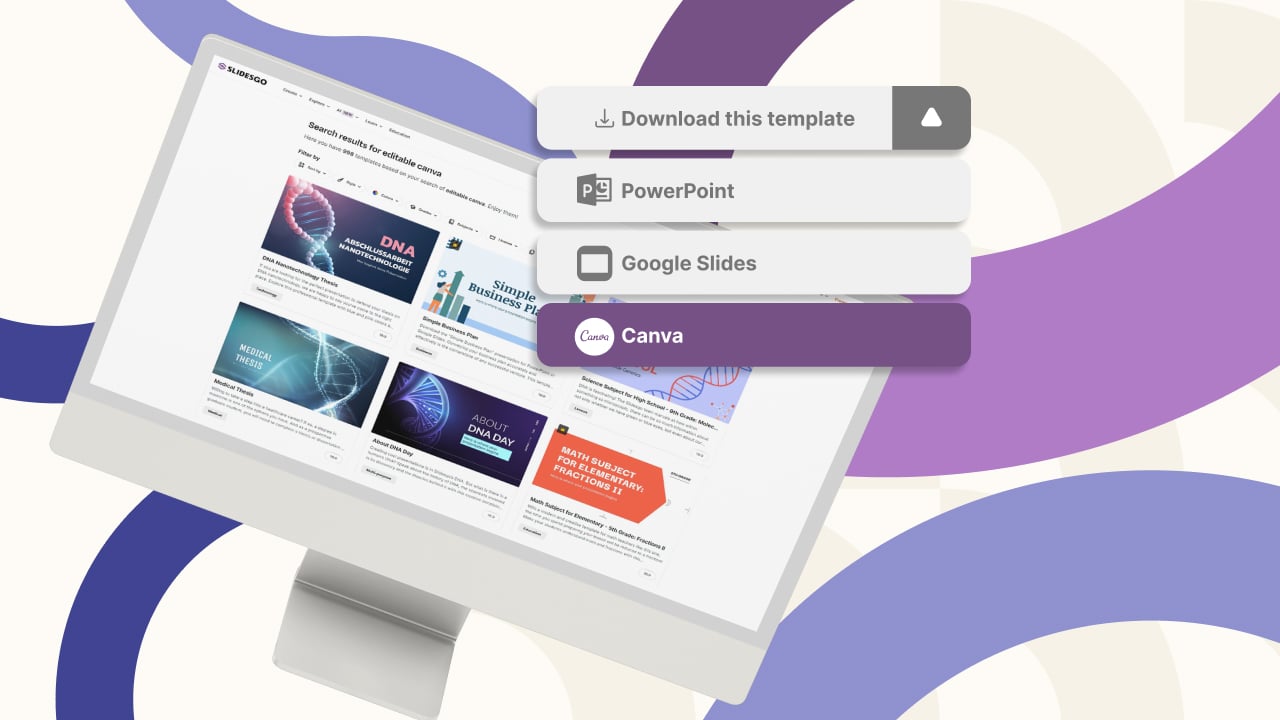
New feature available: edit our templates with Canva
Whenever you need to create, Slidesgo is there. We’re continually enhancing your presentation design process with templates that are primed to impress for any occasion. And in order to let your ideas flow best, comfort is key. How could Slidesgo help you with this? By making you feel right at home with...
How to print PowerPoint notes
Crafting an impactful PowerPoint slideshow and delivering a captivating presentation are distinct skills. The first focuses on designing appealing visuals to convey a clear message, while the second involves employing effective presentation techniques to ensure the audience grasps the idea. The content of this article will help you with the latter...

Discover Our Online Presentation Software for Free
We have great news for you today! If you’ve been a Slidesgo fan for years (or months, or weeks, or days, or mere hours, we welcome everyone!), you’ll probably know for now that our templates are available mostly in two formats: for use in Google Slides and PowerPoint.Google Slides is a...

Webinar: Presentation Audit
With more than 15,000 templates released on Slidesgo and a user base composed of millions of people, we estimate that the total number of presentations created adds up to… um, a lot! Our team of professional designers work very hard to provide you with editable slides so that the only thing...