
How to Add and Edit Tables in Google Slides
Adding a table to a slide is one of the simplest hacks available to organize information in an easy-to-consume way.
Tables are simple charts made of columns and rows. Because of their simplicity, they fit in almost every presentation and can be used for multiple purposes: from sorting content to data comparison.
In this tutorial, we’ll walk you through how to draw a table from scratch in Google Slides (in just three steps!). And if you’re searching for a more sophisticated look, we’ll also cover how to use pre-designed ones and infographic templates.
Let’s go!
Adding a table to a slide
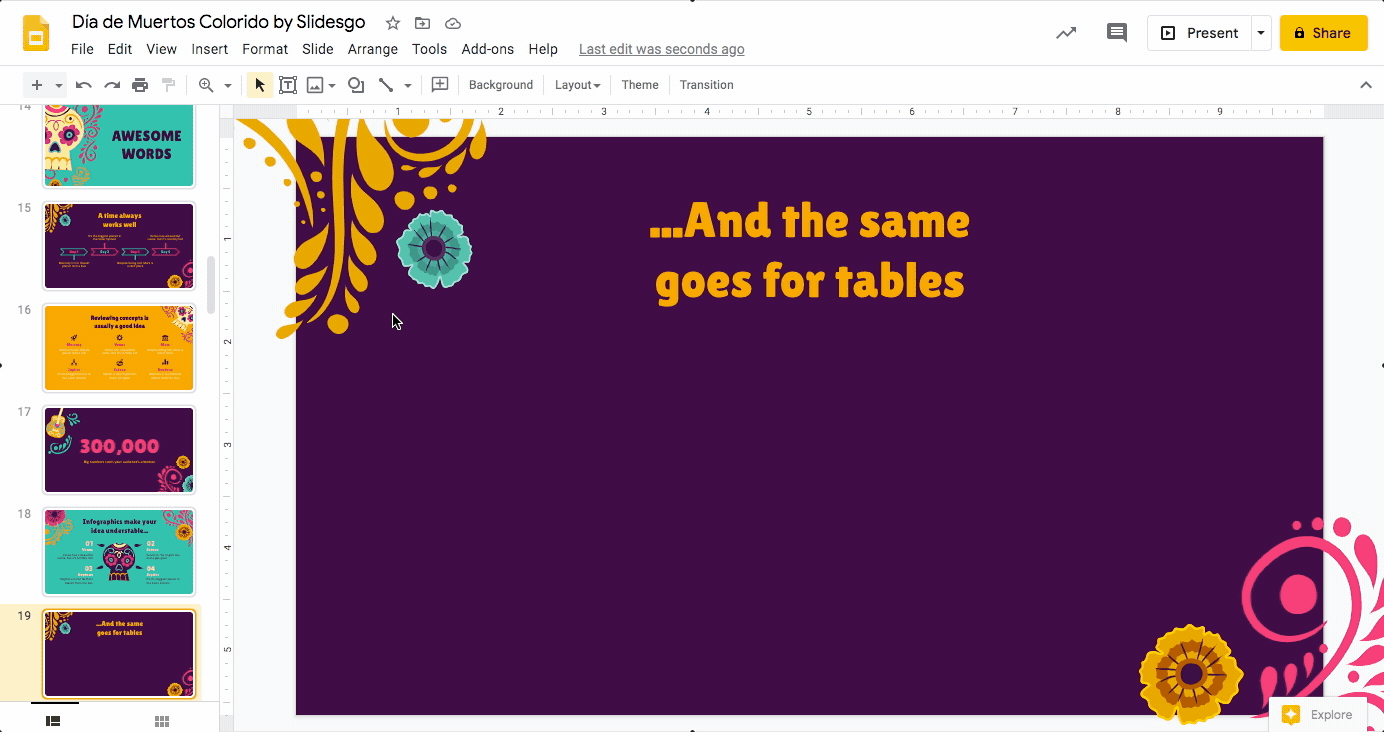
- Start by opening your presentation and selecting the slide you’ll be working on.
- Then select Insert → Table. This opens up a sidebar on the right that allows you to select the number of columns and rows you want to include. For example, if you want to add three columns and three rows, select the 3x3 configuration.
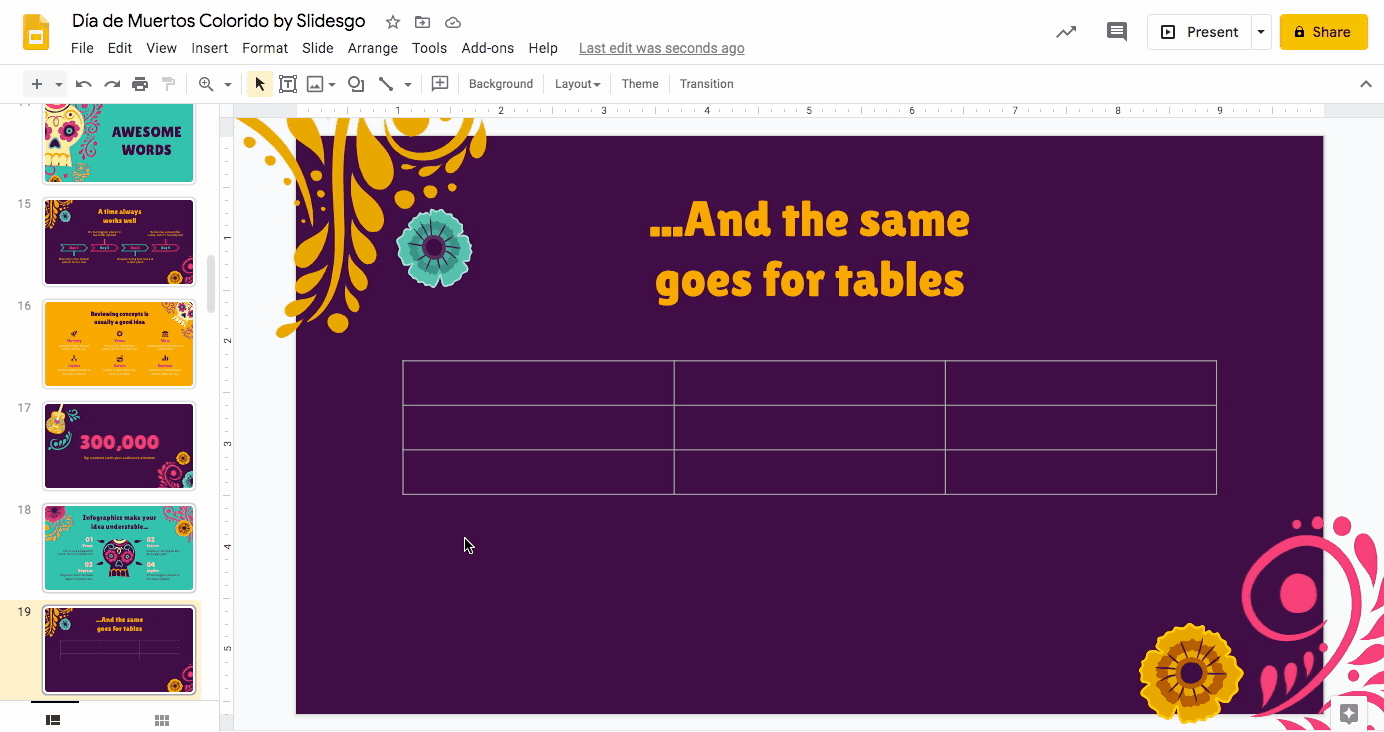
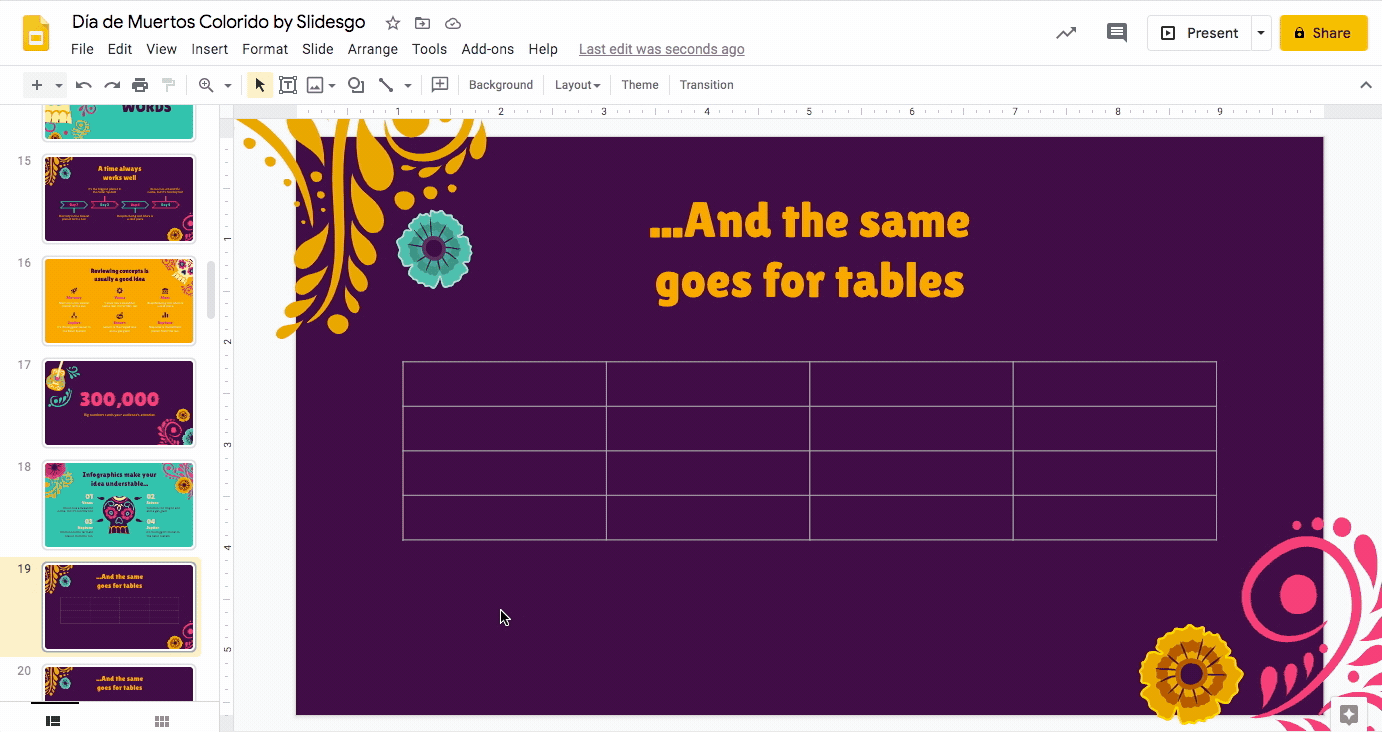
- Don’t worry if your rows and columns are longer or shorter than you’d expected. Once you’ve created this, you can also add more or delete some by right-clicking on the table and selecting the desired option.
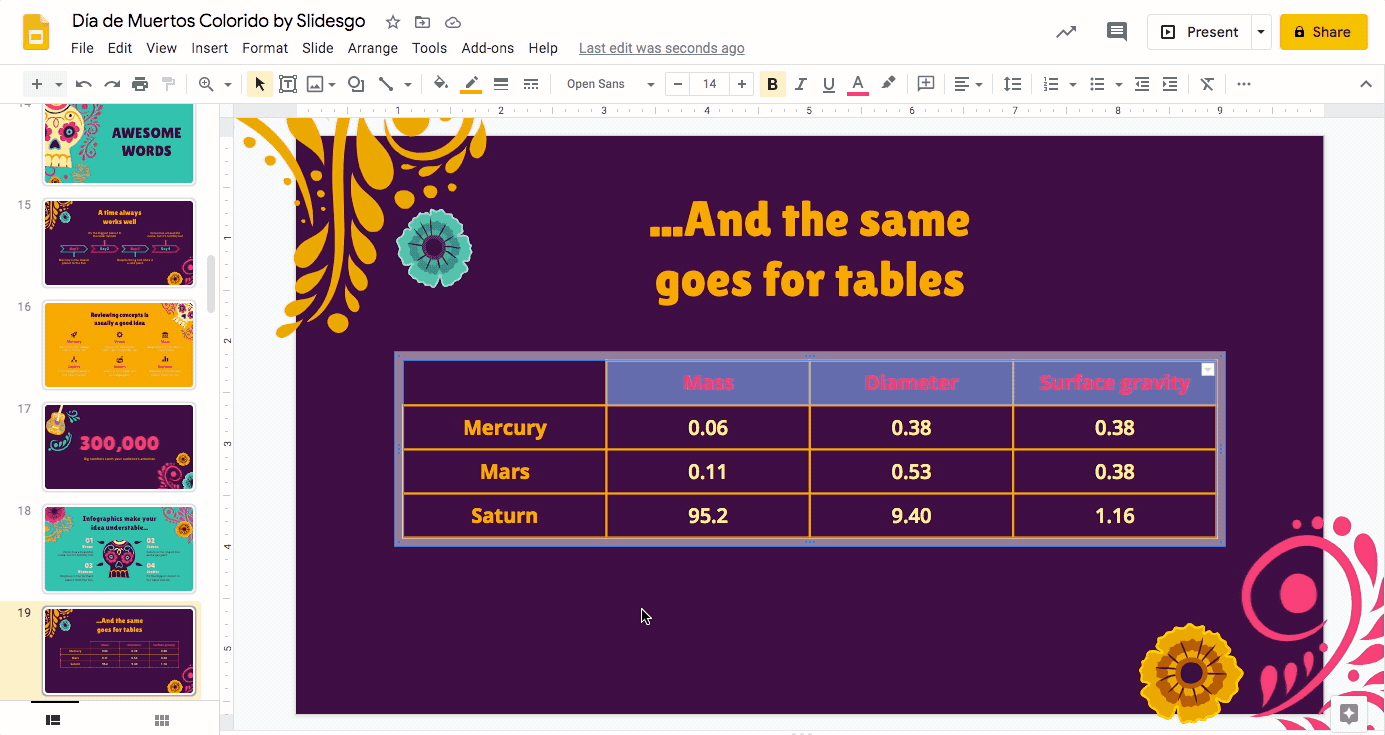
Editing the style of a table
- You can change the color of your table by clicking on its outline and selecting Border color. Stick to the template’s colors for visual consistency.
- For additional styling options, use Border weight (to create a thicker outline) and Border dash (to create a dotted outline).
- You can also make a particular cell transparent by selecting its outline and choosing Transparent under Border color.
Note: It may be difficult to tell if you’re selecting the entire table’s outline or just the border of a specific cell. When selecting a cell’s border, its outline is highlighted in vibrant blue.
- Resize it by dragging it in (to make it smaller) or out (to make it bigger) from any of its corners. To maintain its dimension, hold down shift while doing it.

Adding content to a table
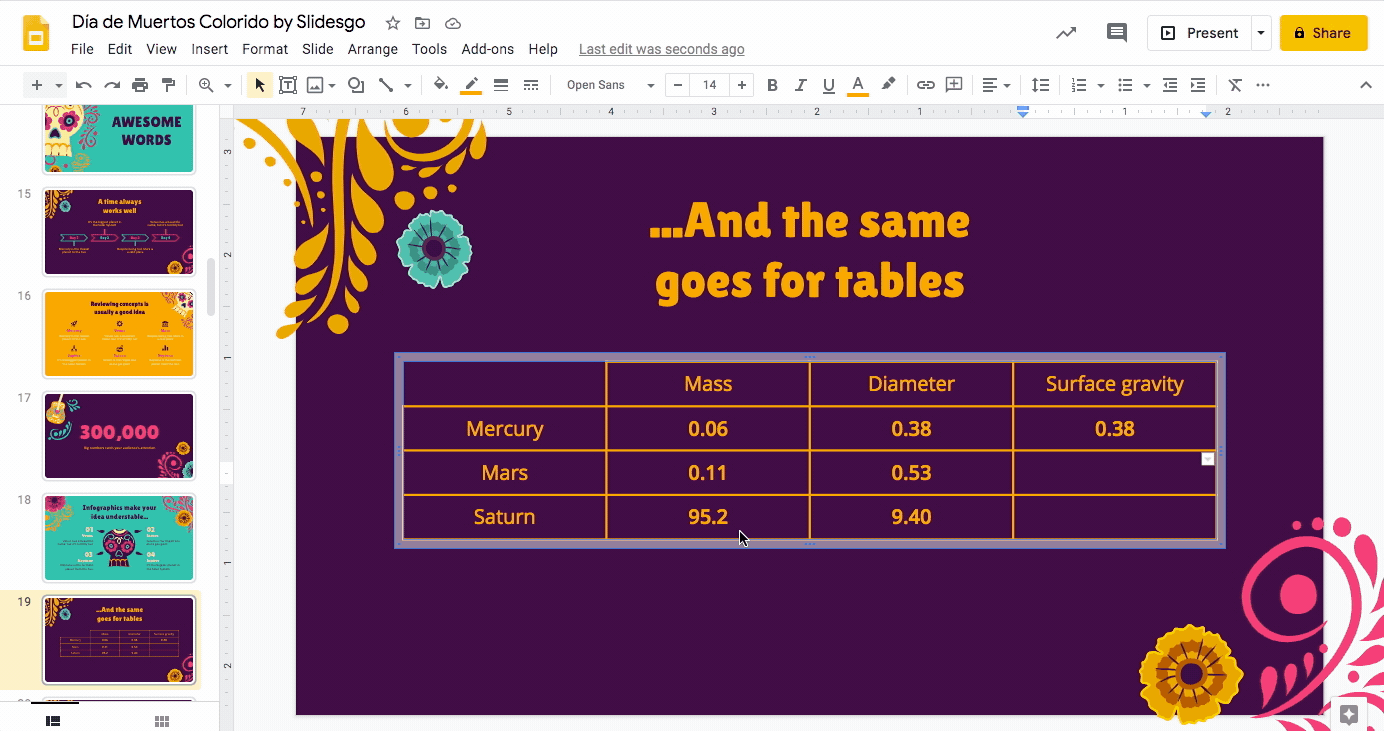
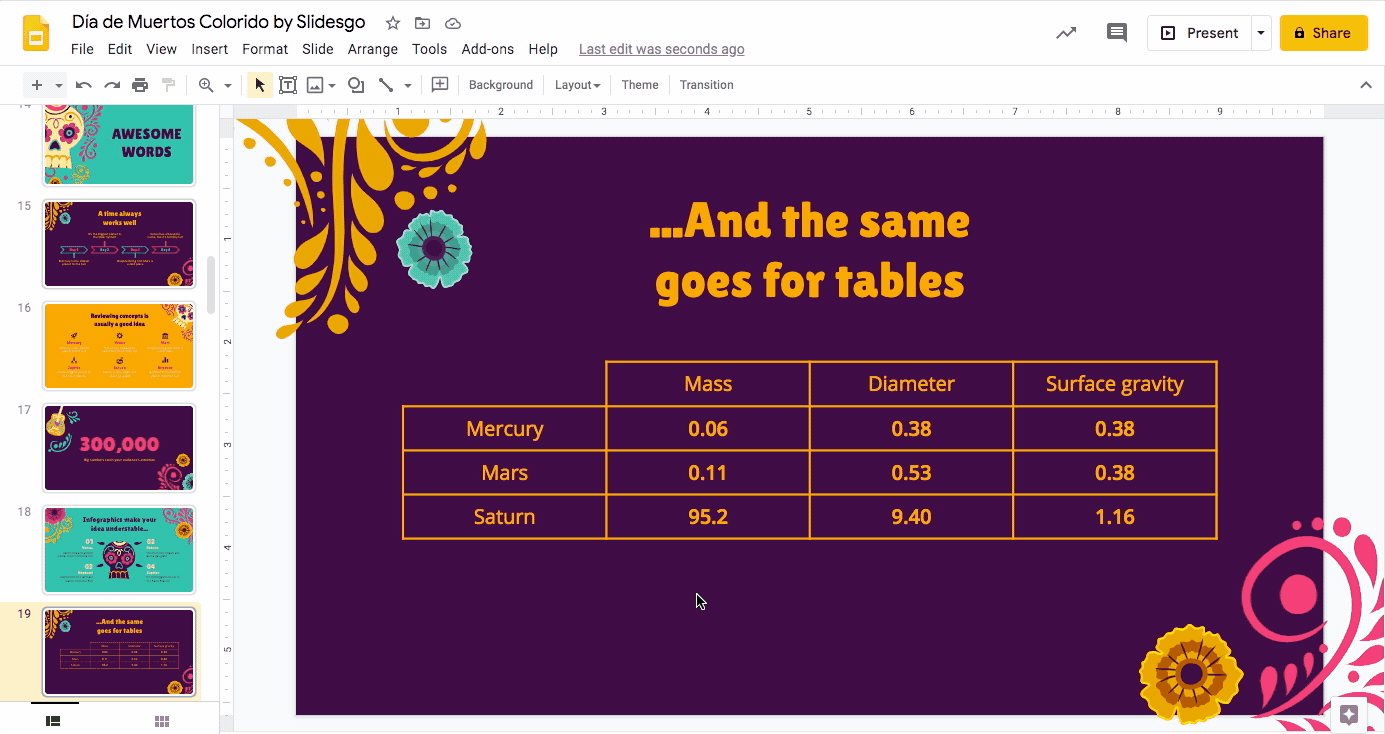
- Double click on a cell to start writing the content.
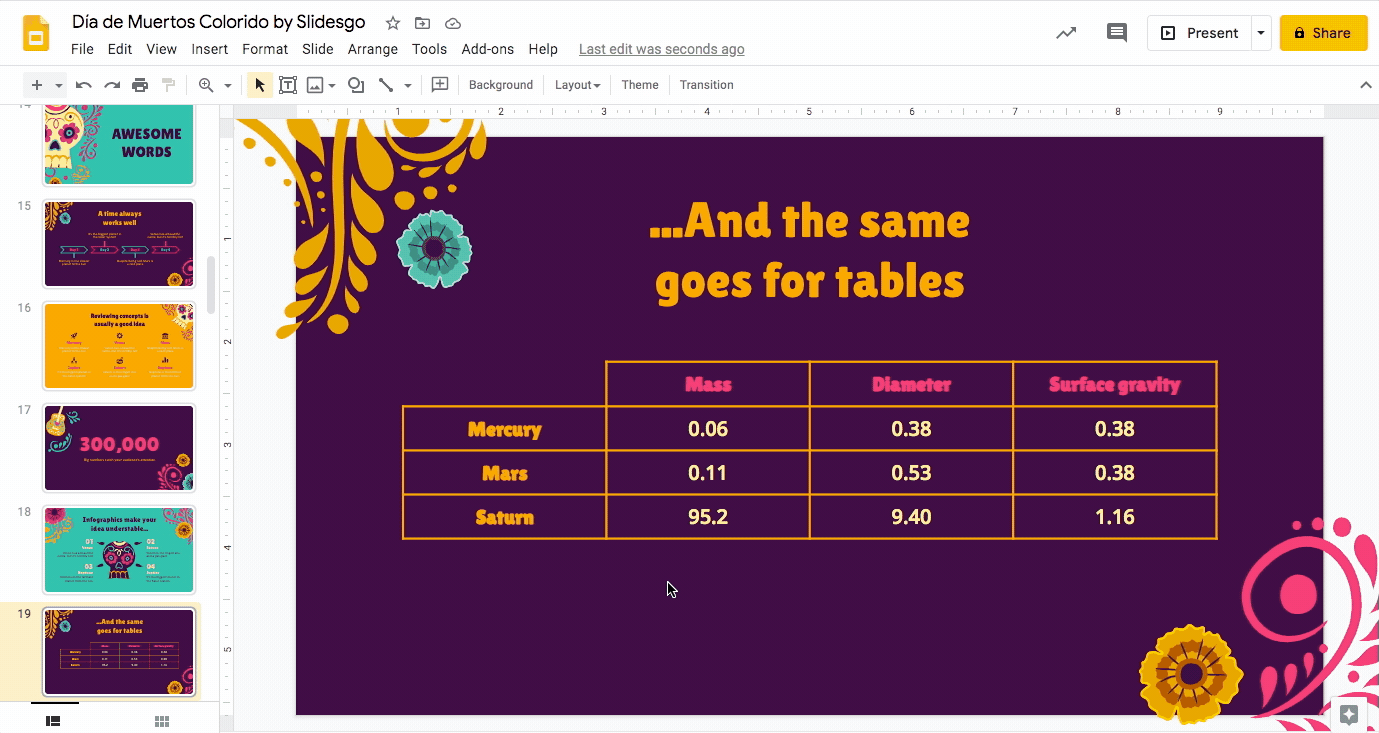
- Complete your cells with the necessary information. Keep in mind that tables work best with numbers and very concise text.
- To style your content, select it by clicking and dragging over the areas (or cells) that contain the text you want to style and use the options Font, Font size and Text color. Remember to use the same typefaces and colors present in the rest of the template.
- An easy way to differentiate your titles from the content in the rest of the cells is by using a bold typeface for the titles.
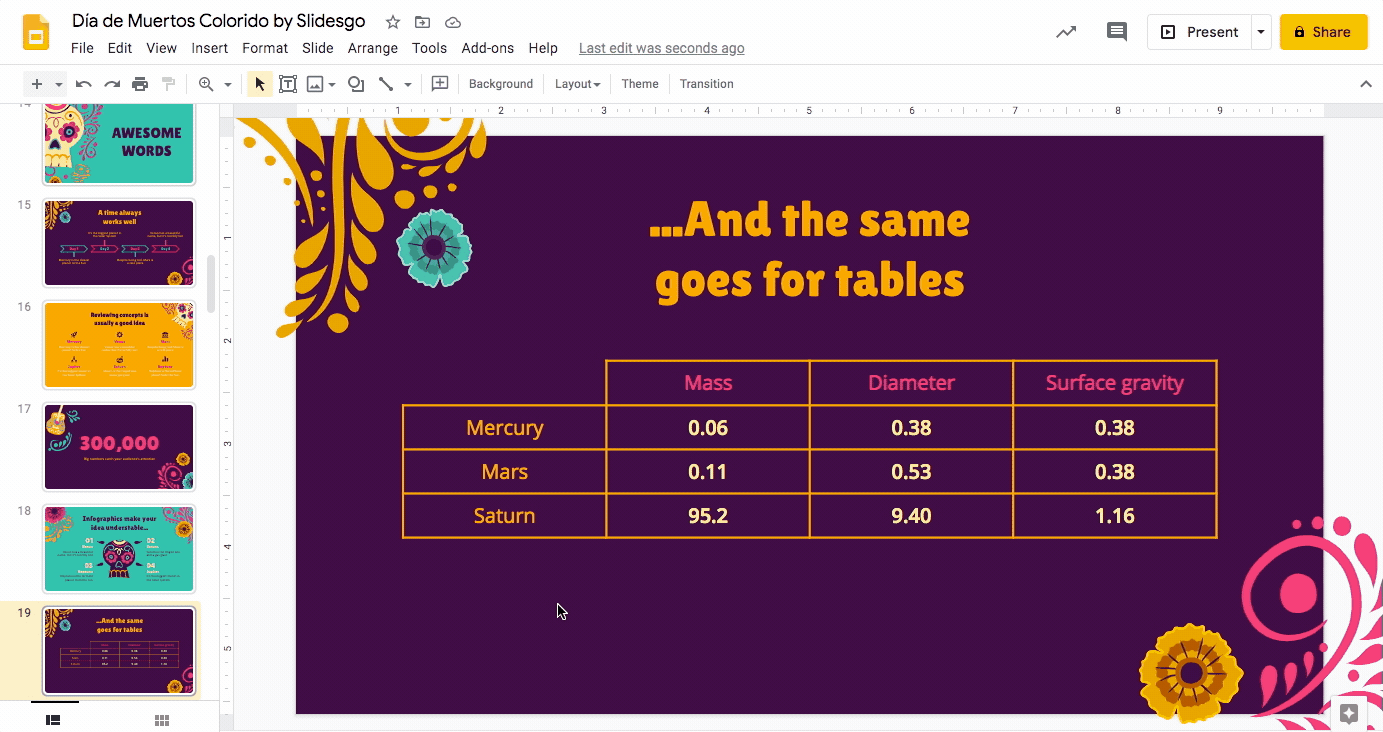
- Alternatively, you can also choose two contrasting typefaces. In this tutorial, we’ve used Open Sans for text in regular cells, and Lilita One —the typeface used for the titles throughout the presentation— to boost the visibility of headers in the columns and rows.
- Don’t forget to position your text as desired with the option Align. In most cases, text on tables looks better centralized.
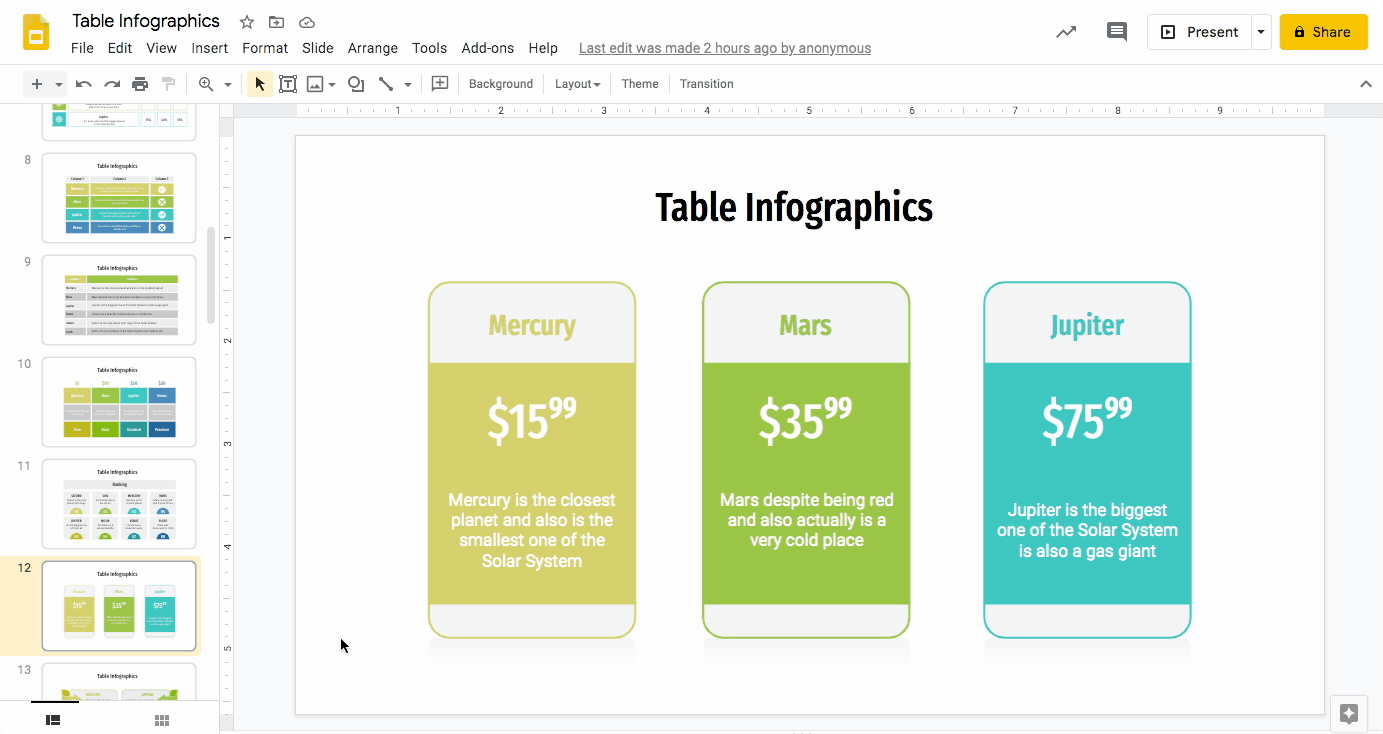
Adding a table from a template
- To add more sophisticated tables to your slides, you can use one of our table infographic templates. Here, you’ll find different types and formats ready to copy, so the first step would be to choose the design that best fits your needs.
- To add it to your presentation, click on it to copy and paste (Ctrl C + Ctrl V) it onto the desired slide.
Pro tip: Table infographics can appear as lists, blocks, arrows, and more. Sometimes, they are composed of different elements. Instead of repeating the copy and paste process for each of these, you can just click and drag the cursor over the whole area and copy and paste all of them just once.
- Once you have selected and pasted the template, you can resize it to make it fit better on the slide. As previously explained, simply click and drag it inward or outward from any corner.
Pro tip: As you move the elements, use the red visual guidelines to keep the table aligned in the center of the slide.
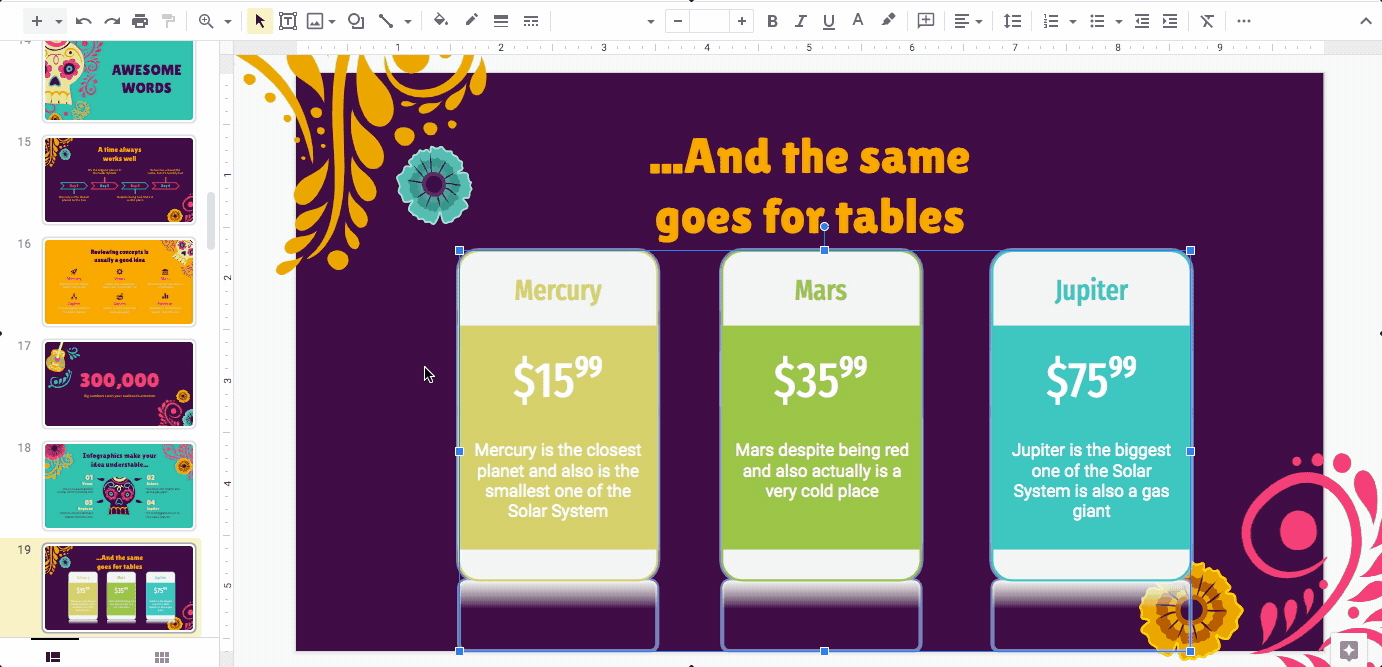
- The last step would be to style it so that it matches the presentation’s overall theme. You can do it with the option Fill color, as well as the styling options we’ve previously explained: Border color, Border weight, Border dash, Font, Font color...
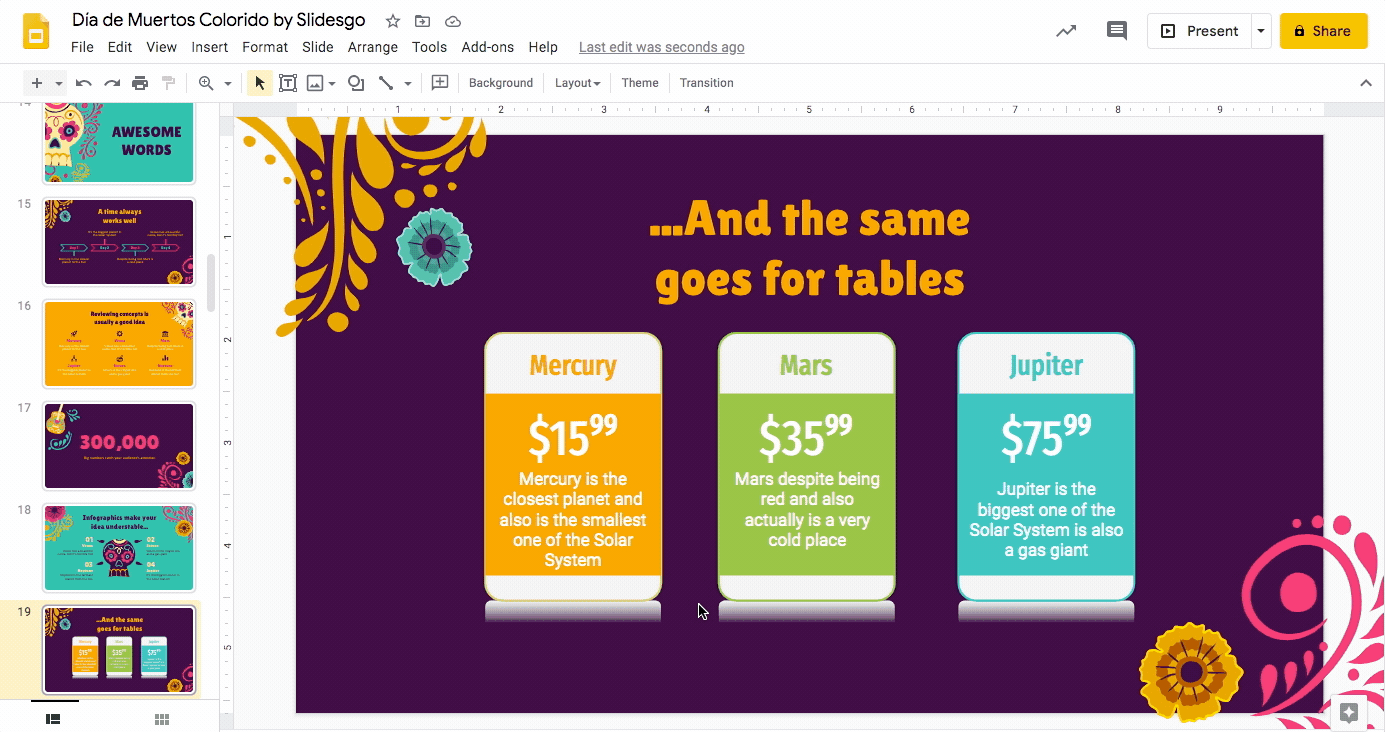
- And that’s it! You’ve got a beautiful table for your presentation in Google Slides.
Slidesgo offers a wide variety of templates that aren’t only stunning but also 100% free to download and personalize. Give our selection of free Google slides themes a look now!
Do you find this article useful?
Related tutorials

How Smart Template Matching Saves Hours on Your Next Presentation
Content Find your perfect template, automatically How it works Templates that match your topic Get better results FAQ Skip the Search, Start Creating Find your perfect template, automatically Great presentations look intentional—where the design supports the message. But finding a template that fits usually means scrolling through dozens of options....

Creative PowerPoint Night Ideas
Want to be the star of your next PowerPoint Night? With the right ideas and a spark of creativity, you can turn any theme into a show-stopping experience that keeps everyone laughing and engaged. Whether you’re planning a friendly game night, a classroom challenge, or a team-building session, this guide is your...

Smart Guide: Best AI Prompts for Powerful Presentations
Ever stared at a blank slide, knowing your message matters but not sure how to bring it to life? You’re not alone. With the rise of AI Presentation Maker, more creators, educators, and professionals are asking: What are the best AI prompts for presentations?This guide shows you exactly how to...

How to convert PDF to PPT online for free
Ever tried making a presentation from a PDF? It’s not exactly fun—copying, pasting, reformatting… plus, it takes forever. So, why do it? Instead convert your PDF to PPT in seconds through our new tool AI PDF to PPT converter.Whether you’re pitching an idea, designing tomorrow’s lesson plan, or presenting a report, this...