
How to create a flyer in Powerpoint
Did you know that PowerPoint can also be used to create flyers? Just like that! You don't need great design skills and it will be very useful to announce your next event, promote a new product or the special menu of your restaurant. The possibilities are enormous. So get ready because we are going to show you how to make a flyer in PowerPoint step by step. Let's get started!
Define the slide size
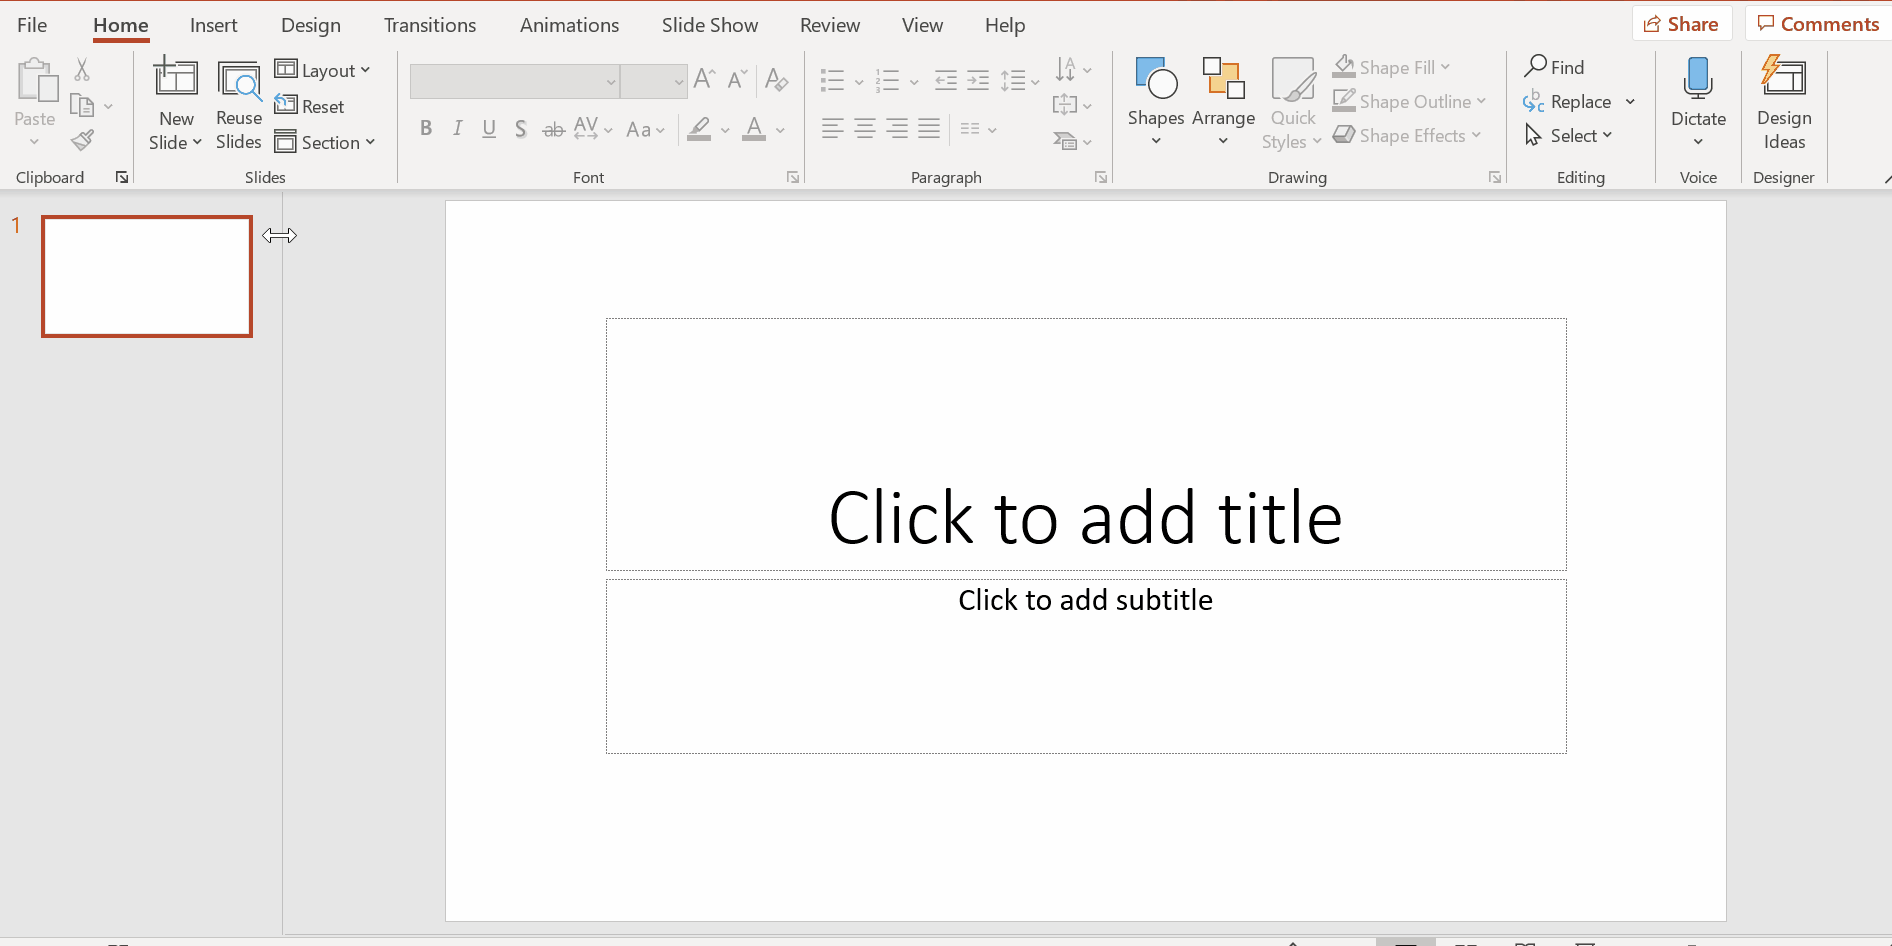
Before you start, it is important to choose the size of your design, so that the images, texts, etc. that you want to add to it will fit well. Open PowerPoint, click on the top menu Design > Slide Size > Customize Slide Size. You will see a pop-up window appear. Once you are in it, choose Custom from the drop-down menu, and there you can choose the orientation and dimensions.
If none of the default options fit you, you can directly type in the size you need. Keep in mind that the maximum allowed by the software is 142 cm.
When you click OK you will be asked if you want to maximize the size of the content or ensure fit. Select the latter option so that the elements you have already inserted will adapt to the new format.
Pro Tip: Most flyers are printed in A4 size, which is 8.3 x 11.7 inches. On Slidesgo you have different A4 format templates, ready to print.
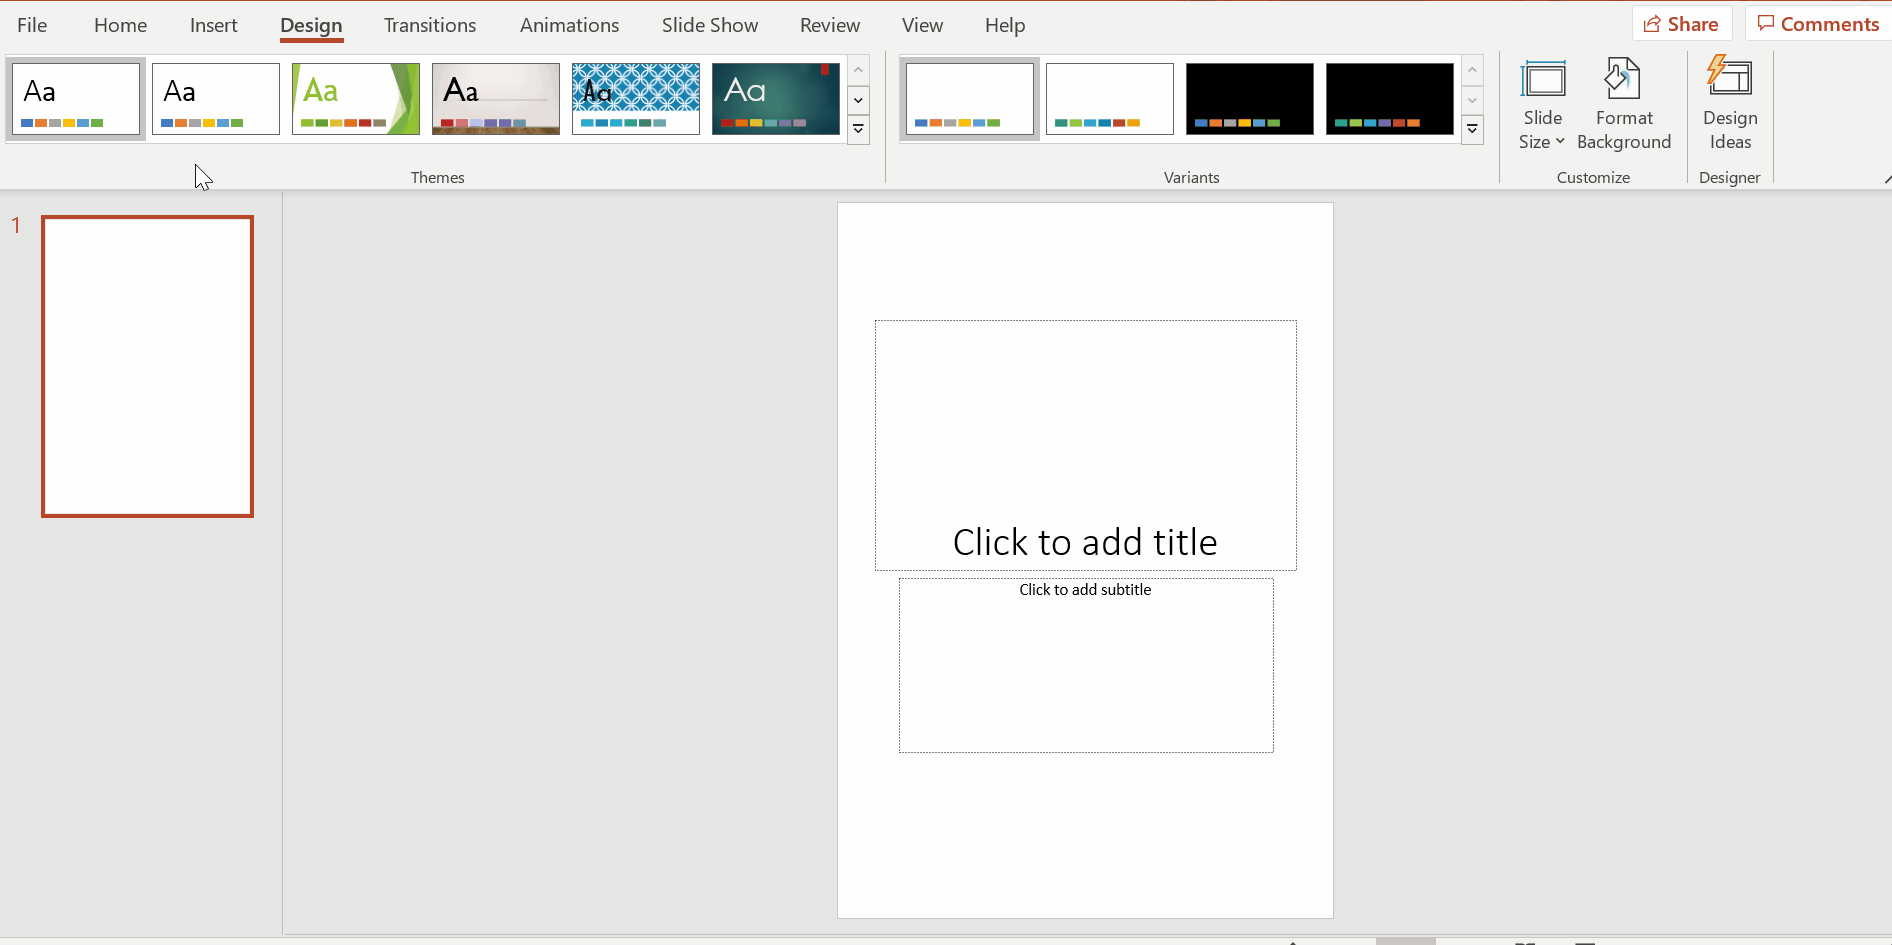
Choose the flyer style
PowerPoint itself gives you several style options for your flyer, which you can select from the Design tab.
Pro Tip: If these options are not enough for you, we invite you to take a look at the wide variety of PowerPoint templates available on Slidesgo. Choose the one you like the most, download it, open it, choose the slide you want and modify the elements you wish to customize it.
Add images and text in PowerPoint
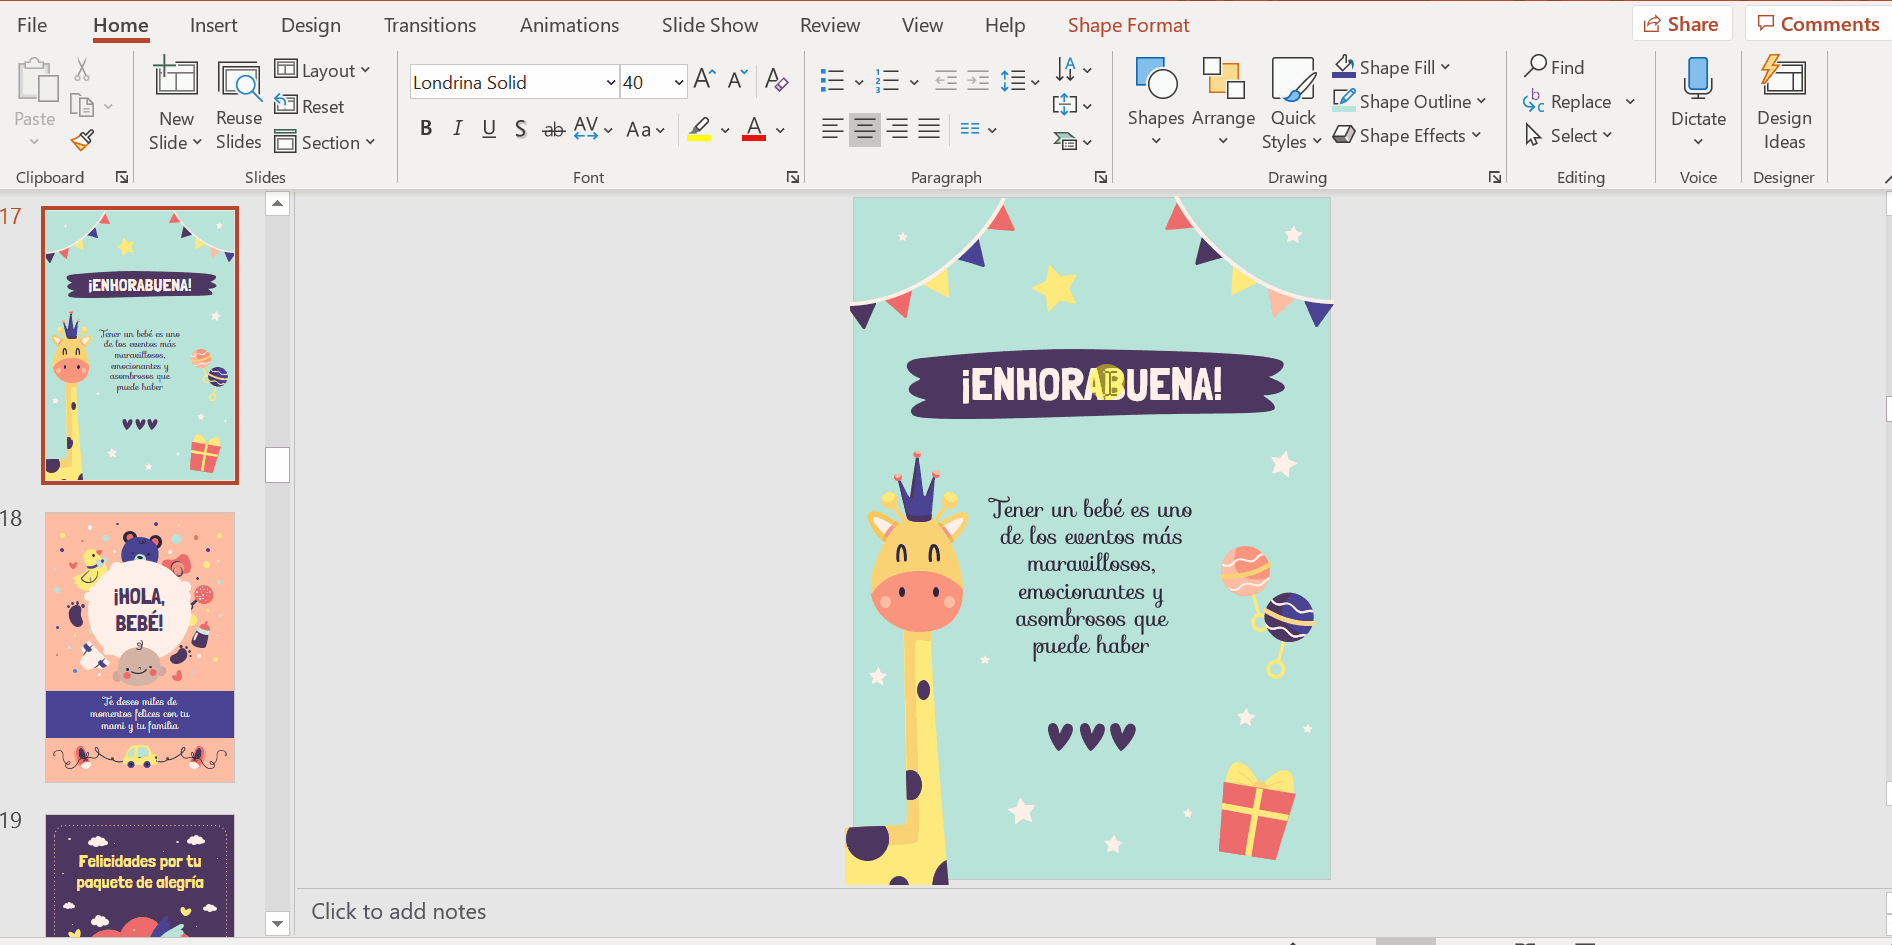
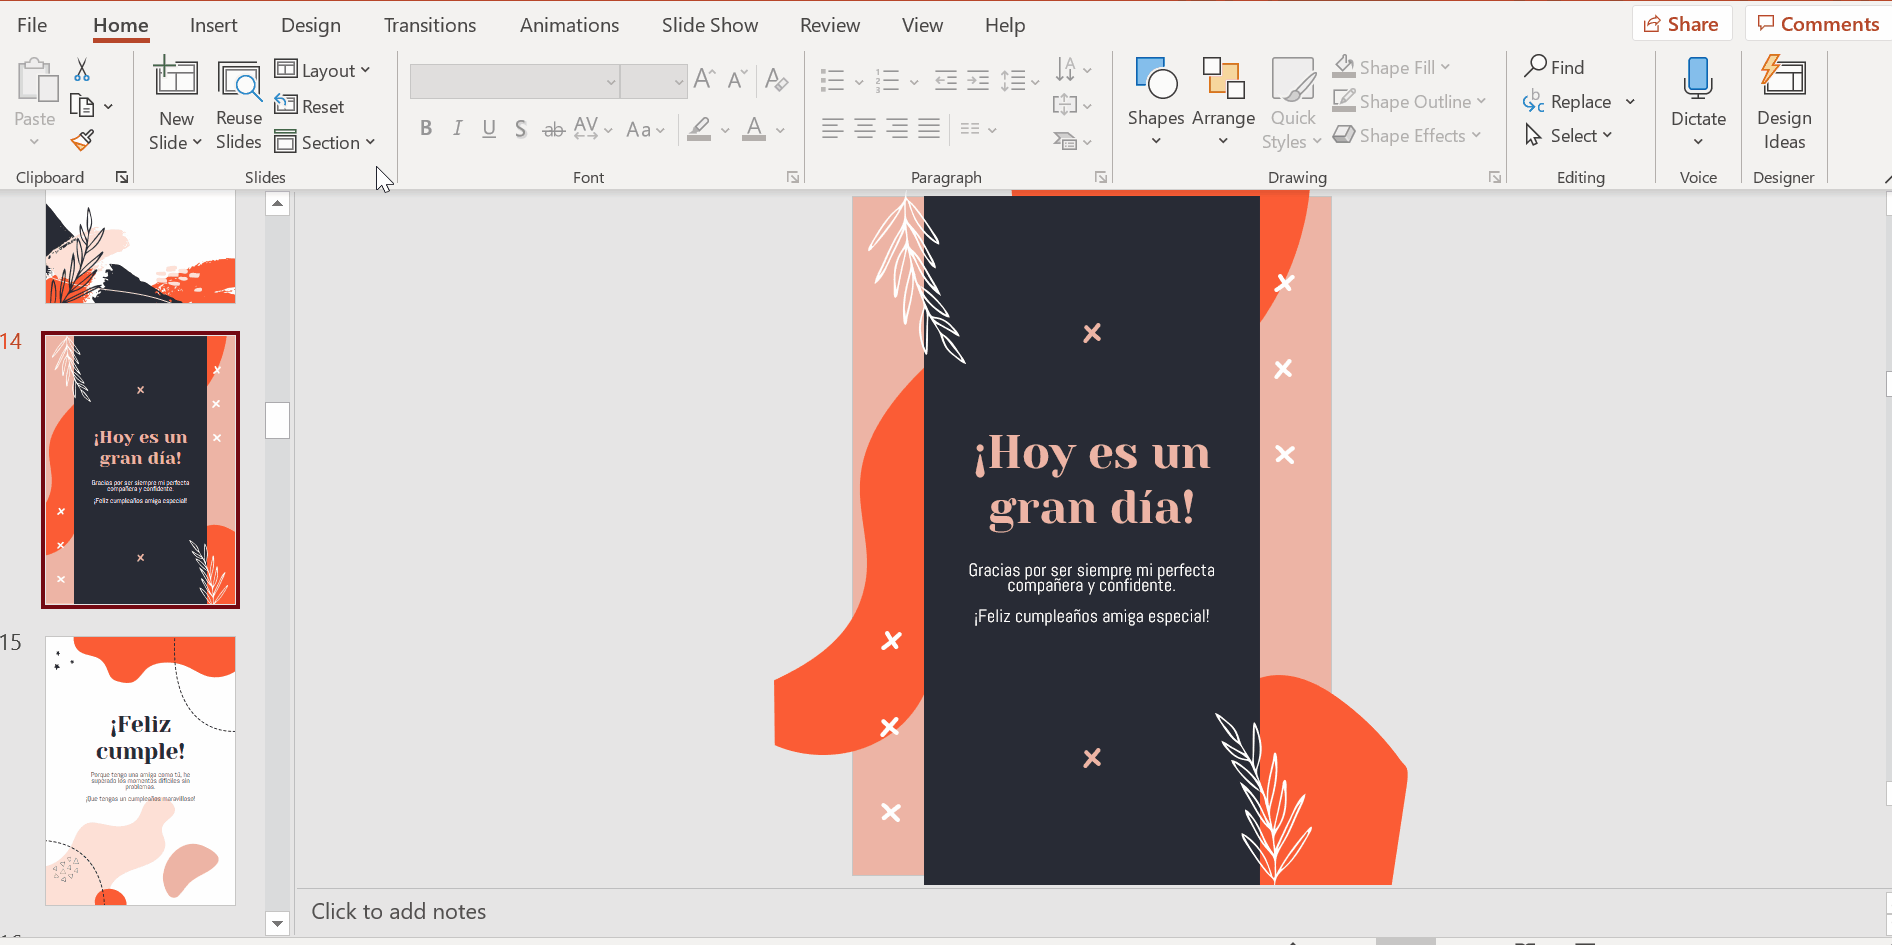
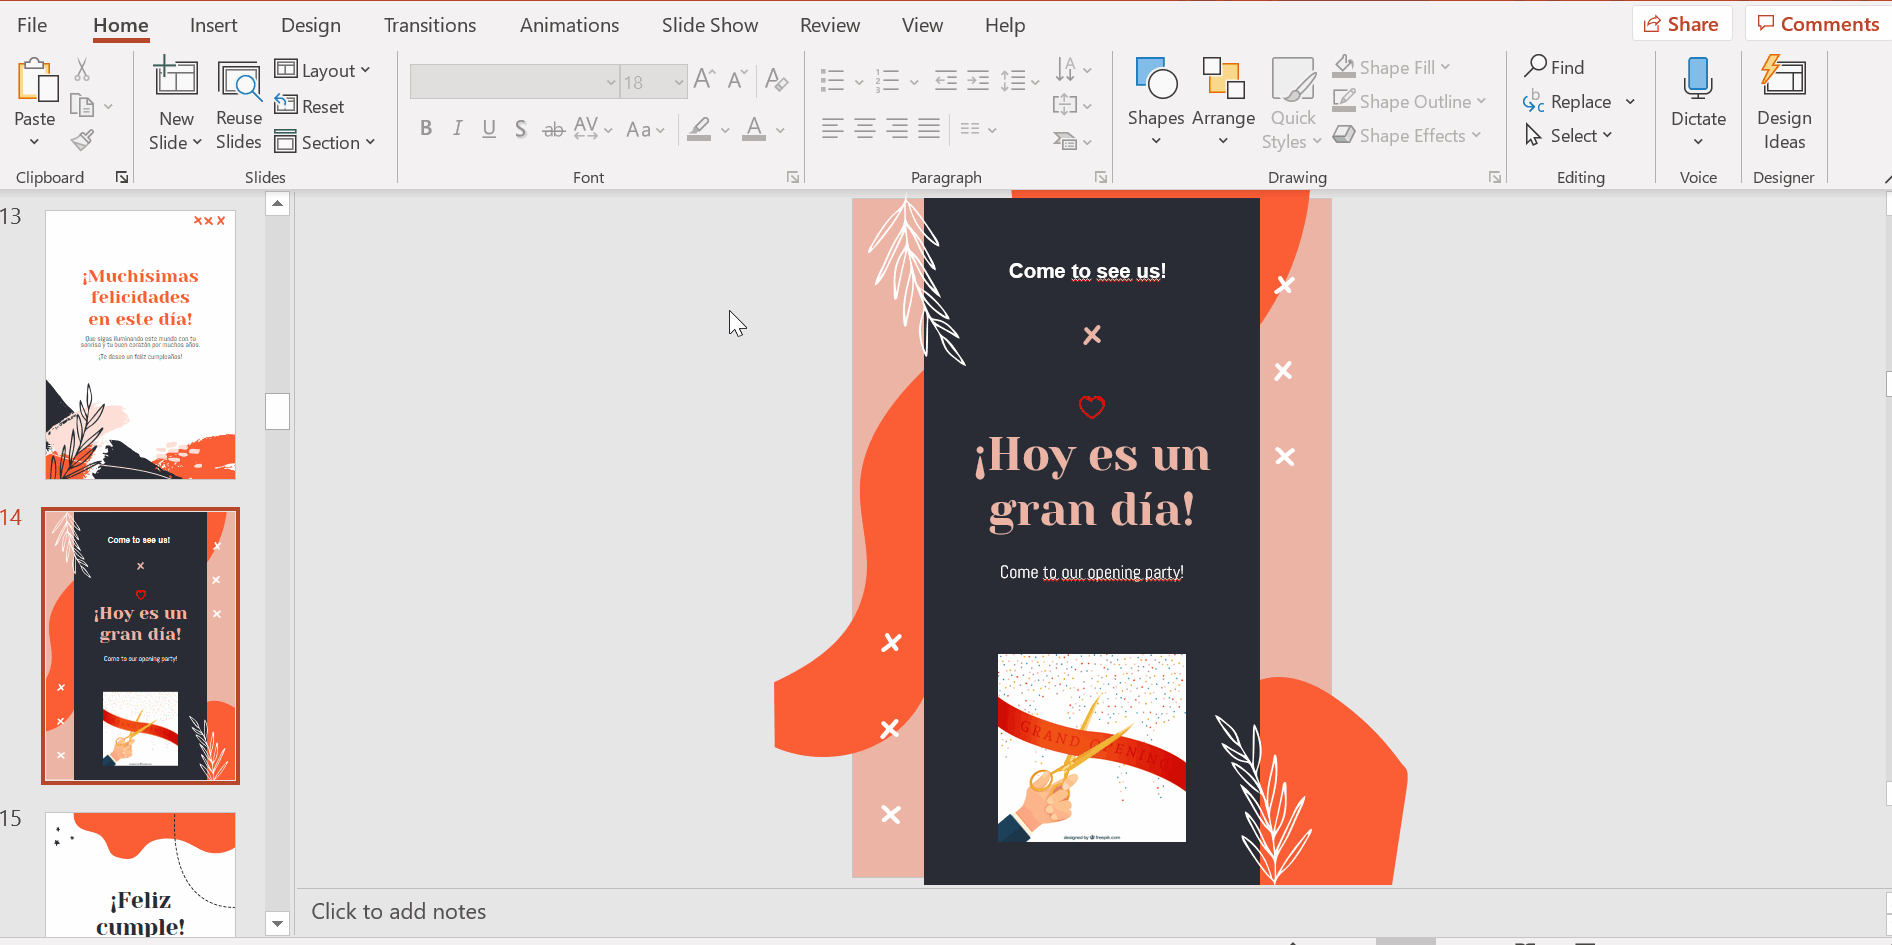
Think about all the elements you want to include in your flyer and decide if you prefer to leave the background blank or add an image to help you convey your idea. In this happy birthday cards template you have several options that you can adapt to your needs.
To enhance your flyer, in the Insert menu you have a multitude of options available, apart from images and text: tables, icons, symbols, etc. Add whatever you need, but always keep in mind the harmony of the design and its legibility. And, above all, don't forget to include contact information and a call to action.
If you are going to print the final design, make sure that the images you use are at least 150 ppi, to avoid pixelation. You can check this by right-clicking on the image. Click on Properties and go to the Details tab. In the Image section you will see the vertical and horizontal resolution.
Export your PowerPoint flyer to PDF
Once you have finished editing your flyer, all that remains is to export it to PDF for printing. To do this, go to the top menu File >Export. Once inside Export select Create PDF document. Give it the name you want to identify it. Before clicking Publish, note that if you have several slides open in PowerPoint and you only want to save the one you are going to print, you can click on Options and, in the Range section, select the one you want to save. There you go!
In this tutorial you have the step-by-step to export PowerPoint slides to PDF.
As you can see, creating a flyer in PowerPoint is within everyone's reach. And with Slidesgo's editable templates we make it even easier for you, since the design has already been created by professionals and with an endless number of themes available. Start now!
Do you find this article useful?
Related tutorials

How Smart Template Matching Saves Hours on Your Next Presentation
Content Find your perfect template, automatically How it works Templates that match your topic Get better results FAQ Skip the Search, Start Creating Find your perfect template, automatically Great presentations look intentional—where the design supports the message. But finding a template that fits usually means scrolling through dozens of options....
Creative PowerPoint Night Ideas
Want to be the star of your next PowerPoint Night? With the right ideas and a spark of creativity, you can turn any theme into a show-stopping experience that keeps everyone laughing and engaged. Whether you’re planning a friendly game night, a classroom challenge, or a team-building session, this guide is your...
Smart Guide: Best AI Prompts for Powerful Presentations
Ever stared at a blank slide, knowing your message matters but not sure how to bring it to life? You’re not alone. With the rise of AI Presentation Maker, more creators, educators, and professionals are asking: What are the best AI prompts for presentations?This guide shows you exactly how to...
How to convert PDF to PPT online for free
Ever tried making a presentation from a PDF? It’s not exactly fun—copying, pasting, reformatting… plus, it takes forever. So, why do it? Instead convert your PDF to PPT in seconds through our new tool AI PDF to PPT converter.Whether you’re pitching an idea, designing tomorrow’s lesson plan, or presenting a report, this...