
How to Change Indentation, Spacing and Line Spacing in PowerPoint
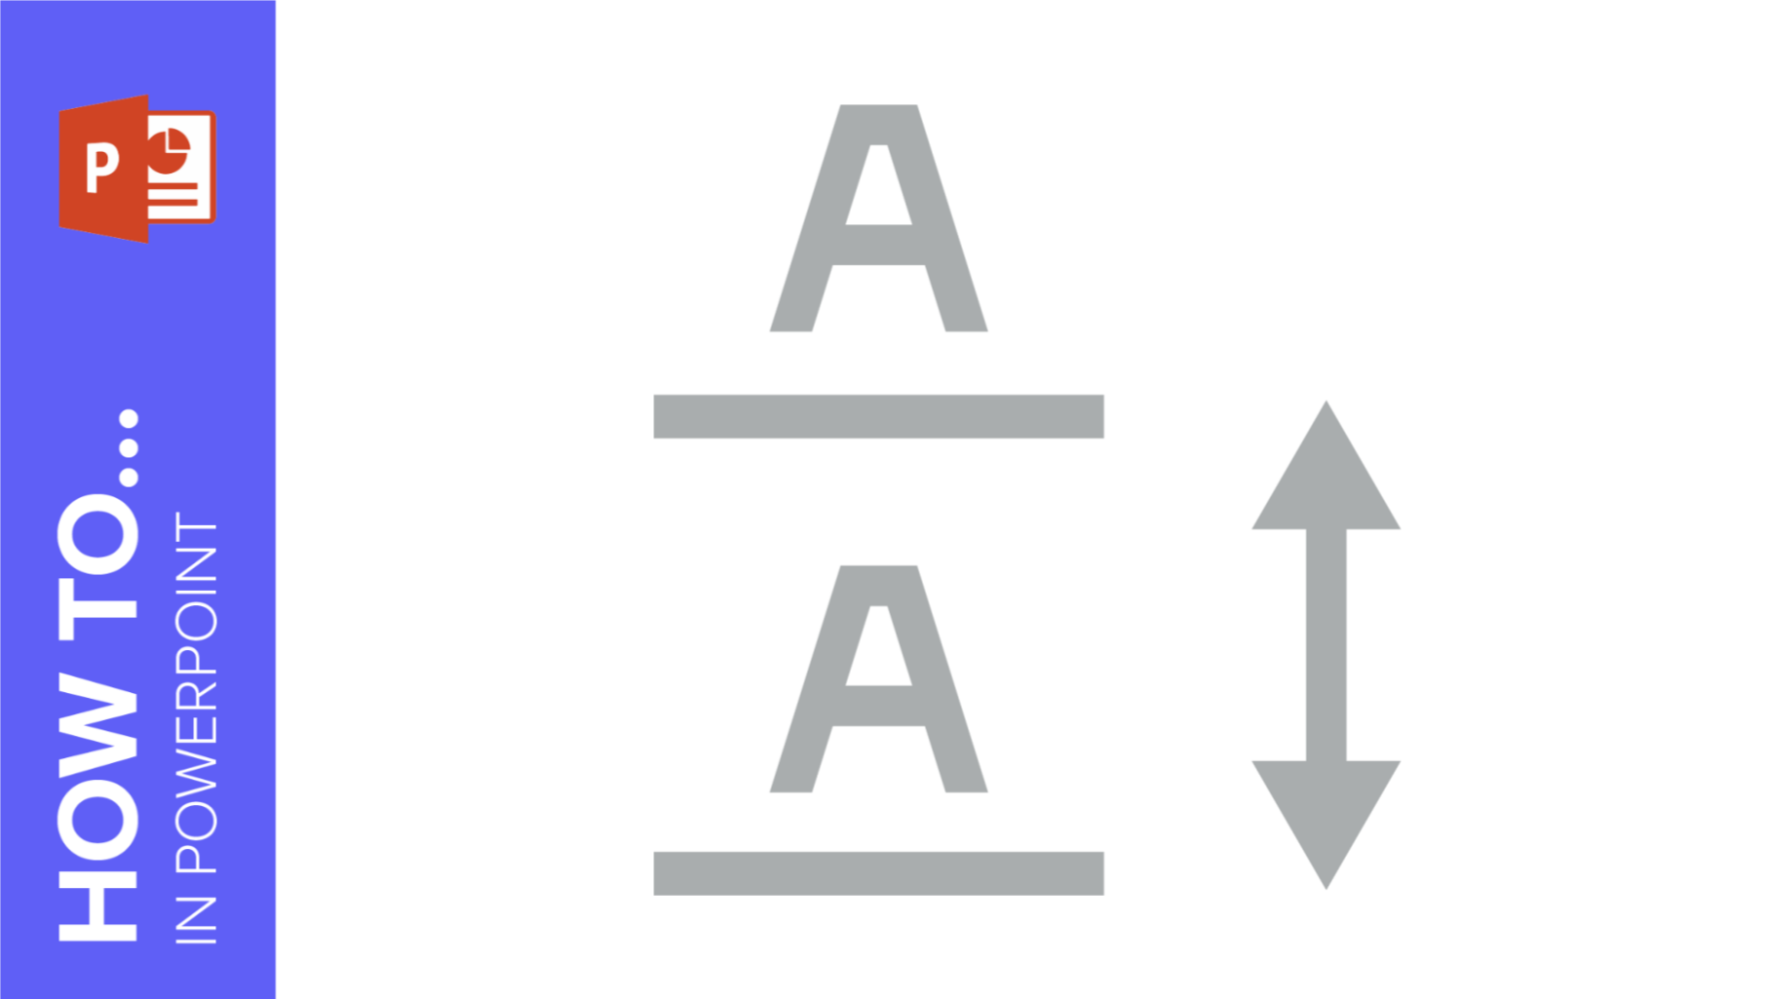
When it comes to presentations, it is advisable to use as little text as possible. In order to improve legibility on your slides, you might want to change the space between lines of text and paragraphs.
In this Slidesgo School tutorial, we will explain how to edit the indentation and the line spacing.
Changing the first-line indentation
Indentation helps you adjust the spacing of the first line of your text.
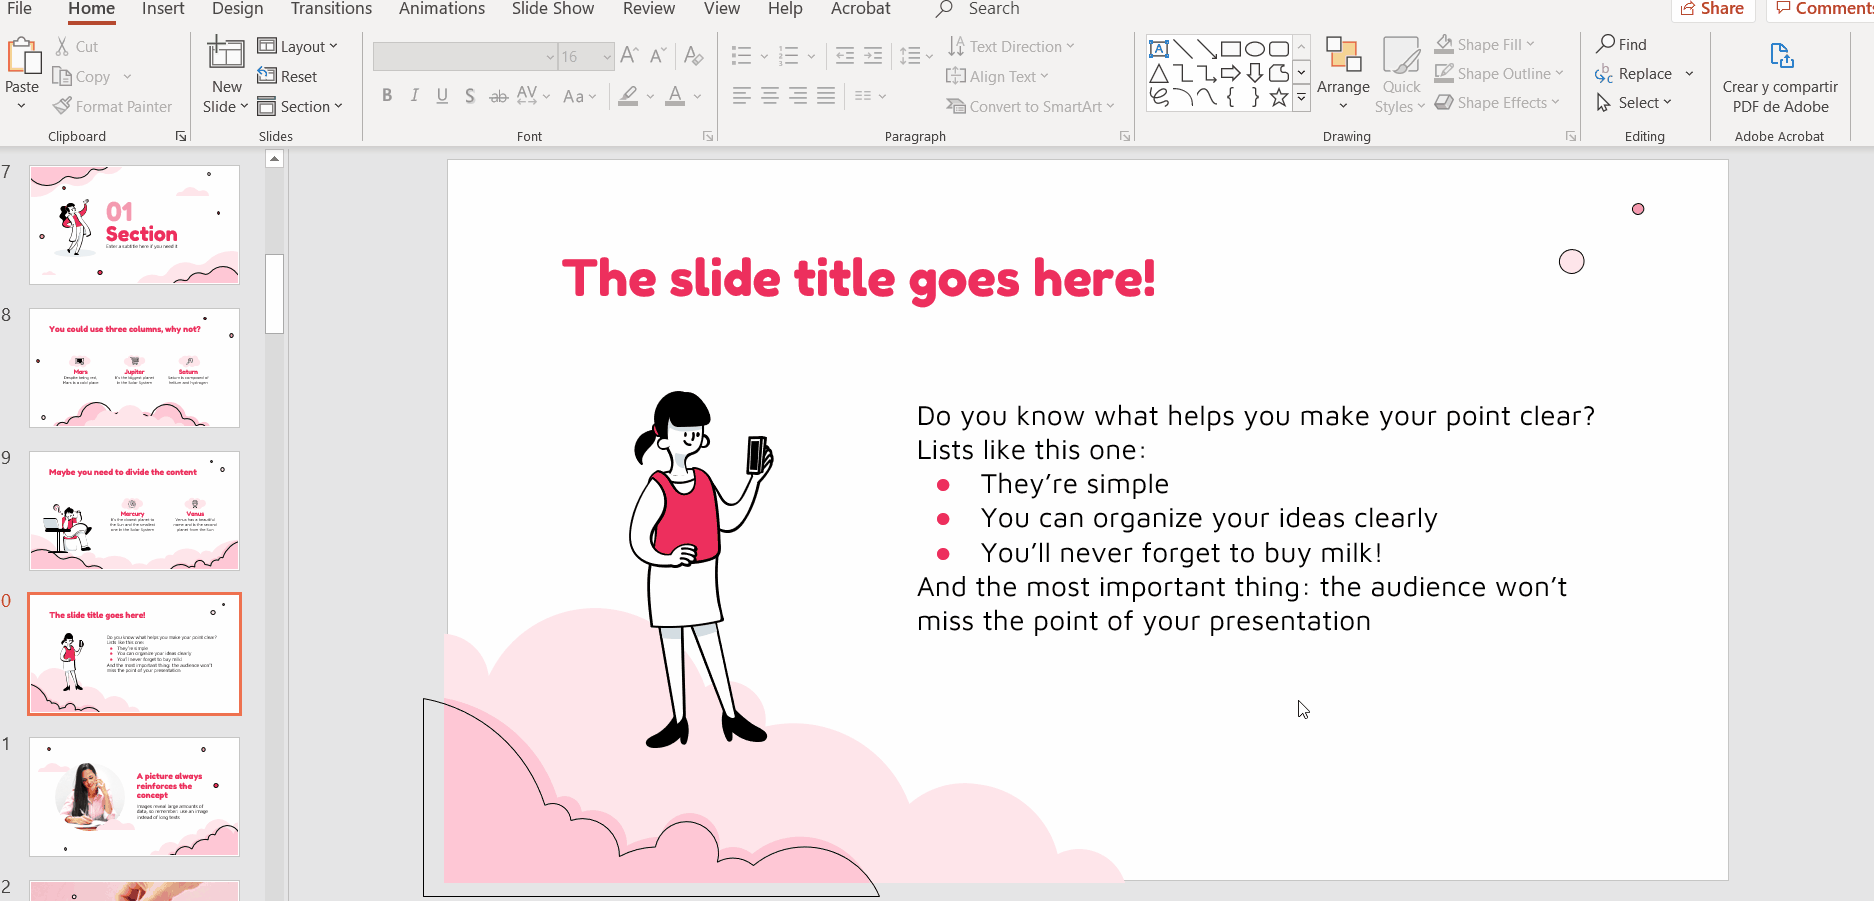
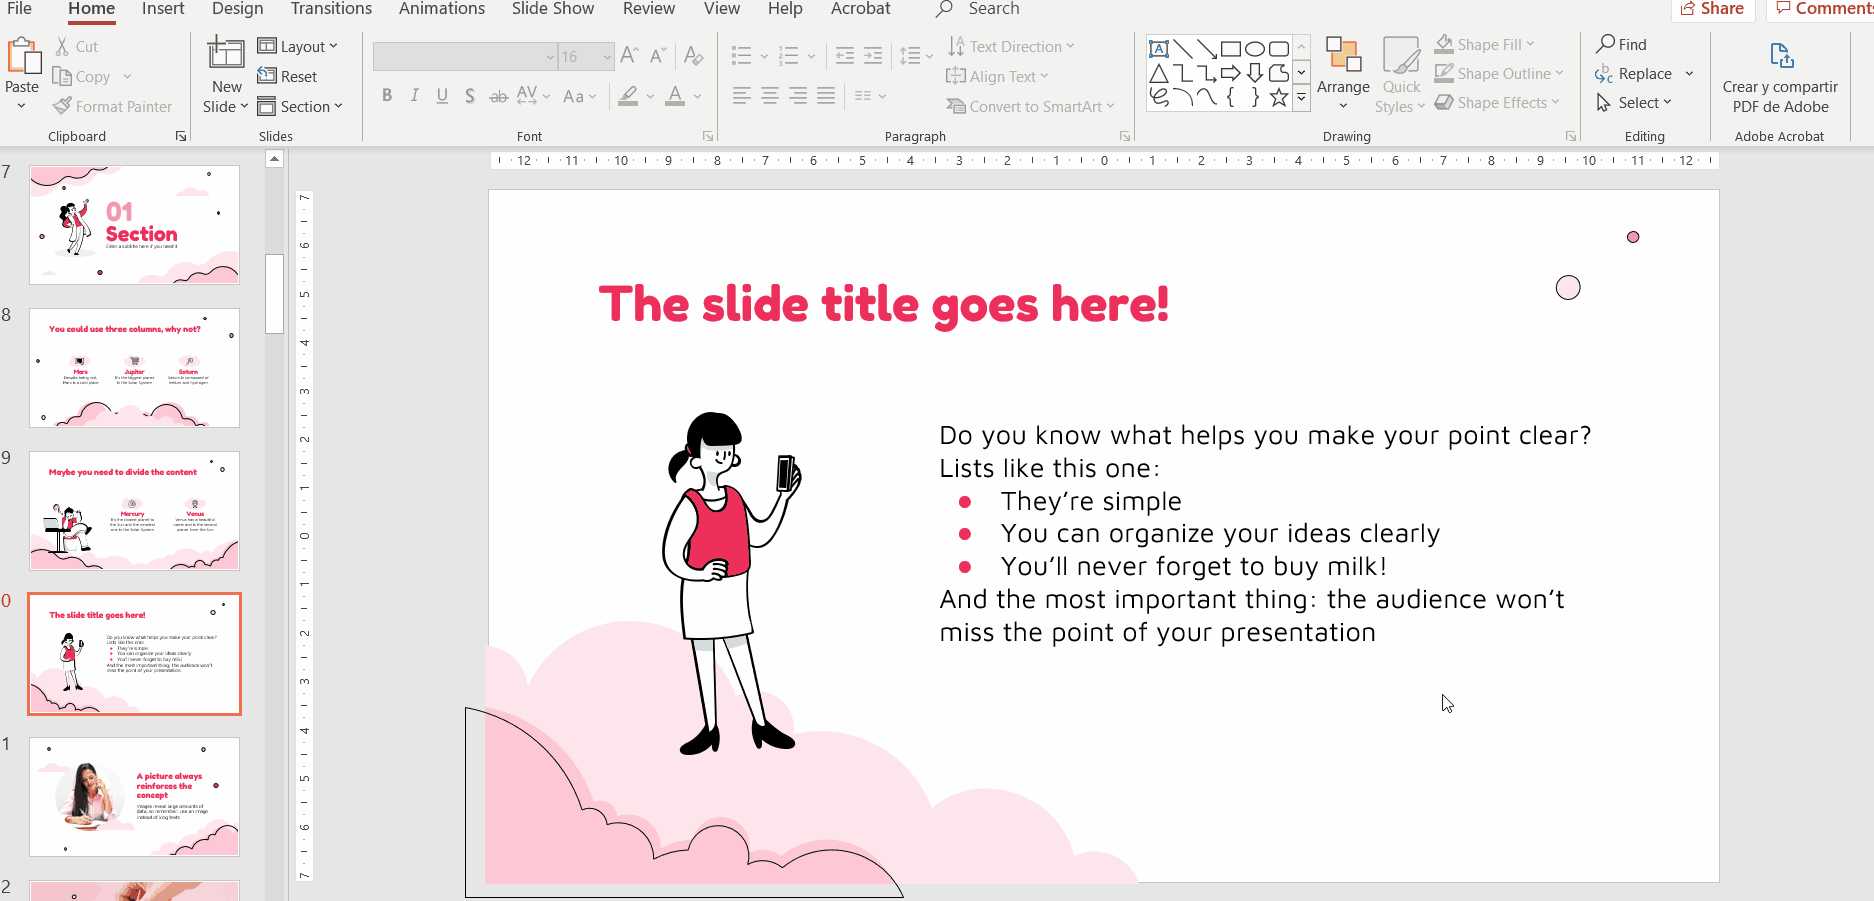
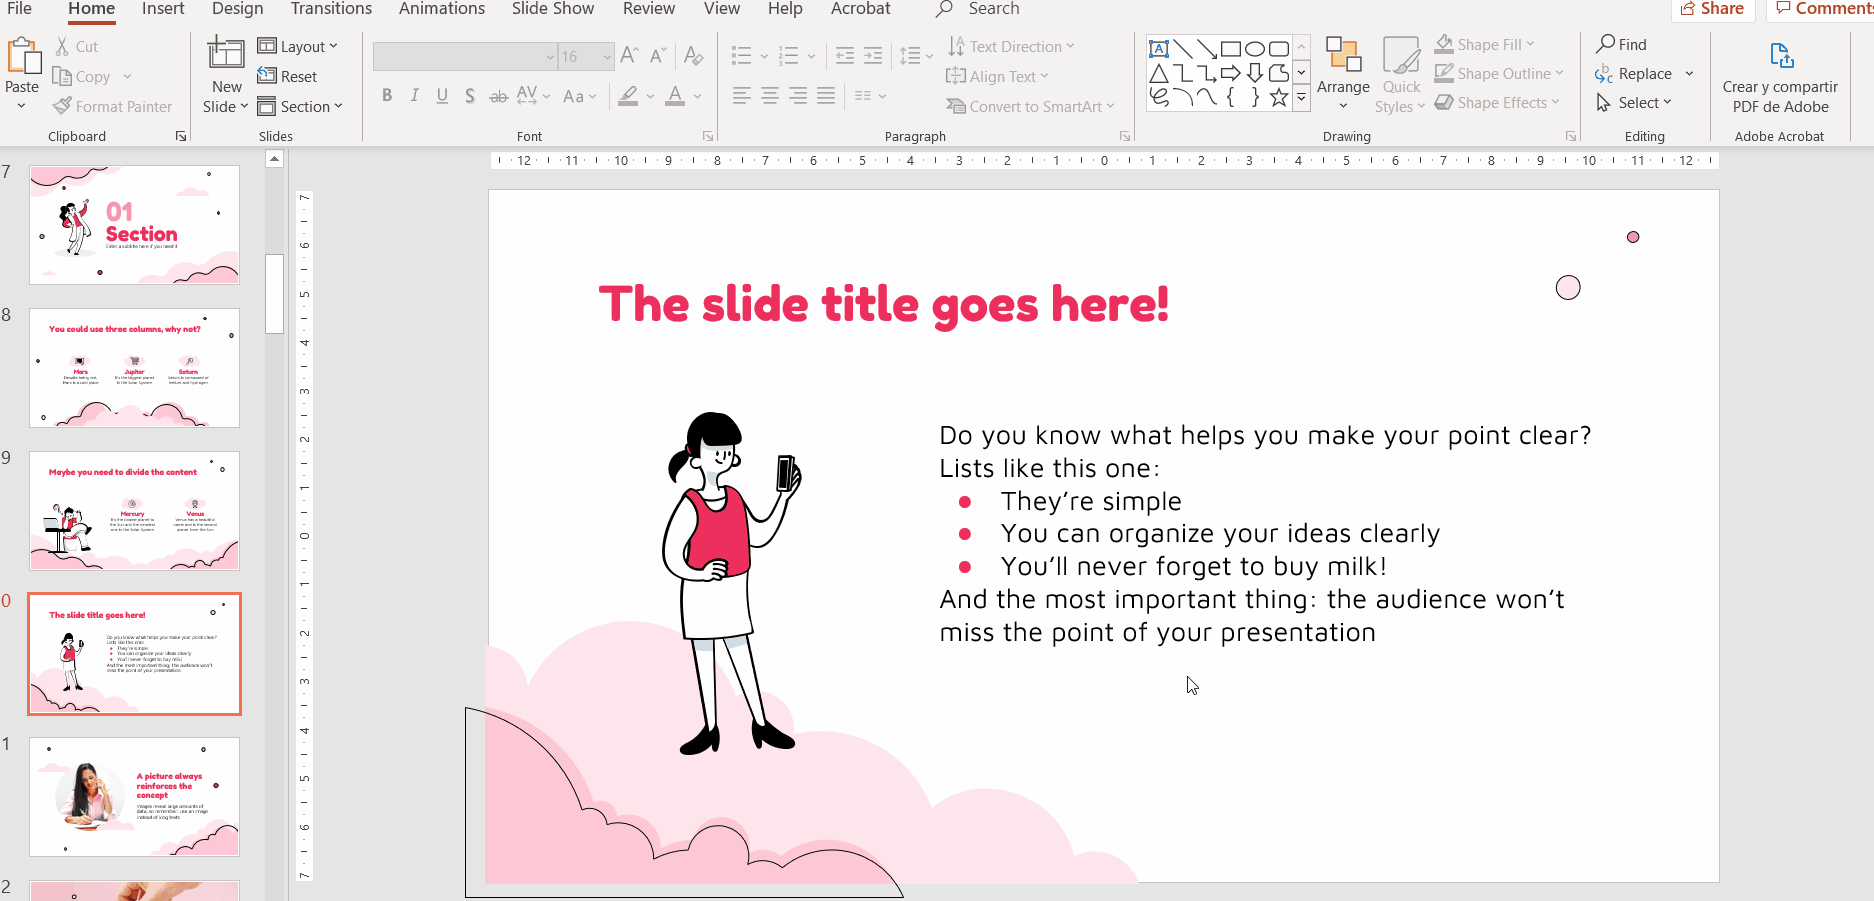
- Open your presentation in PowerPoint.
- Select the text you want to modify.
- Drag the first-line indentation marker, located on the top ruler, to where you want the text to start (this will only affect the first line).

Pro Tip: If you cannot see the ruler when selecting text, go to the View tab and check “Ruler”.
Changing the indentation of a paragraph
The following instructions will allow you to adjust the indentation for the entire paragraph. First, open your presentation in PowerPoint and select a paragraph:
- Go to the Home tab and locate the Paragraph group.
- Click Increase List Level or Decrease List Level.

Using a hanging indentation
- Open your presentation in PowerPoint and select the paragraph you want to modify. You may select multiple paragraphs if you wish.
- Go to the Home tab and locate the Paragraph group. Click the little arrow on the lower-right corner of this group.
- Enter the desired value in the “Before text” field, under Indentation. A standard value is usually 1.25 cm or 0.5 inches.
- Next to this is the Special indentation. Click the arrow and select “Hanging”.
- Click OK.
Adjusting the spacing
Spacing is the area above or below a text. Let’s see how to modify it:
- Go to the Home tab and locate the Paragraph group. Click the little arrow on the lower-right corner of this group.
- To change the spacing, enter the desired values in the “Before” and “After” fields.
Pro Tip: These fields accept both integers and decimals. For a more precise adjustment, use decimals.
Adjusting the line spacing
The line spacing can be modified by accessing the same dialog box we’ve already seen in previous steps. Again, select the text, go to the Home tab, locate the Paragraph group and click the little arrow on the lower-right corner of this group.
- Go to Line Spacing and click the arrow. You have the following options to choose from:
- Single (equivalent to a single line)
- 1.5
- Double (equivalent to two lines)
- Multiple (equivalent to three lines)
- Exactly: This allows you to enter your own custom value in the “At” field.
Once you’ve adjusted the line spacing, click OK to apply the changes.
If you need more information on how to modify the text in PowerPoint, please refer to the How to Format the Text in PowerPoint tutorial or the How to Arrange and Align Elements in PowerPoint tutorial.
Tags
Edit & FormatDo you find this article useful?
Related tutorials

New feature available: edit our templates with Canva
Whenever you need to create, Slidesgo is there. We’re continually enhancing your presentation design process with templates that are primed to impress for any occasion. And in order to let your ideas flow best, comfort is key. How could Slidesgo help you with this? By making you feel right at home with...
How to print PowerPoint notes
Crafting an impactful PowerPoint slideshow and delivering a captivating presentation are distinct skills. The first focuses on designing appealing visuals to convey a clear message, while the second involves employing effective presentation techniques to ensure the audience grasps the idea. The content of this article will help you with the latter...

Discover Our Online Presentation Software for Free
We have great news for you today! If you’ve been a Slidesgo fan for years (or months, or weeks, or days, or mere hours, we welcome everyone!), you’ll probably know for now that our templates are available mostly in two formats: for use in Google Slides and PowerPoint.Google Slides is a...

Webinar: Presentation Audit
With more than 15,000 templates released on Slidesgo and a user base composed of millions of people, we estimate that the total number of presentations created adds up to… um, a lot! Our team of professional designers work very hard to provide you with editable slides so that the only thing...