
How to Translate in Google Slides
Translation is one of the oldest professions in the world, and it has now become a new importance in our society because of globalization. Maybe you need to present the same idea to different teams worldwide, or one of your colleagues speaks a different language and you want to make sure that they understand the content perfectly.
What options do you have? Of course, the ideal option is to rely on a professional translator, but sometimes you don’t have the time or the ressources, so in this tutorial we are going to show you how to translate Google slides.
Slides Translator is a Google Chrome extension that automatically translates text in your Slides. Installing it is very easy and can be done in two easy steps.
How to Install Slides Translator
- Go to Slides Translator in Google Marketplace.
- Click Install. You will need to allow Slides Translator permission to access your documents in order to translate them.
How to Use Slides Translator
Now you are ready to use Slides Translator! This tool will be available in the “Add-ons” menu in Google Slides. Let’s check how it works! For this example, we have used the presentation Kindergarten Sight Word Books.
In order to translate on Google Slides, you only need to click on Add-ons > Slides Translator > Translate Text Box.
Now you only need to select the text box you want translated, choose the target language and click Translate! Sadly, this tool can only translate one text box at a time and, since the translations are automated, they can have errors, but it’s still an amazing extension that your international clients will surely appreciate!
Slidesgo has an amazing offer on presentations, and even has some templates in German, French and Spanish! Check our website and discover them.
Tags
Edit & FormatDo you find this article useful?
Related tutorials
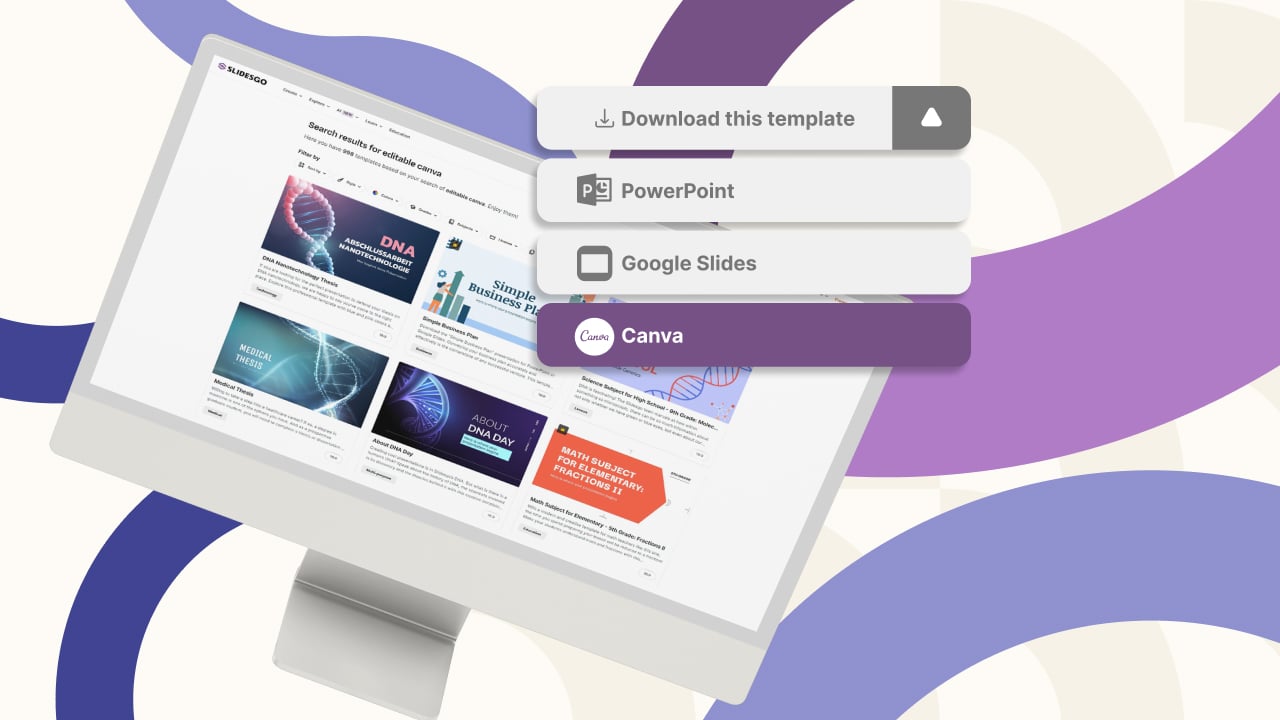
New feature available: edit our templates with Canva
Whenever you need to create, Slidesgo is there. We’re continually enhancing your presentation design process with templates that are primed to impress for any occasion. And in order to let your ideas flow best, comfort is key. How could Slidesgo help you with this? By making you feel right at home with...
How to print PowerPoint notes
Crafting an impactful PowerPoint slideshow and delivering a captivating presentation are distinct skills. The first focuses on designing appealing visuals to convey a clear message, while the second involves employing effective presentation techniques to ensure the audience grasps the idea. The content of this article will help you with the latter...

Discover Our Online Presentation Software for Free
We have great news for you today! If you’ve been a Slidesgo fan for years (or months, or weeks, or days, or mere hours, we welcome everyone!), you’ll probably know for now that our templates are available mostly in two formats: for use in Google Slides and PowerPoint.Google Slides is a...

Webinar: Presentation Audit
With more than 15,000 templates released on Slidesgo and a user base composed of millions of people, we estimate that the total number of presentations created adds up to… um, a lot! Our team of professional designers work very hard to provide you with editable slides so that the only thing...