
How to Print Presentations in Google Slides
It is very likely that some time you will need to print your Google Slides presentation to have a physical copy at hand. This is crucial for studying or reviewing, as a support for the annotations of a presentation or as a support for your lecture or exhibition. To make things easier, we have created this practical tutorial where we explain step by step and in a simple way how to print your Google Slides presentation.
Please note: To get access to all the options mentioned in this tutorial, you need to use Google Slides in Google Chrome.
Printing Your Google Slides Presentation
- Open your Google Slides presentation.
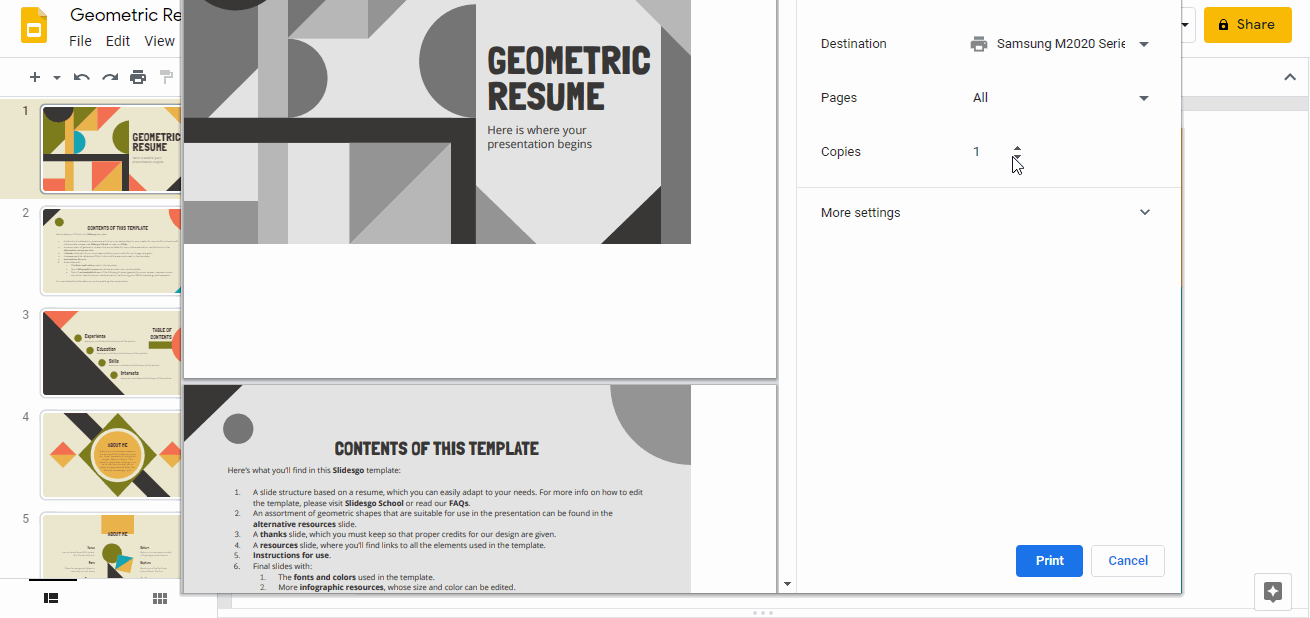
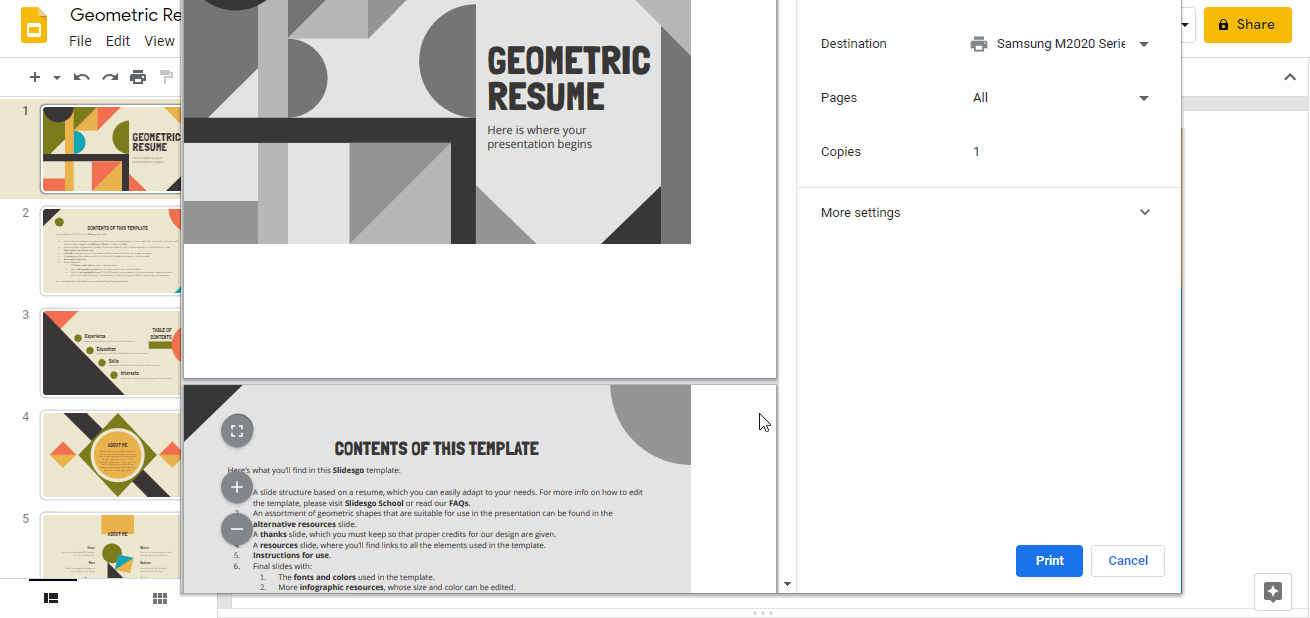
- Click File → Print. A new window opens with a preview of the presentation and the options to configure printing.

- Click the arrow on the right in the Destination tab to select the printer.

- If no printer appears on the menu, you will have to add one through your equipment configuring feature. This can be done following these steps:
- Windows 10: Go to Start → Configuration → Devices → Printers and scanners.
- Windows 7 or 8: Go to Control Panel → Hardware and Sound→ Add printer → Add network, wireless or Bluetooth printer → Next.
If after doing the configuring procedure above the printer is still not listed, check if your computer is connected to the printer through a cable or a wireless connection. Review the printer instructions to verify the means and the connection path it needs.
- Click the Print button at the bottom of the window.

Selecting Which Slides to Print
- Open your Google Slides presentation.
- Click File → Print.

- Click on the right arrow in Pages to select if you want to print the whole presentation or only some of its pages.
- To print the whole presentation:
- Pages → All.
- To print only certain slides:
- Pages → Custom.
- To print the whole presentation:

- Finally, click the Print button.

Printing Several Copies
- Open your Google Slides presentation.
- Click File → Print.

- Copies → Type the number of copies you want to print.
- The option Collate will appear on the right. Choose this option if you are printing more than one copy of the document and do not want the pages to get grouped by page number.
- Finally, click Print.

Printing Presentations on Different Paper Formats
- Open your Google Slides presentation.
- Click File → Print

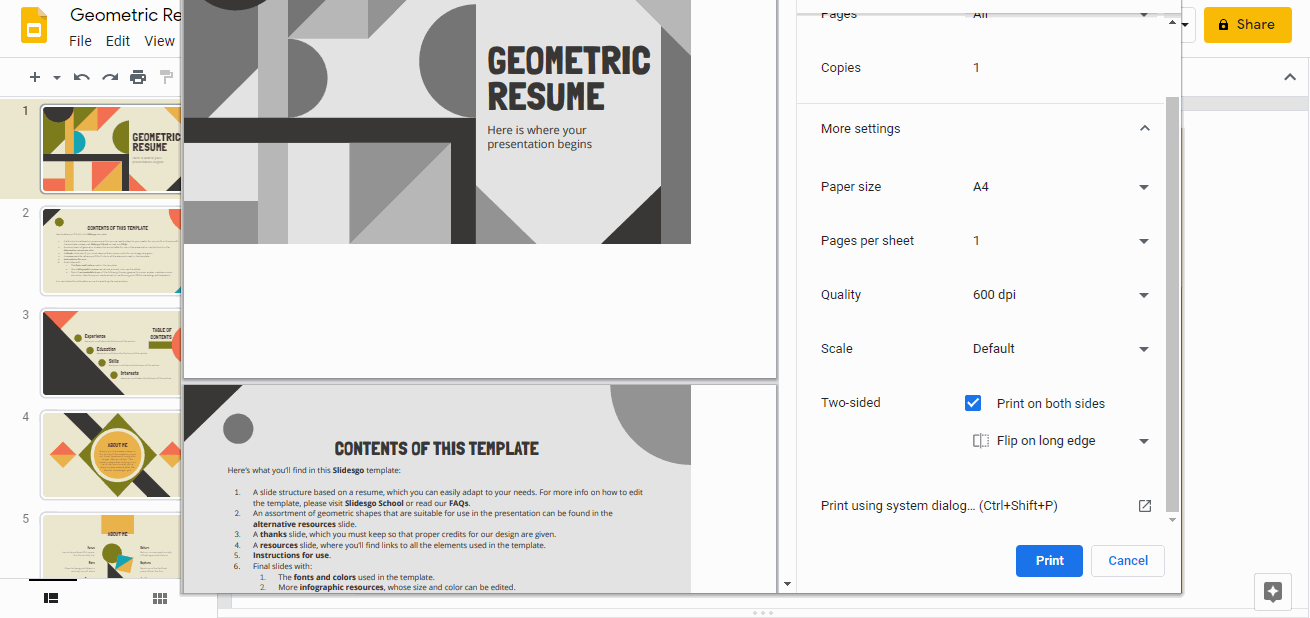
- More settings → Paper size. A drop-down menu will appear with the different sizes of paper available for printing. After choosing a size, the document preview will be adjusted to the new size.
- Finally, click the Print button.

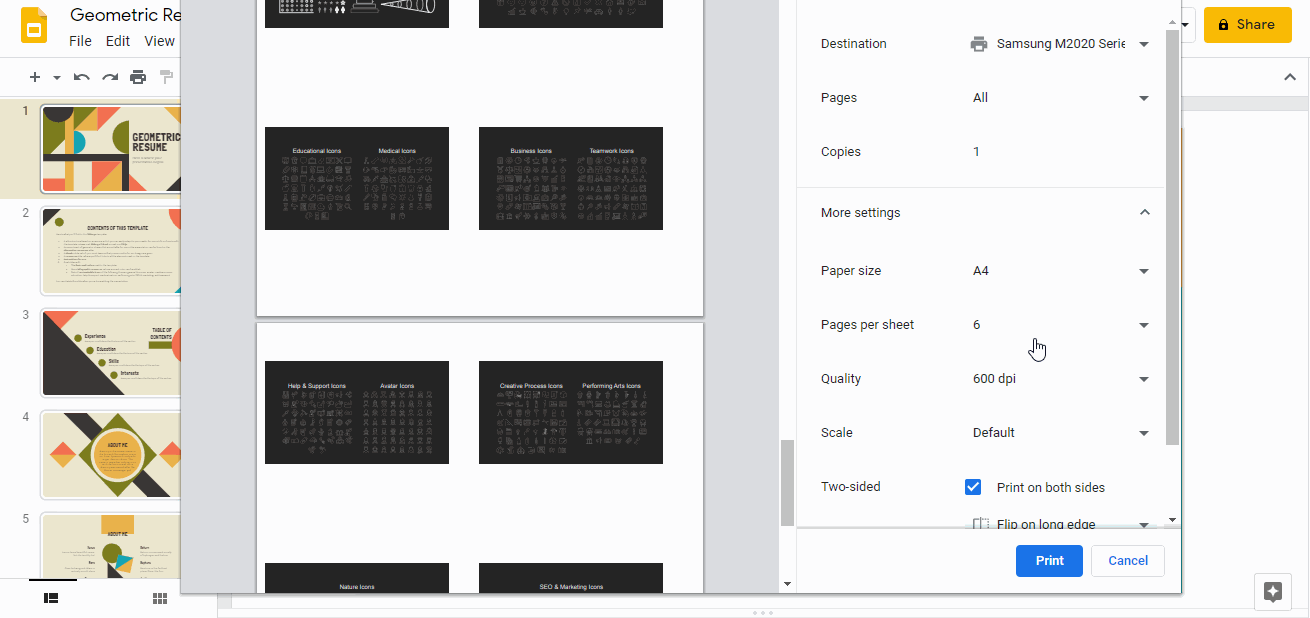
Choosing How Many Slides per Page to Print
- Open your Google Slides presentation.
- Click File → Print.

- More settings → Pages
The Pages option allows you to select the number of slides you want to print in each sheet. The document preview on the left will vary depending on the option selected.

- Click the Print button, located at the bottom of the window.
Scaling the Slides to Print
- Open your Google Slides presentation.
- Click File → Print.

- More settings→ Scale.
- To align the slide to the upper-left corner of the sheet:
- Scale → Predetermined.
- To adjust the slide to the sheet:
- Scale → Adjust to printing area.
- To adjust the slide to the paper size:
- Scale → Adjust to paper size.
- To adjust the zoom between a minimum of 10% and a maximum of 200%:
- Scale → Custom.
- To align the slide to the upper-left corner of the sheet:

- Finally, click the Print button at the bottom of the window.

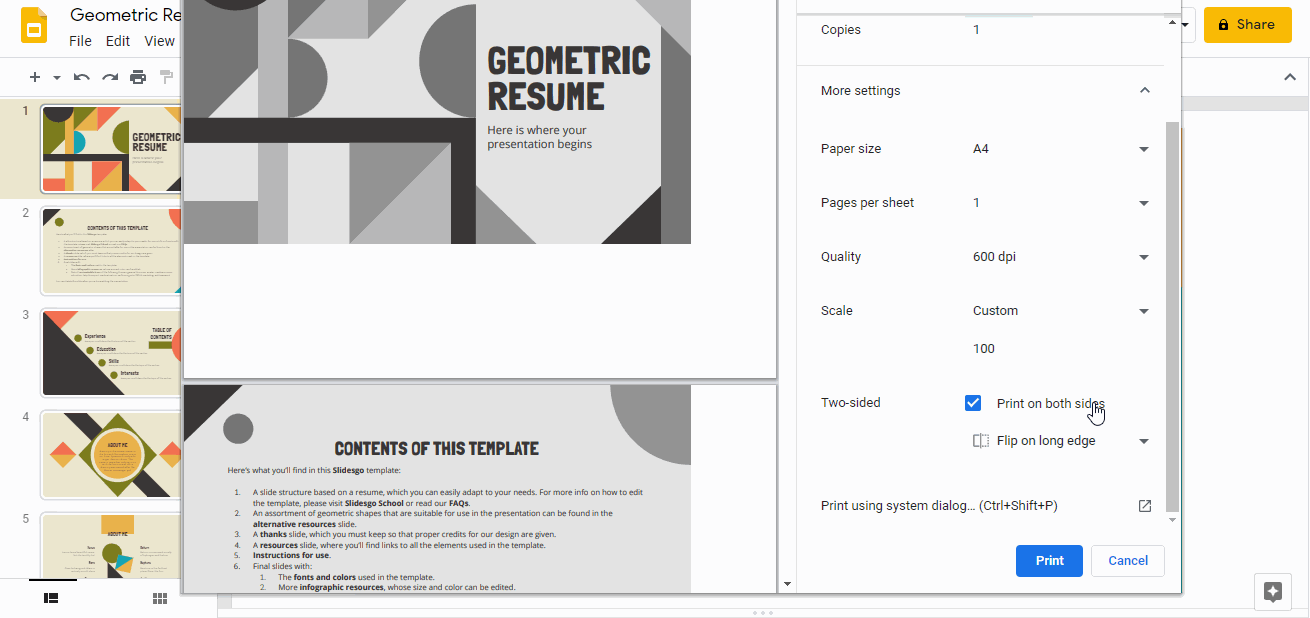
Printing Slides on Both Sides
- Open your Google Slides presentation.
- Click File → Print.

- More settings → Two-sided.
- Click the Print button.
Tags
BasicsDo you find this article useful?
Related tutorials
How to Personalize Your Presentations with Slidesgo’s AI-Powered Tools
You’ve got the story—now make it look and sound like you. Whether you’re teaching a lesson, designing a sales pitch, or sharing your research, Slidesgo’s updated AI Presentation Maker puts more creativity and control right at your fingertips. (And we all want more control, right?).What you’ll find here:New personalization features make it...

How to Write a Great AI Prompt
Our tools are built to be simple and easy to use (though, honestly, there's a lot happening behind the scenes). Have you ever struggled with an empty text box?:Condensing all your ideas and goals into a single prompt can feel overwhelming. But don’t worry—there are a few simple tricks that can...

How to Download Google Slides Templates
When preparing a presentation, many people start panicking because they realize how much time it will take to edit each and every slide. Creating them from scratch, filling them in, looking for pictures, moving the elements...How stressful! But there is a solution that saves you a lot of time. We're...
Discover our collection of printable templates
With the advance of technology, printing has become something that is no longer a necessity. Smartphones have made the paper format less and less frequent, but there are still certain cases in which having physical resources is much more convenient. Whether it's for taking notes, handing out assignments, making worksheets...