
How to Use Basic Image Editing Tools in PowerPoint

An image is worth a thousand words, so that’s why you should make sure the images in your PowerPoint presentation have a nice quality and are well integrated within your slides.
In this Slidesgo School tutorial, you’ll learn how to edit the images in your PowerPoint presentation so that they help convey the information in a proper manner.
Resizing an Image
- Open your presentation in PowerPoint.
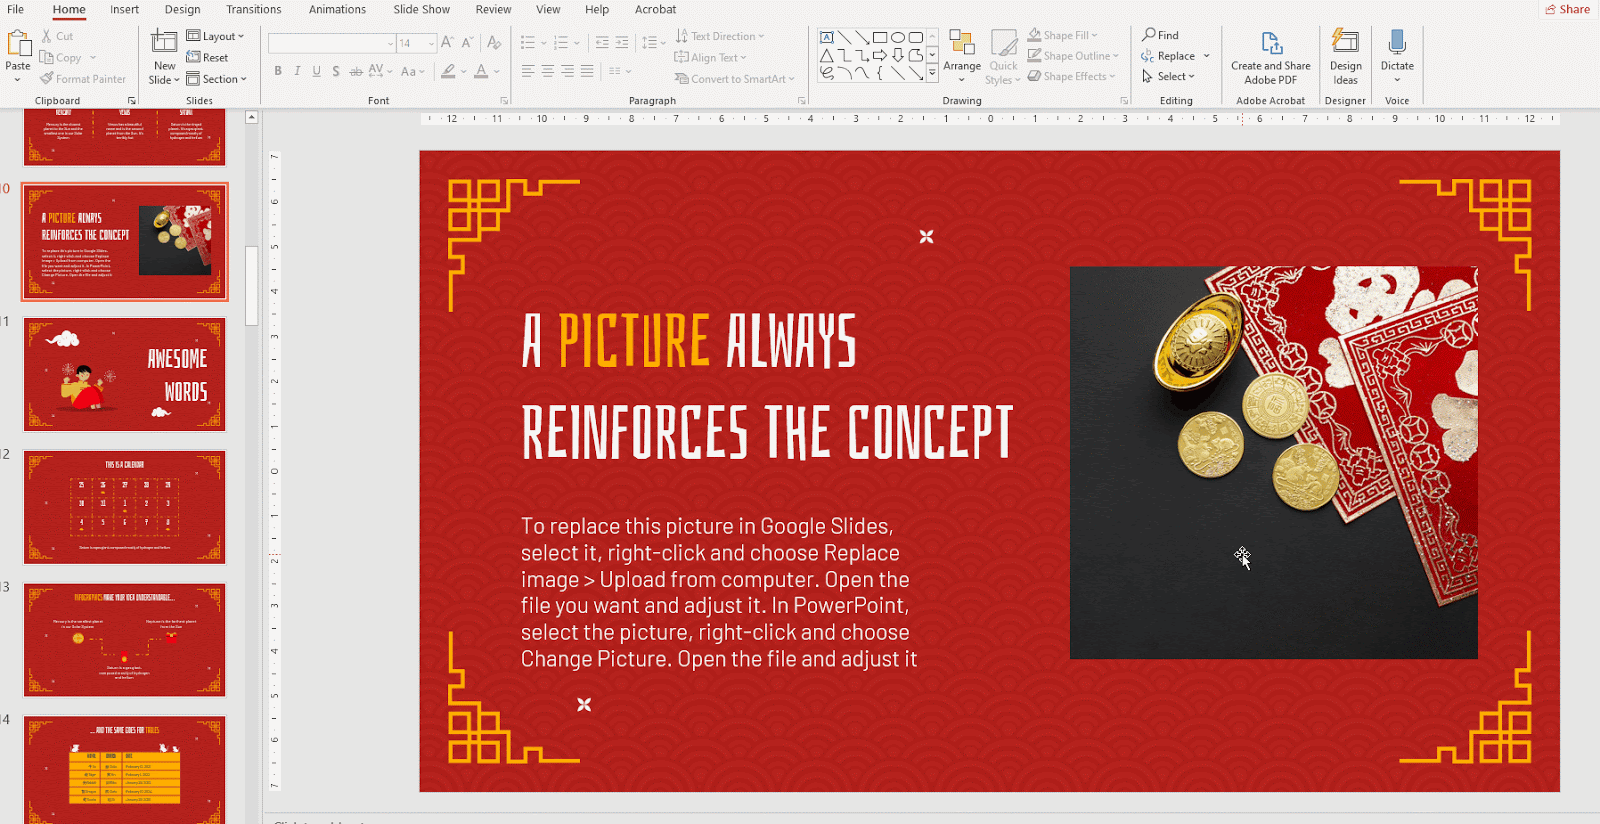
- Select the image you want to resize.
- Click and drag one of the handles to make the image bigger or smaller. Don't forget to hold Shift to keep the proportions while resizing

Removing the Background from an Image
- Open your presentation in PowerPoint and select the image that you'd like to adjust.
- On the Picture Format tab, in the Adjust group, click Remove Background.
By default, the areas highlighted in magenta will be removed. However, this can be further adjusted by using the options found on the Background Removal tab.
- If you click Mark Areas to Keep, you can then draw on the image to mark those areas you want to keep.
- When you’re done, click Keep Changes.
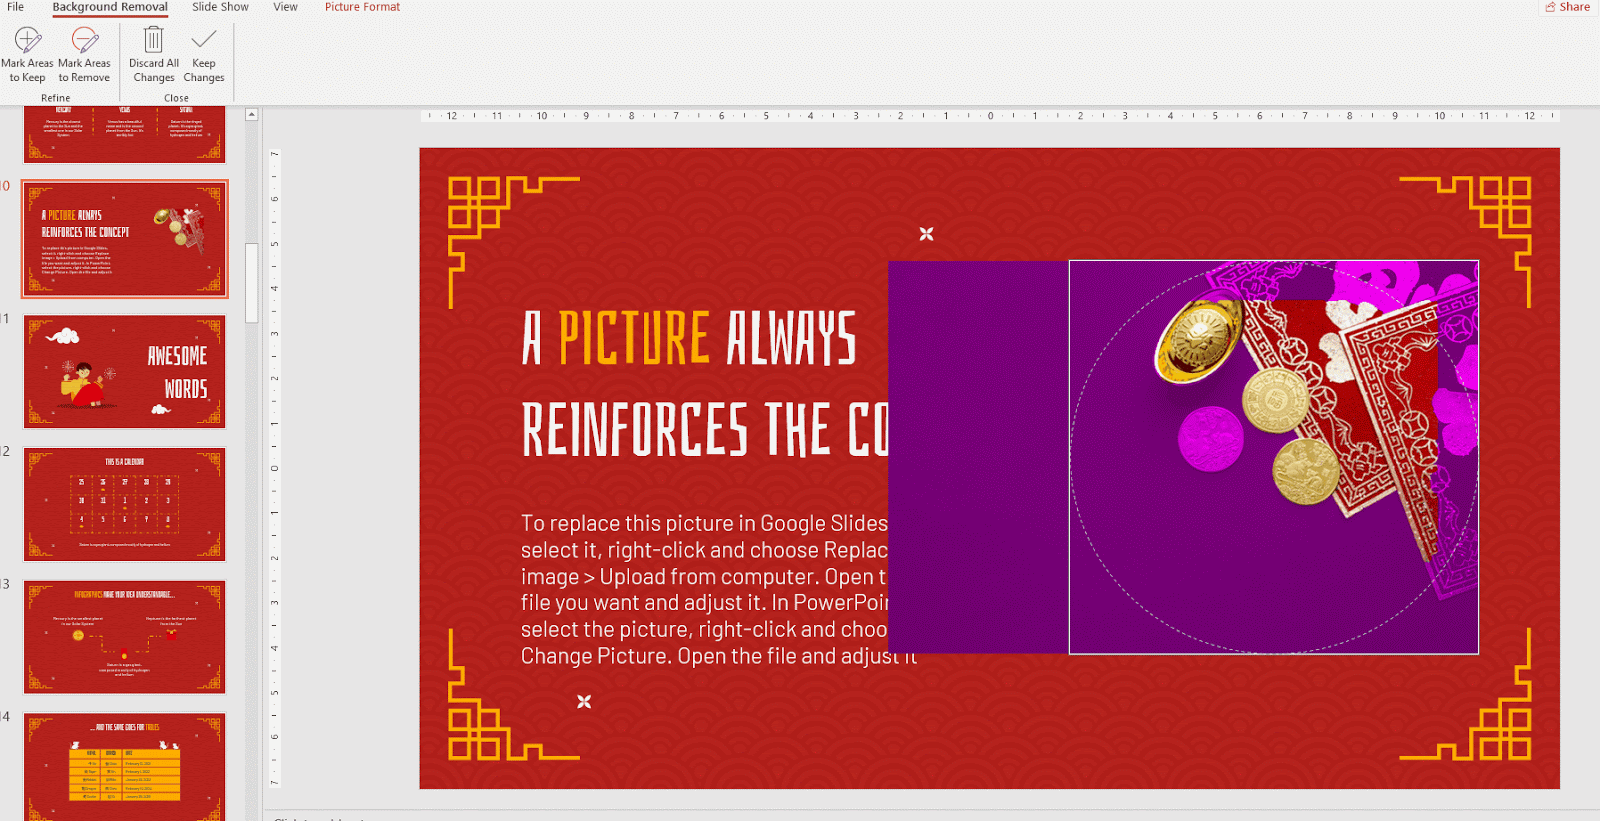
- Conversely, if you click Mark Areas to Remove, you can then draw on the image to mark those areas you want to remove.
- When you’re done, click Keep Changes.
Rotating and Flipping an Image
- Open your presentation in PowerPoint
- Select the image you want to modify.
- On the Picture Format tab, in the Arrange group, click the Rotate drop-down arrow and select the desired option.
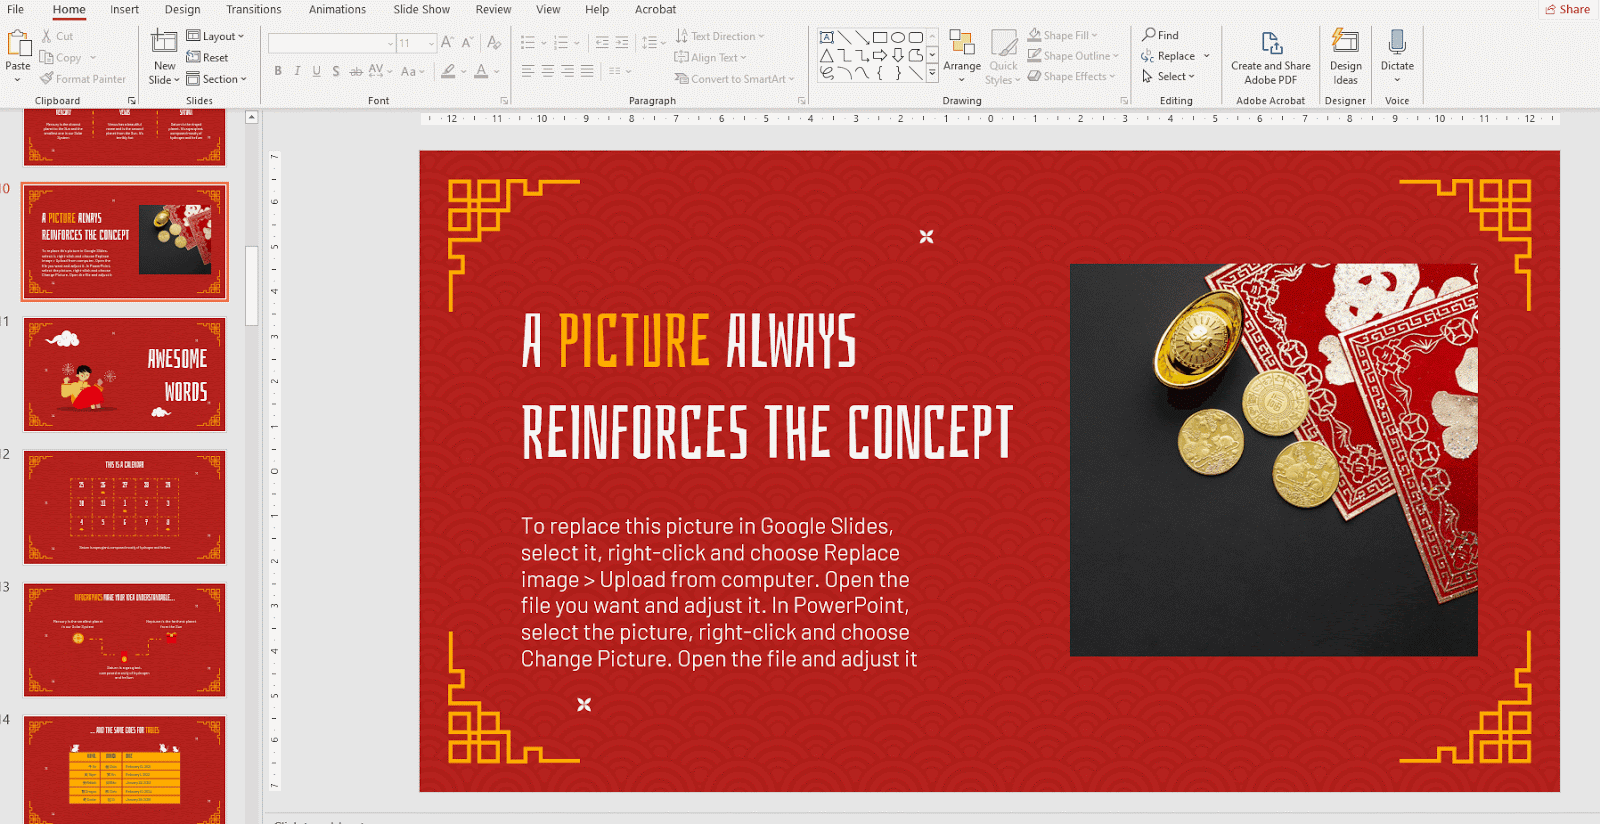
Cropping an Image
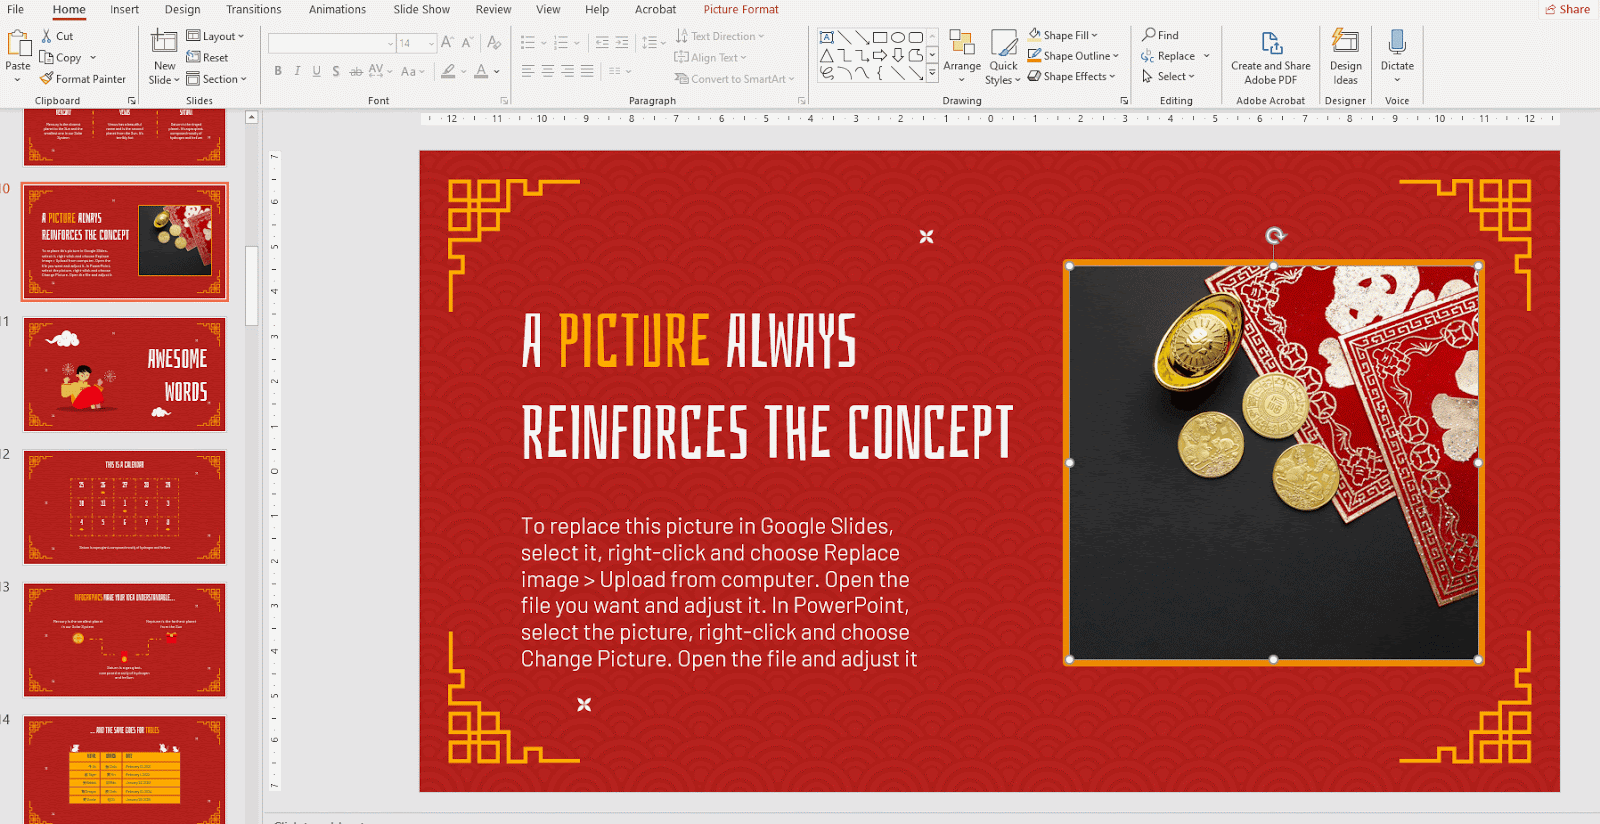
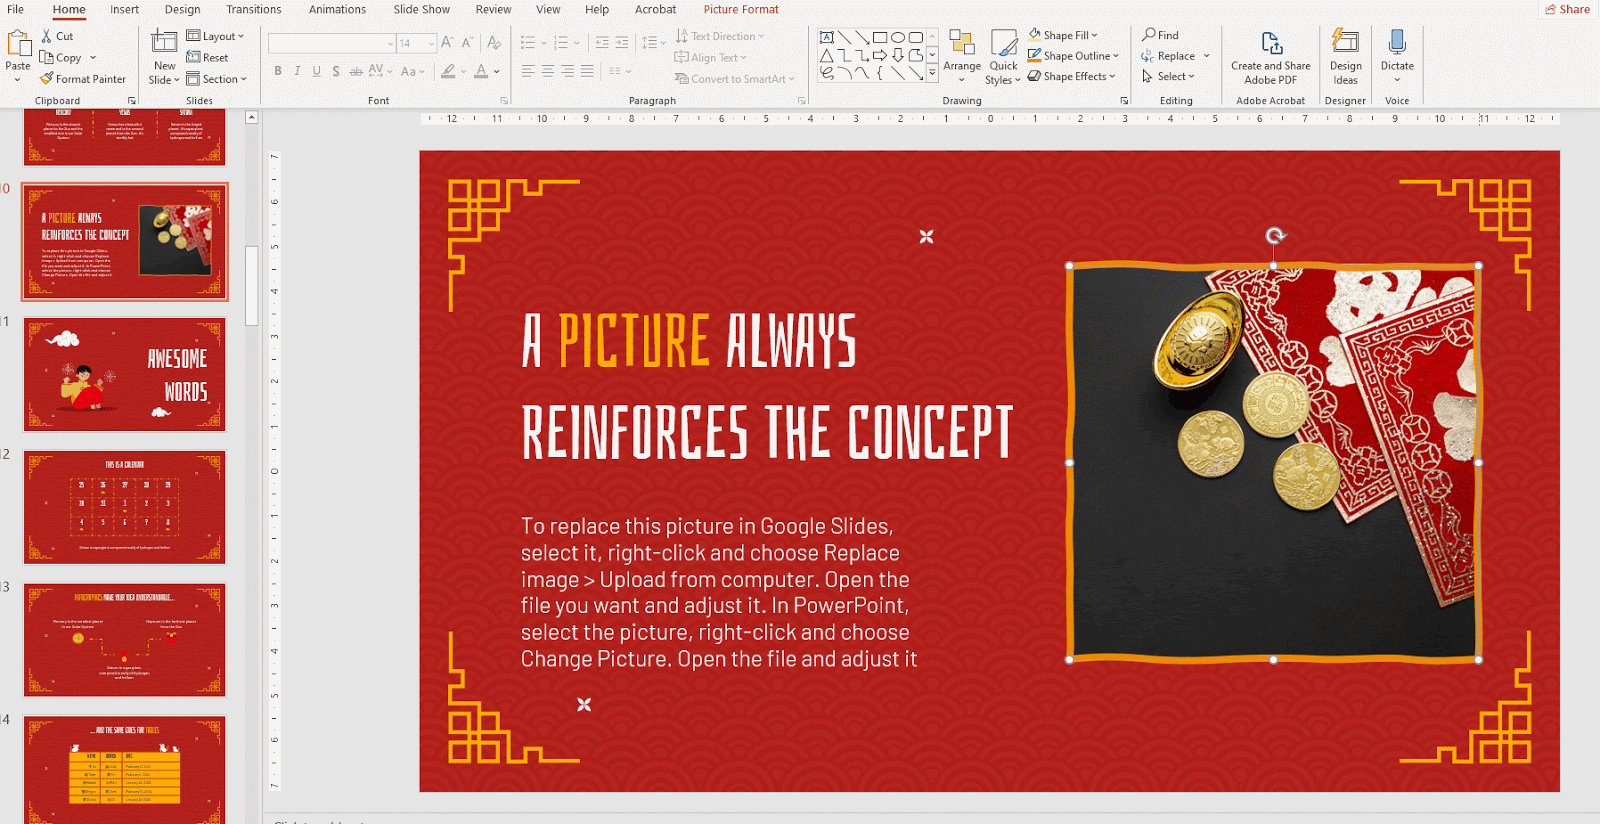
- Select the image you want to modify in your PowerPoint presentation.
- On the Picture Format tab, in the Size group, click Crop.
- Click and drag the handles to modify the cropping.
- When you’re done, click anywhere outside the image and the mask.
- You can use the options found in Crop to Shape if you want to crop the image to a specified shape. To access these options, on the Picture Format tab, in the Size group, click the Crop drop-down arrow → Crop to Shape.

Adding a Border to an Image
- Open your presentation in PowerPoint and Select the image you want to modify.
- On the Picture Format tab, in the Picture Styles group, click the Picture Border drop-down arrow.
- Theme Colors/Standard Colors: Here you can choose the color for the border.
- Weight: Here you can set the weight of the border line.

Changing the weight of the border
- Sketched: Here you can choose the kind of sketched line you want for the border.
- Dashes: Here you can choose between different dashed lines (or a straight line).
Tags
ImagesDo you find this article useful?
Related tutorials

How to Personalize Your Presentations with Slidesgo’s AI-Powered Tools
You’ve got the story—now make it look and sound like you. Whether you’re teaching a lesson, designing a sales pitch, or sharing your research, Slidesgo’s updated AI Presentation Maker puts more creativity and control right at your fingertips. (And we all want more control, right?).What you’ll find here:New personalization features make it...
How to Make a Banner in PowerPoint
The uses that a banner has are almost endless: from ads to sections for websites, or even signatures for certain types of emails. The purpose is up to you, but the thing is: how to design one? If you think that you need expensive software to make banners, think again. Here...

How to Create a Banner in Google Slides
Banners have been around us (at least, when it comes to browsing the net or participating in forums, among other things) for a long time. Creating one is by no means a difficult task, and you can do it with free software such as Google Slides. The steps that you’ll need...

Storyset by Freepik: Awesome illustrations for creative presentations
With inspiration and the adequate resources, a PowerPoint or Google Slides presentation can be the most creative slide deck your audience has ever been, regardless of topic. In this Slidesgo School article, we’re going to introduce Storyset, a new Freepik project where you’ll find illustrated concepts to visually reinforce the...