
How to Create a Timeline in PowerPoint
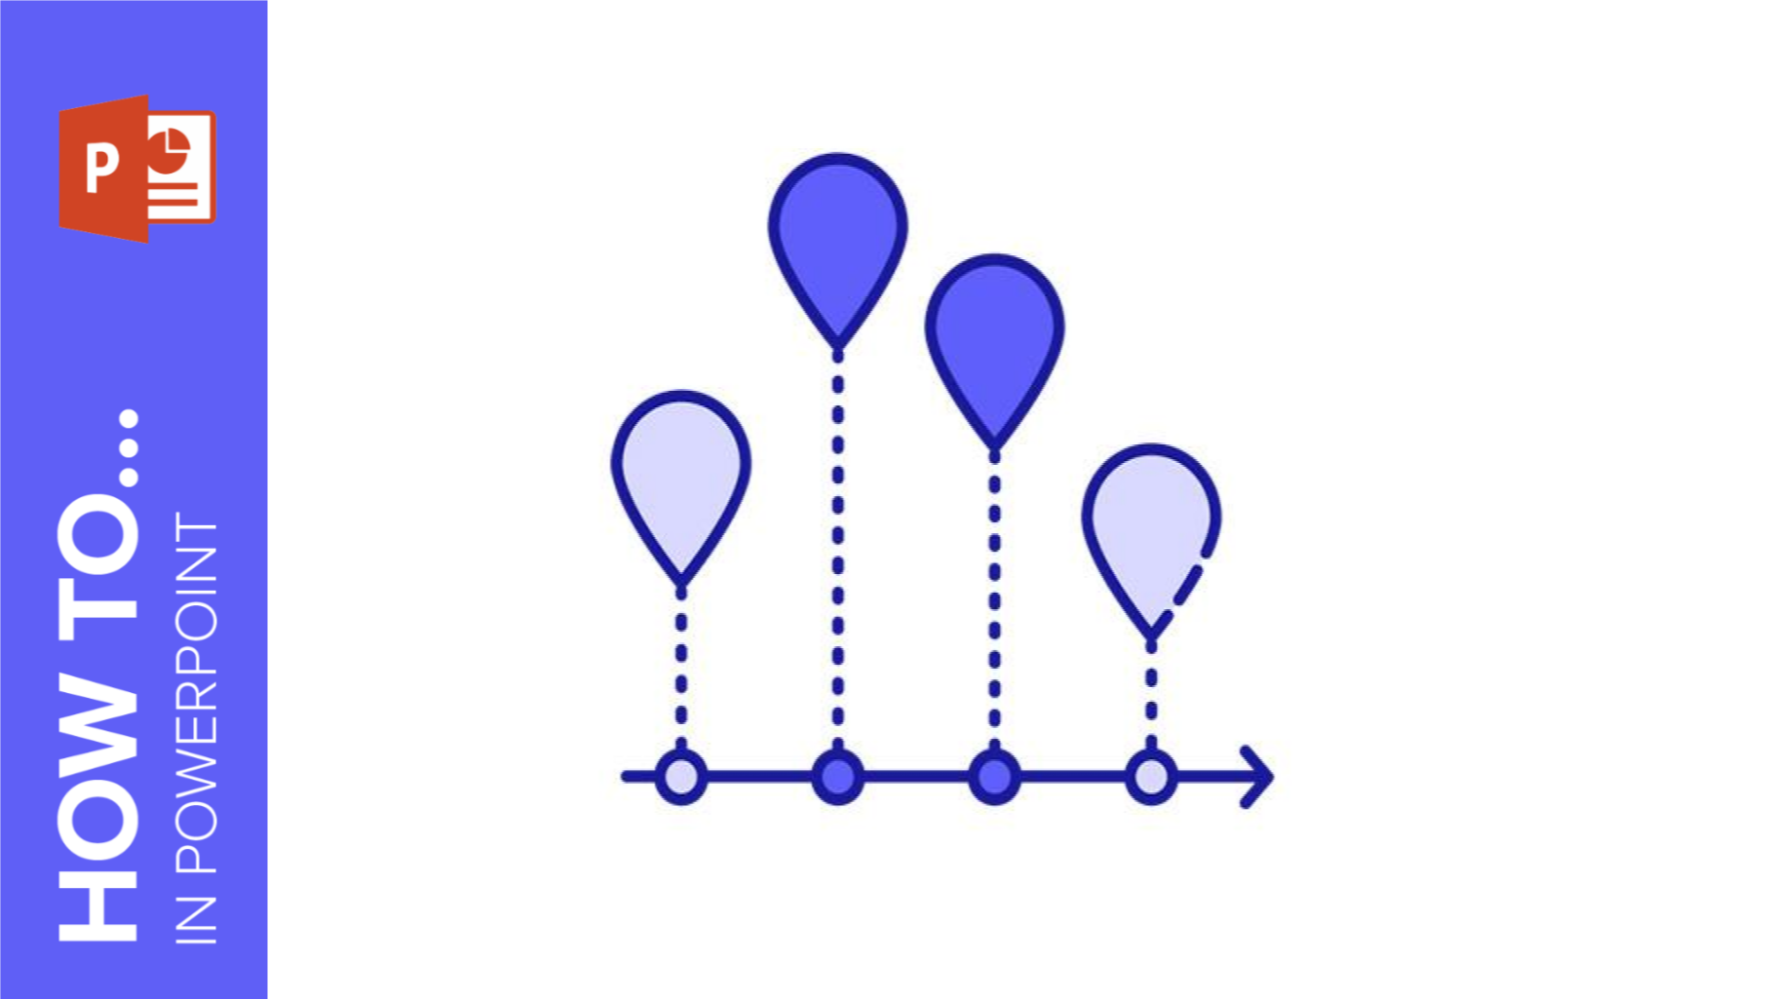
Timelines come in a rich variety of colors, shapes, and types. While there are plenty of creative ways to design them, they usually include a few basic elements including shapes, text, numbers, and lines. With these simple elements, you can put together a visually attractive and easy-to-understand chronology of the story you want to tell.
We’ll begin with creating a simple line before moving on to circles and callouts and topping it all off with just a bit of text. It’s nothing too overwhelming so if you’re ready, let’s start creating a timeline in PowerPoint!
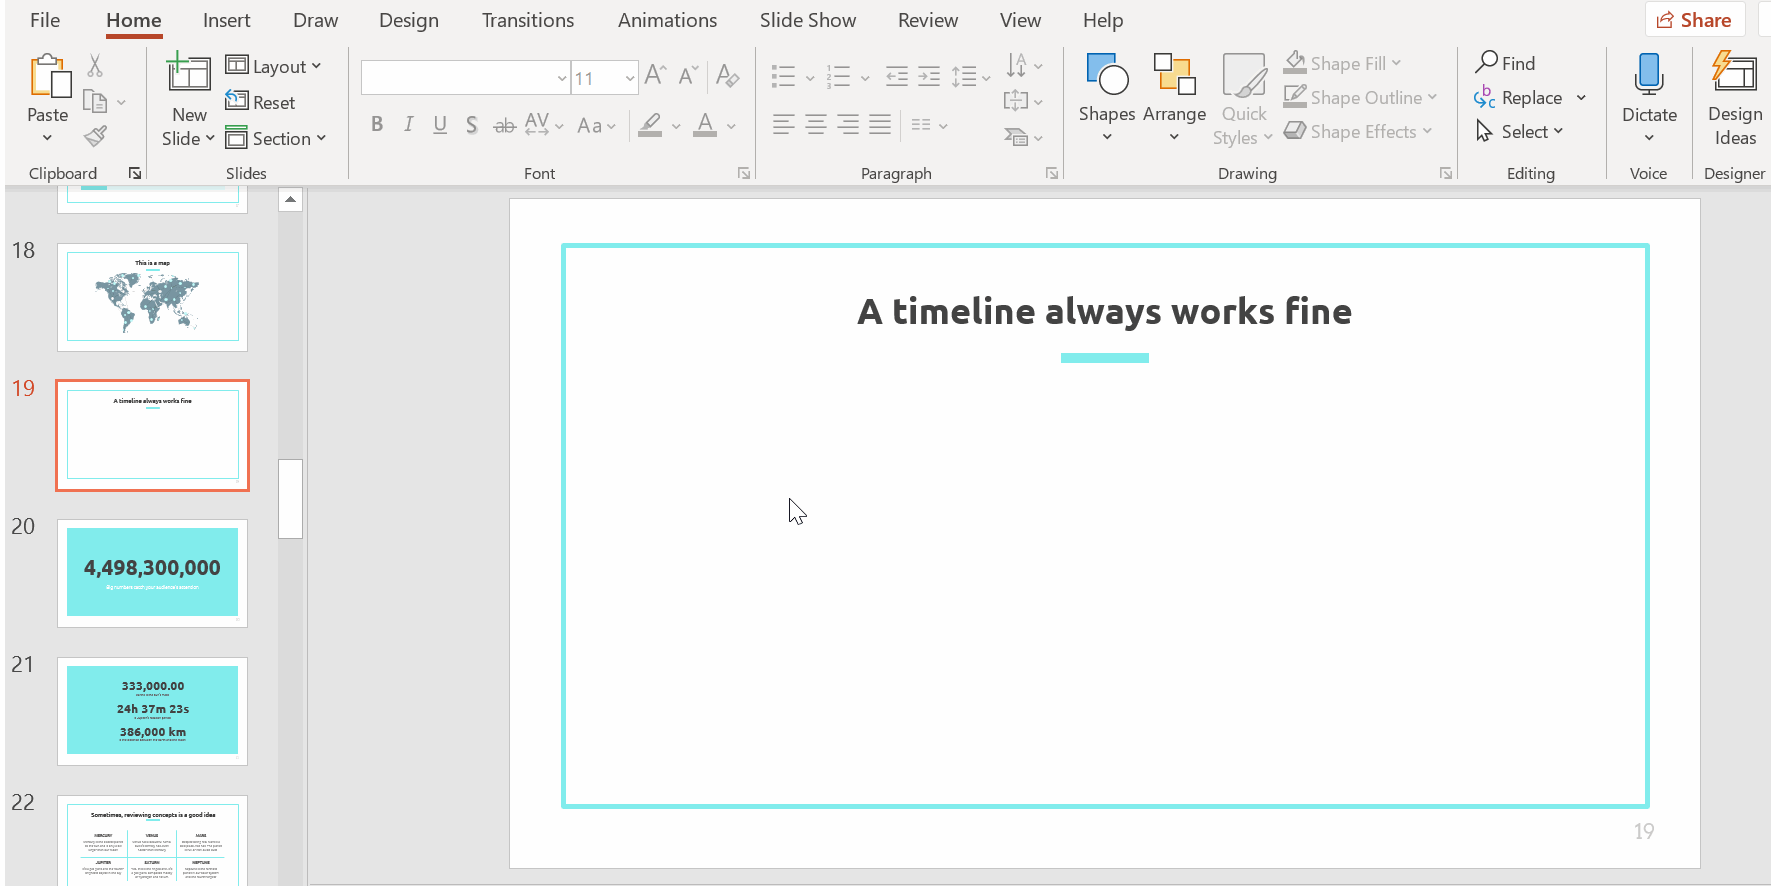
Creating the outline
- Open your PowerPoint presentation.
- Select or create the slide you want to insert the timeline to.
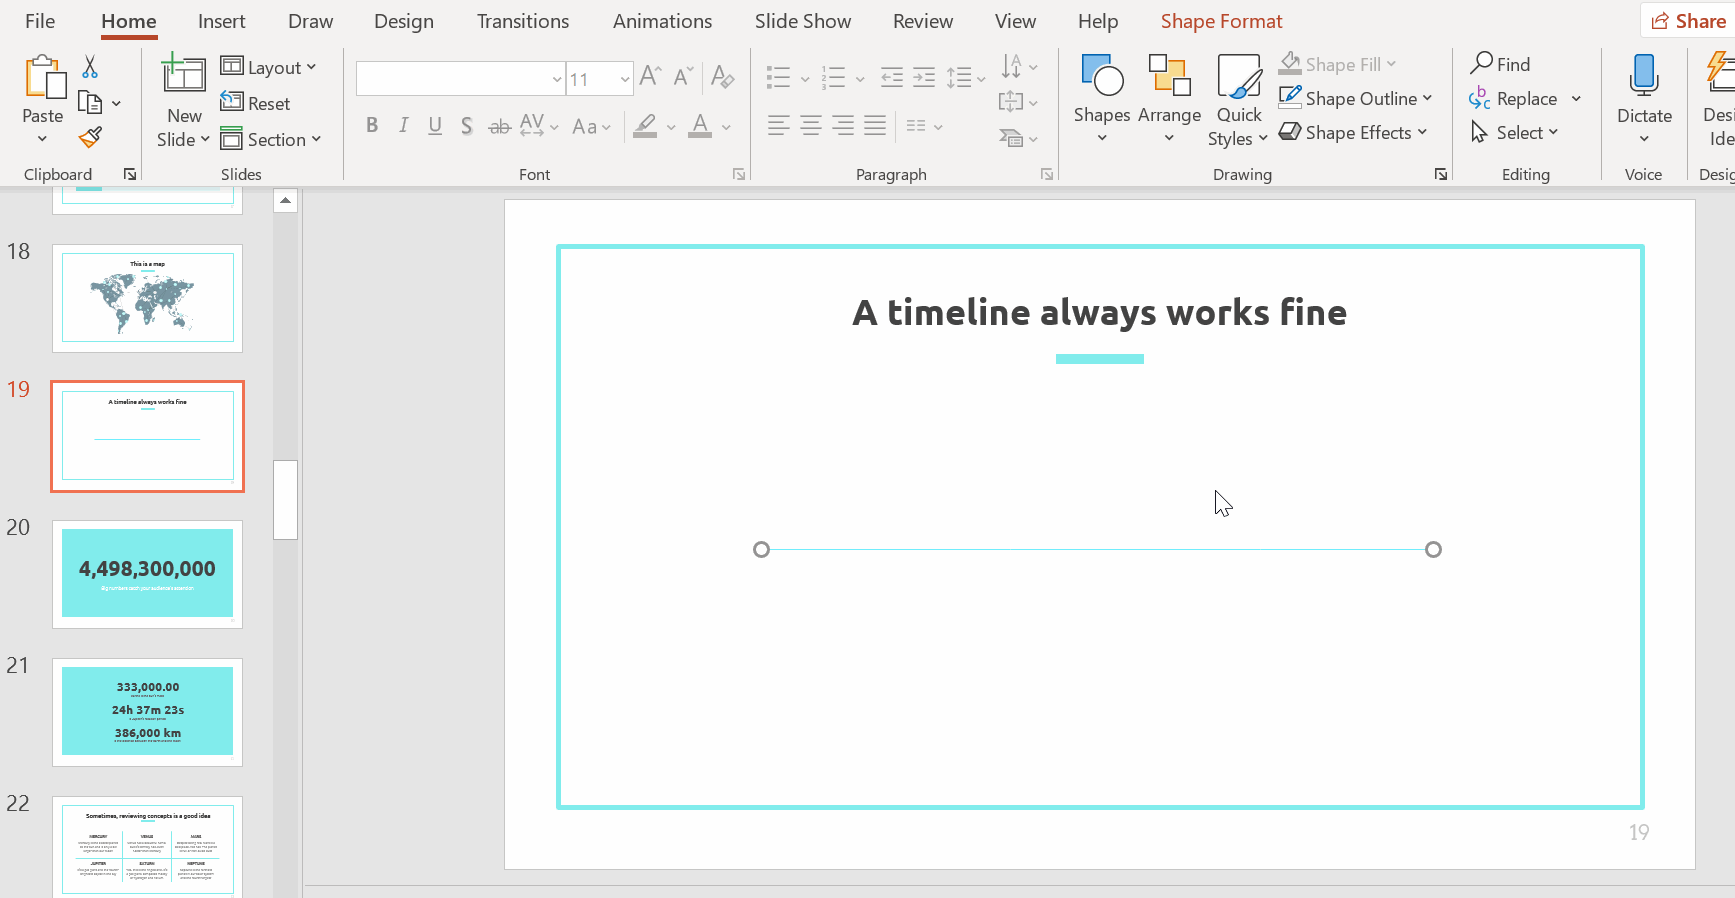
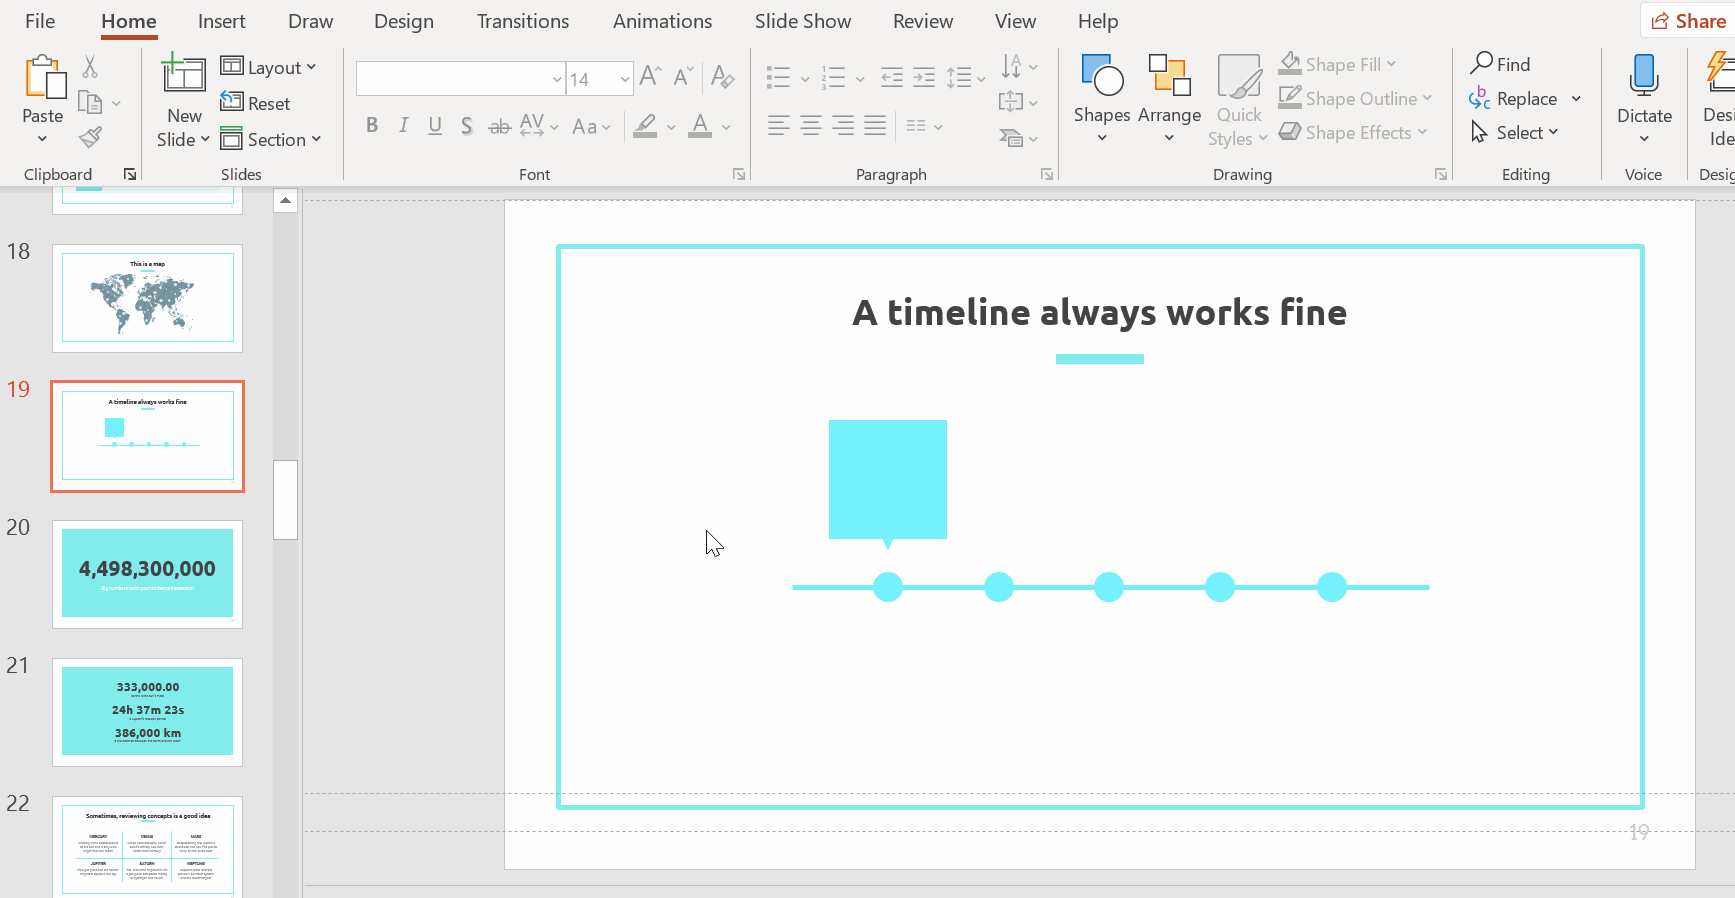
- In Drawing, select Shapes → Lines. Here, you’ll see different options including Line arrow, Arc, and Connectors. Select the option Line in Lines. Click and drag the cursor to draw a simple line.
Pro tip: Hold down Shift while dragging to create a perfectly straight line. Use this trick to create perfect circles and squares.
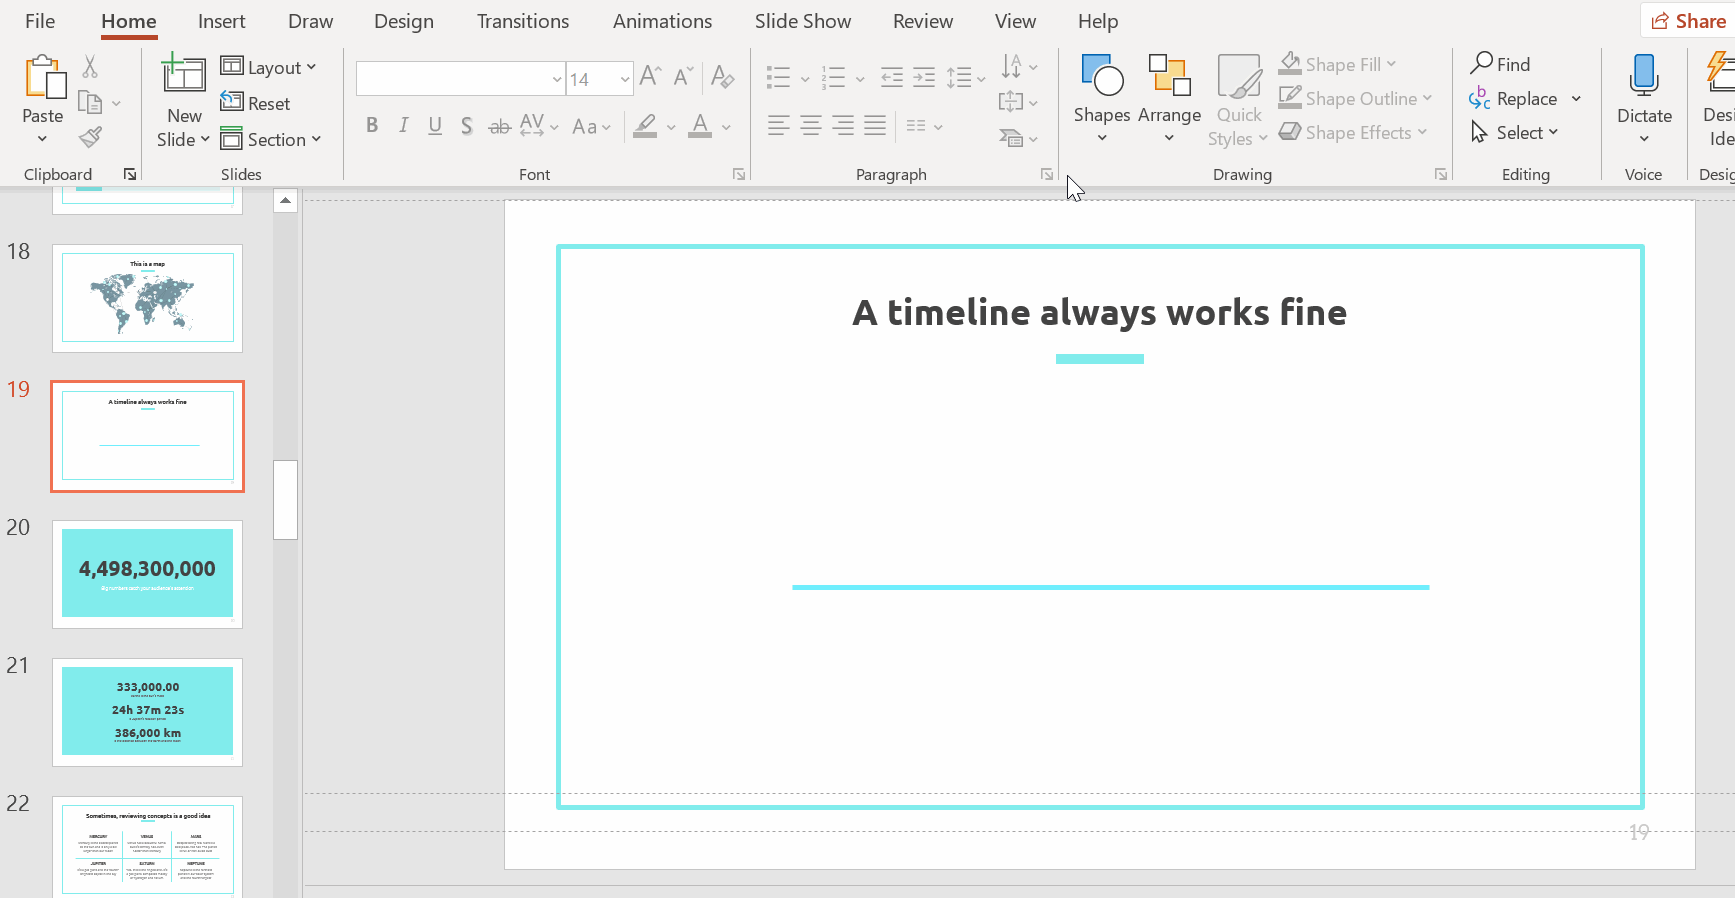
- To change the style of your line, select the line and click on Shape Outline. Here, you can change its color (remember to stick to the master slides’ color palette) and weight. PowerPoint’s default lines are super thin, so we’ll increase its weight for a thicker line.
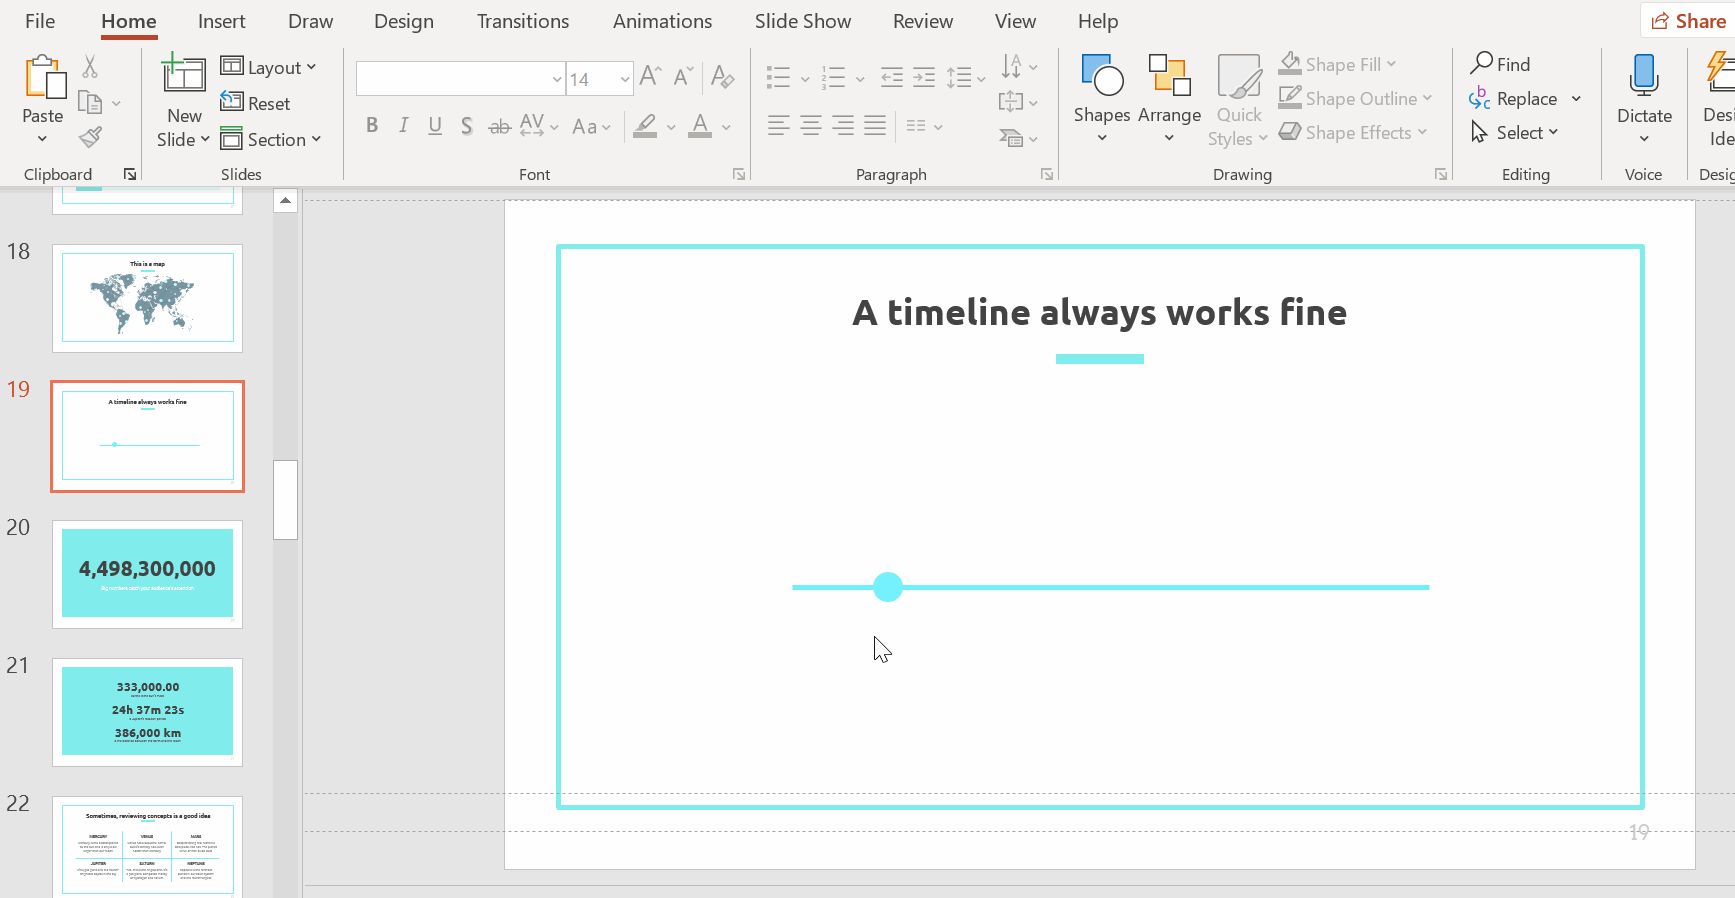
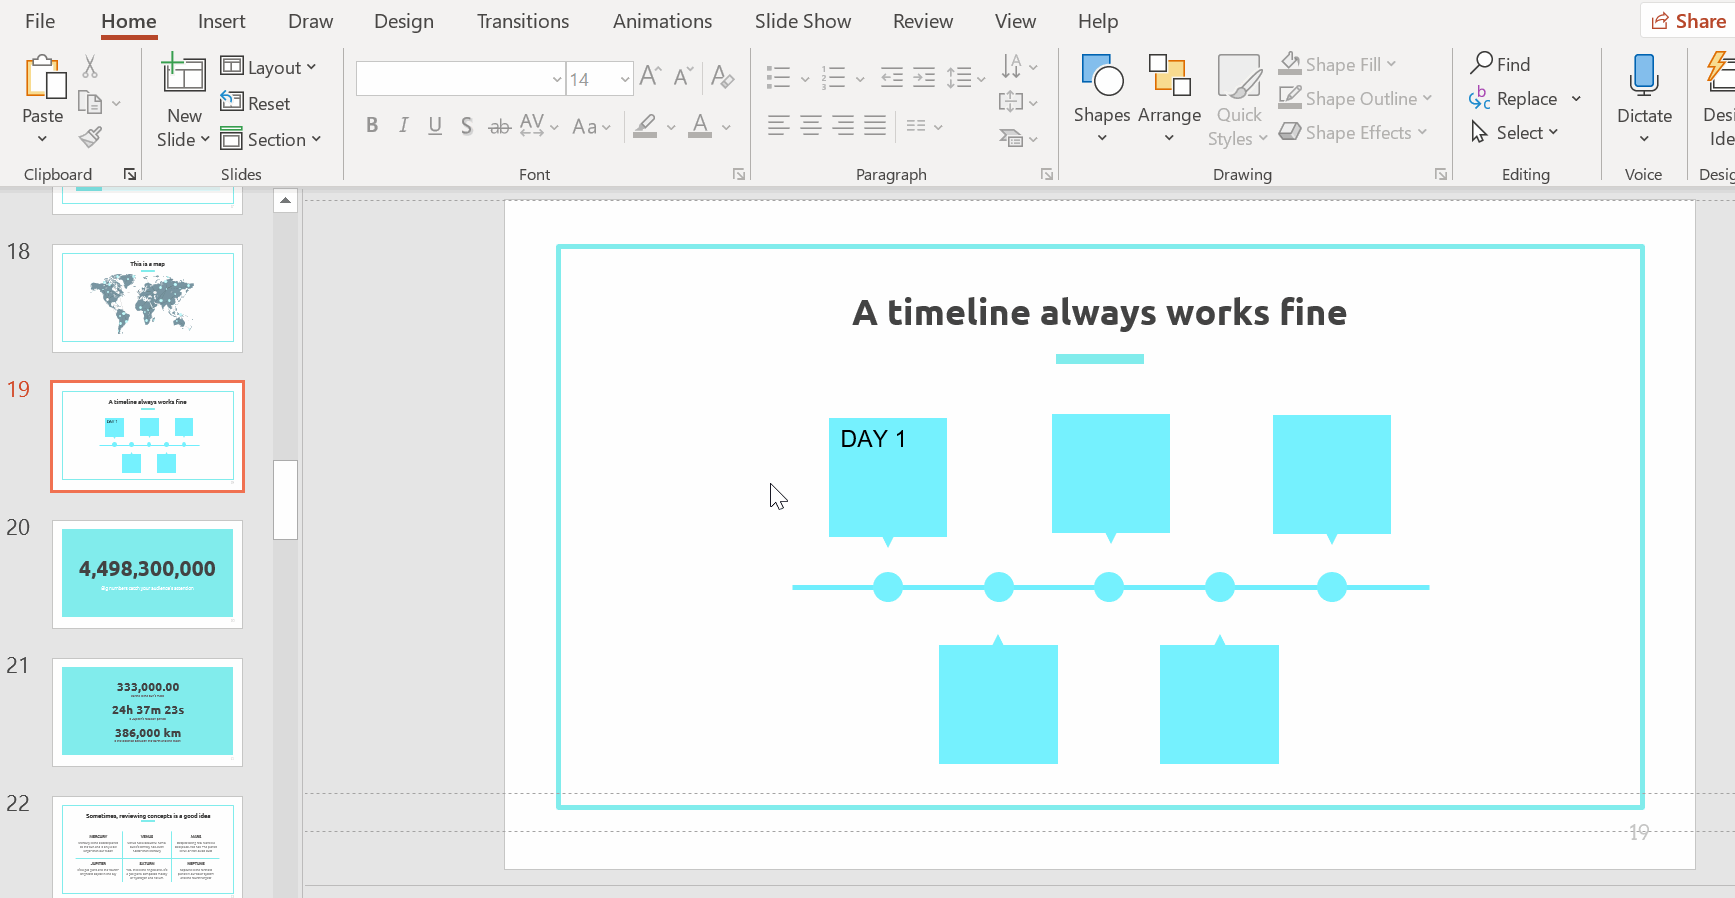
- To create a circle, select Shapes → Basic Shapes. Select Oval and drag it out to create a circle. Remember to hold Shift while dragging to create a perfectly rounded circle. This circle represents our first milestone.
- Change the style of your circle by using the options Shape Fill and Shape Outline. For a smooth look, apply the same color you used for your line. To make its border transparent, under Shape Outline, select No Outline.
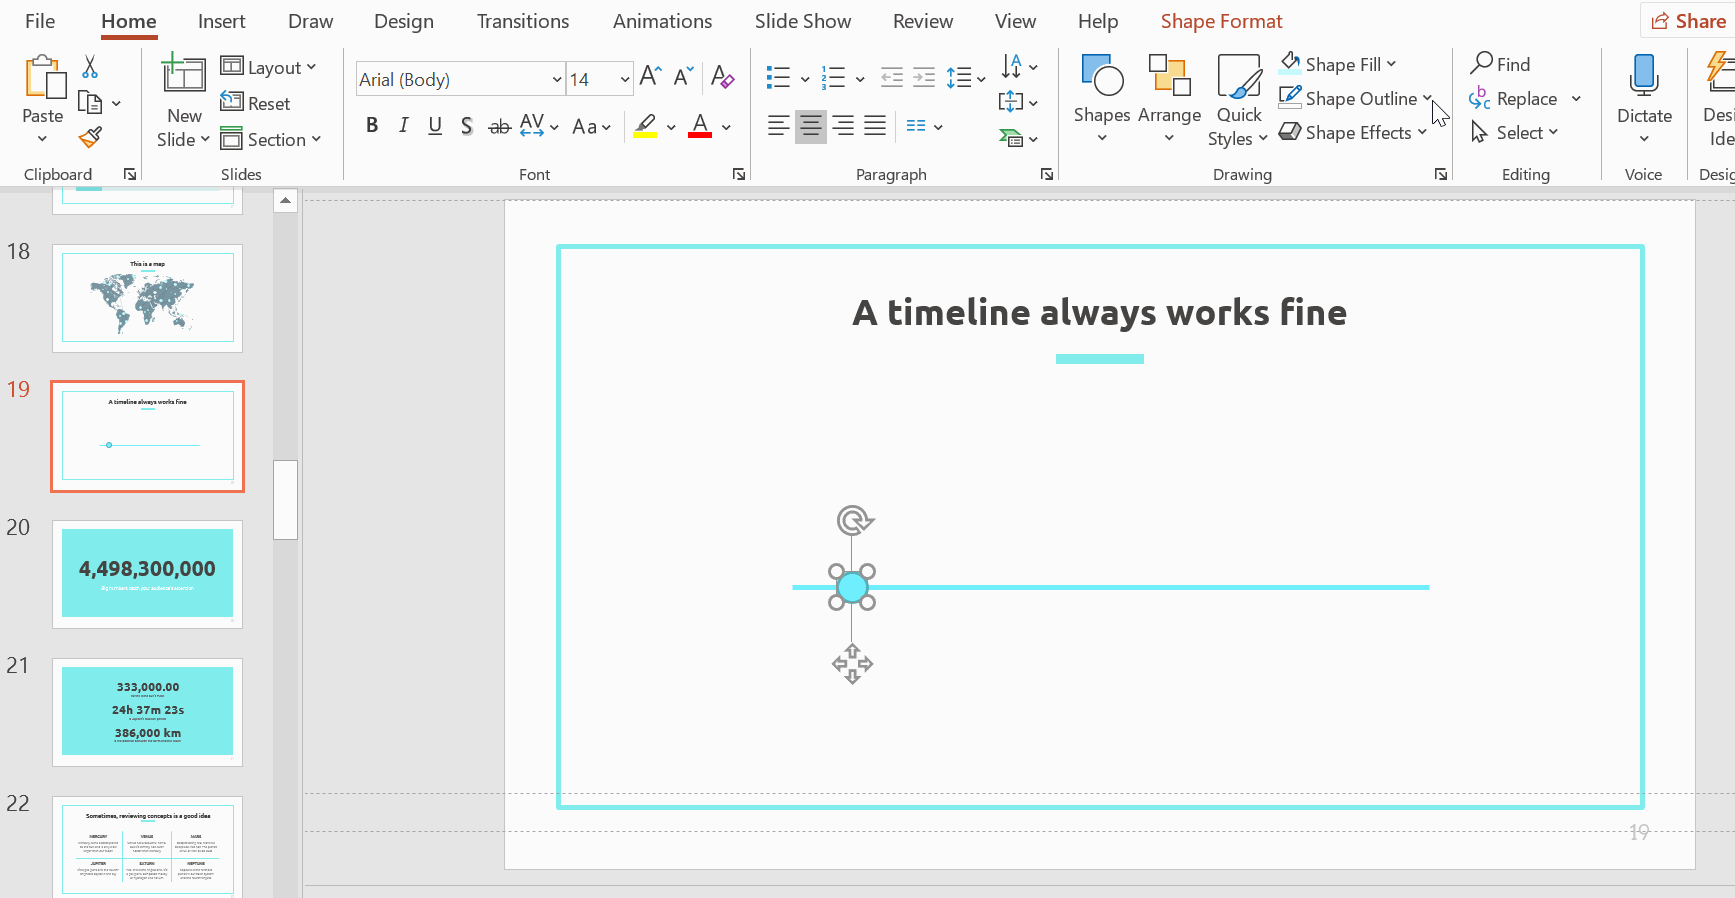
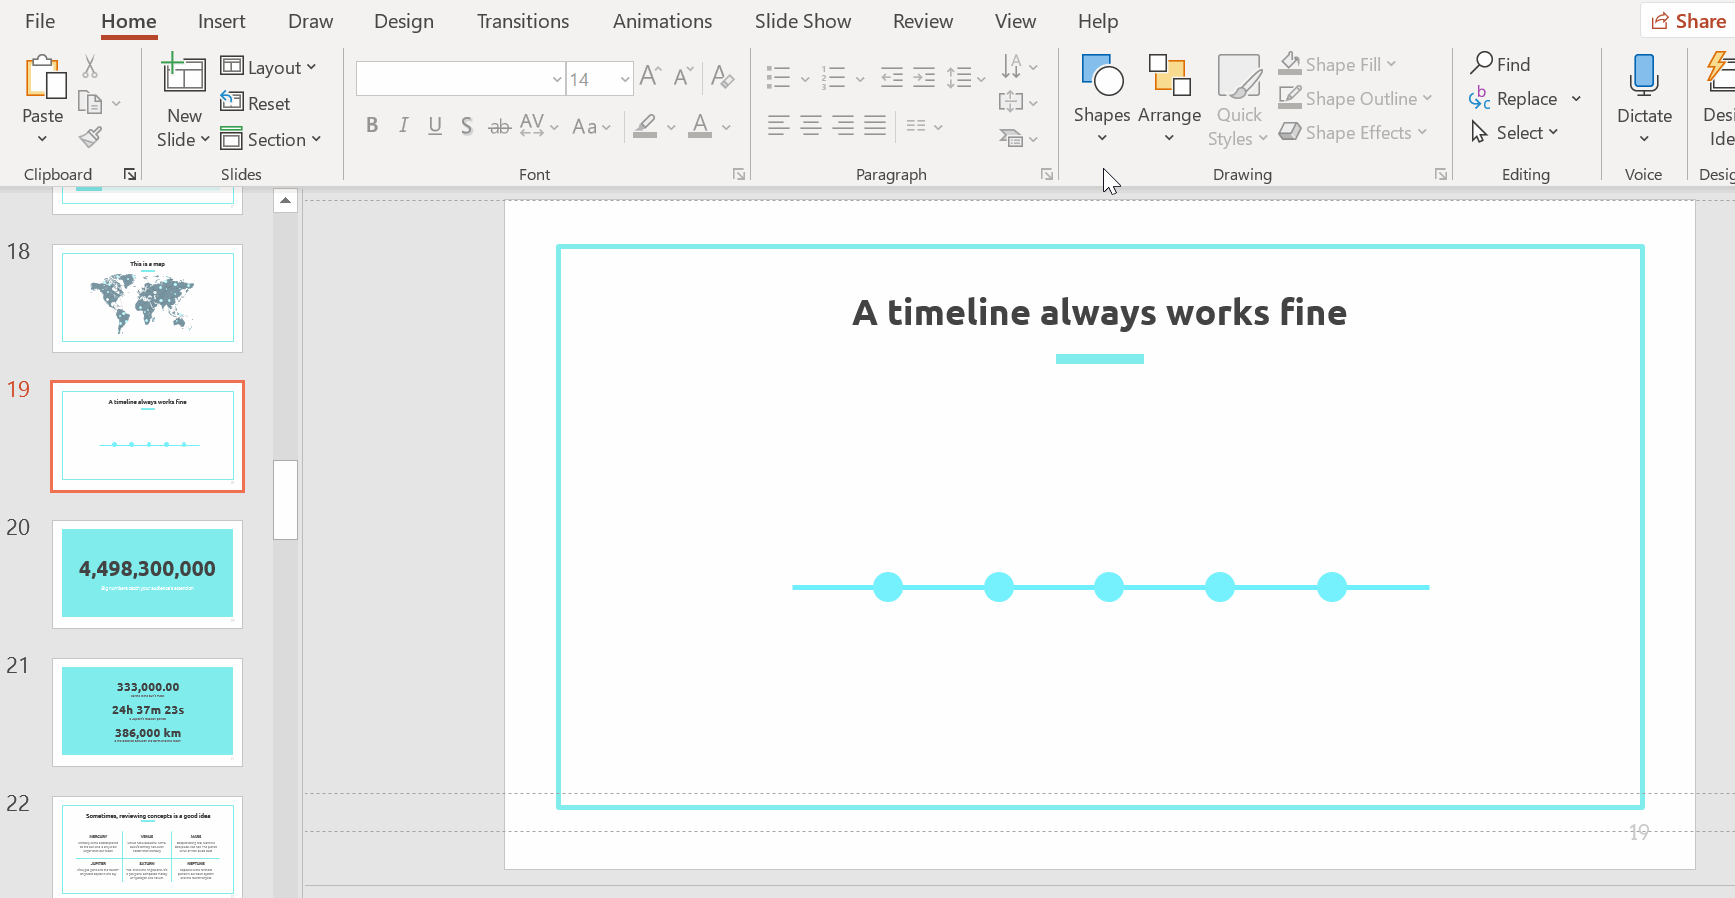
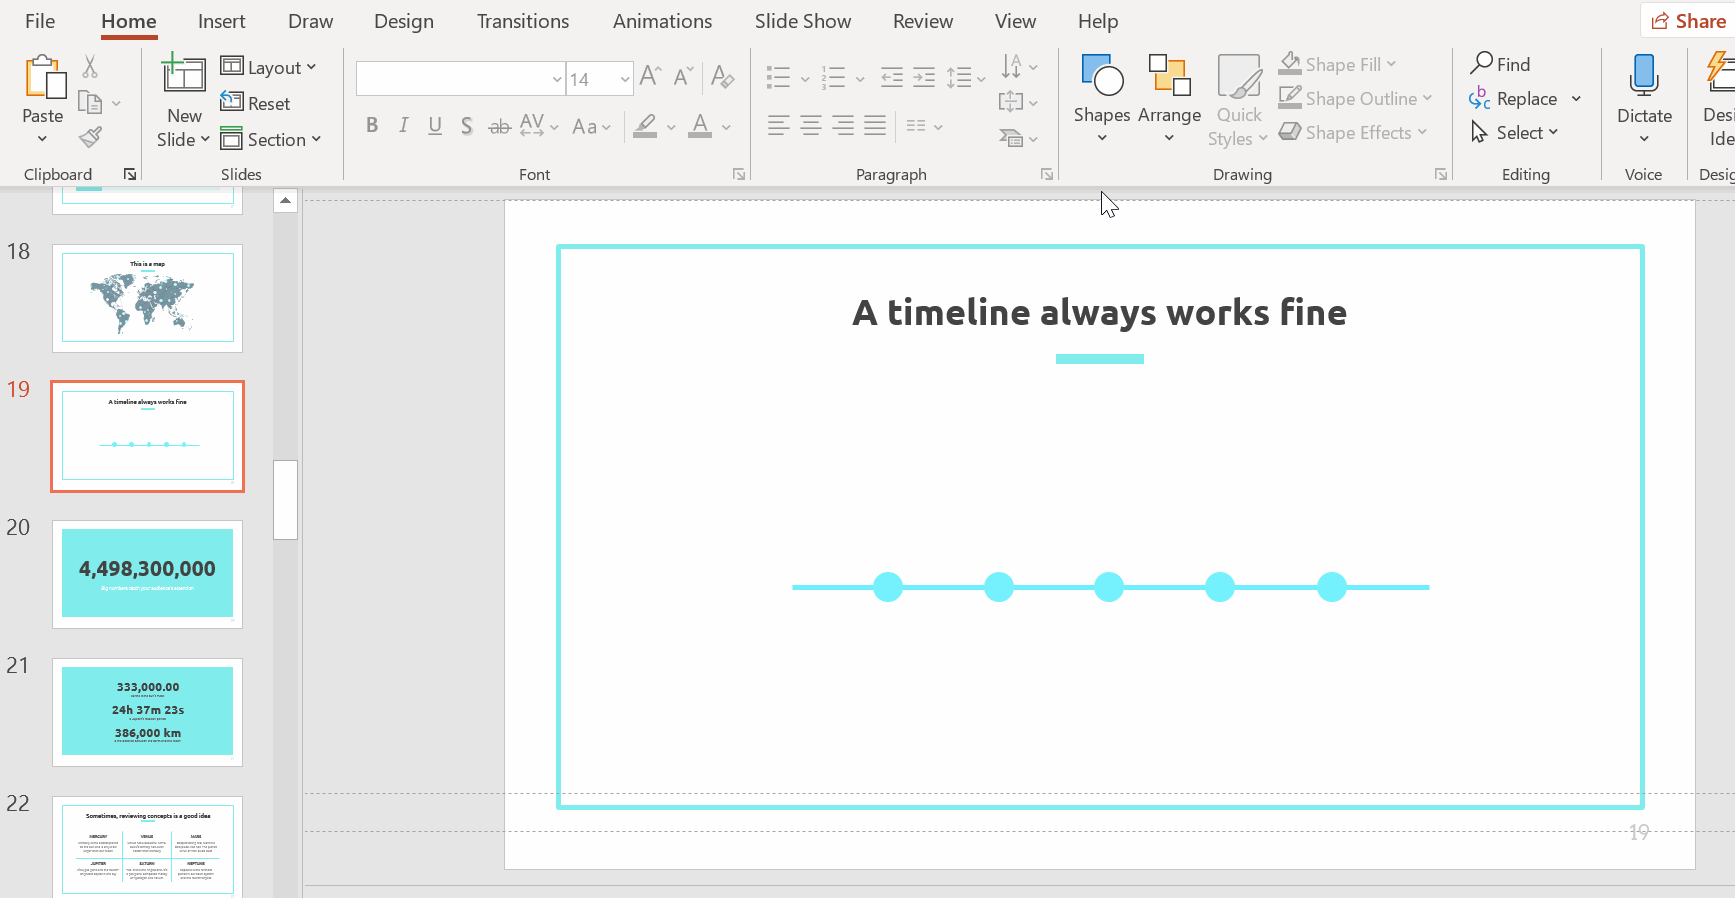
- We’ll now replicate the circle by copying and pasting it (Ctrl + C and Ctrl + V or Cmd + C and Cmd + V if you are using Mac). In this timeline, we’ll use five circles to represent five milestones for a five-day chronological visualization.
Pro tip: See the thin red arrows that pop up in the space underneath the circles as you move them around? These are PowerPoint’s visual guidelines to ensure you place objects in equidistance from one another. Use these guidelines for a well-aligned presentation!
Creating callouts for your text
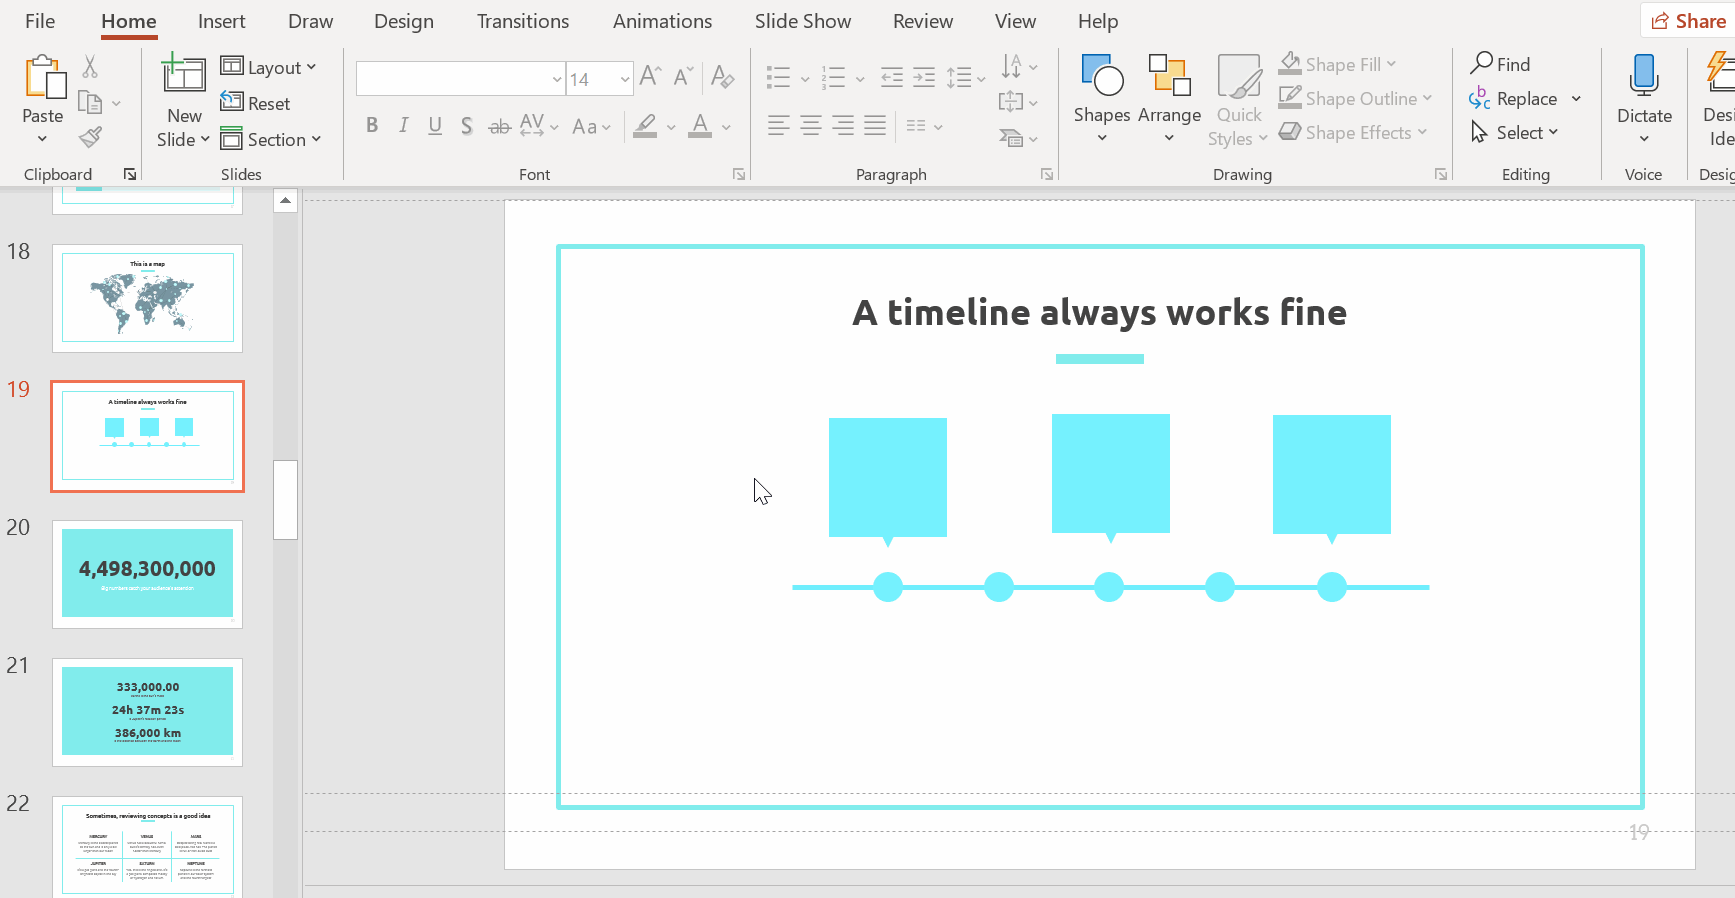
- Click on Shapes and scroll down to Callouts. Click to select and drag out your cursor on the slide to create the callout. We’ll add one callout to each circle. Each callout will be filled with a description of our milestone (more on this later).
- Adjust the callout’s color and border using Shape Outline and Shape Fill. Don’t forget to adhere to the master slides’ color and style. For example, we’ll make our callouts borderless, as we did with the circles.
- If you prefer to have the callout’s tail centrally aligned, you’ll need to create a custom callout using a square with a triangle. Select Shapes and then a rectangle
- Repeat to insert an inverted triangle (Flowchart: Merge), which you’ll find under Flowchart.
- Remember to use the same color and border line style for both shapes.
- To change the colors and/or borders of both shapes at one go, select both elements and then apply the change.

Pro tip: Merge two objects by grouping them together into one single object. This is handy because you can now move both elements together by clicking on either one.
- Select the two elements.
- In Drawing, select Arrange → Group.
- To complete the structure of the timeline, copy and paste the callout twice.
- Place one callout above the third circle and the other over the fifth. We will alternate the callouts above and below the line to create more space and a more dynamic effect.

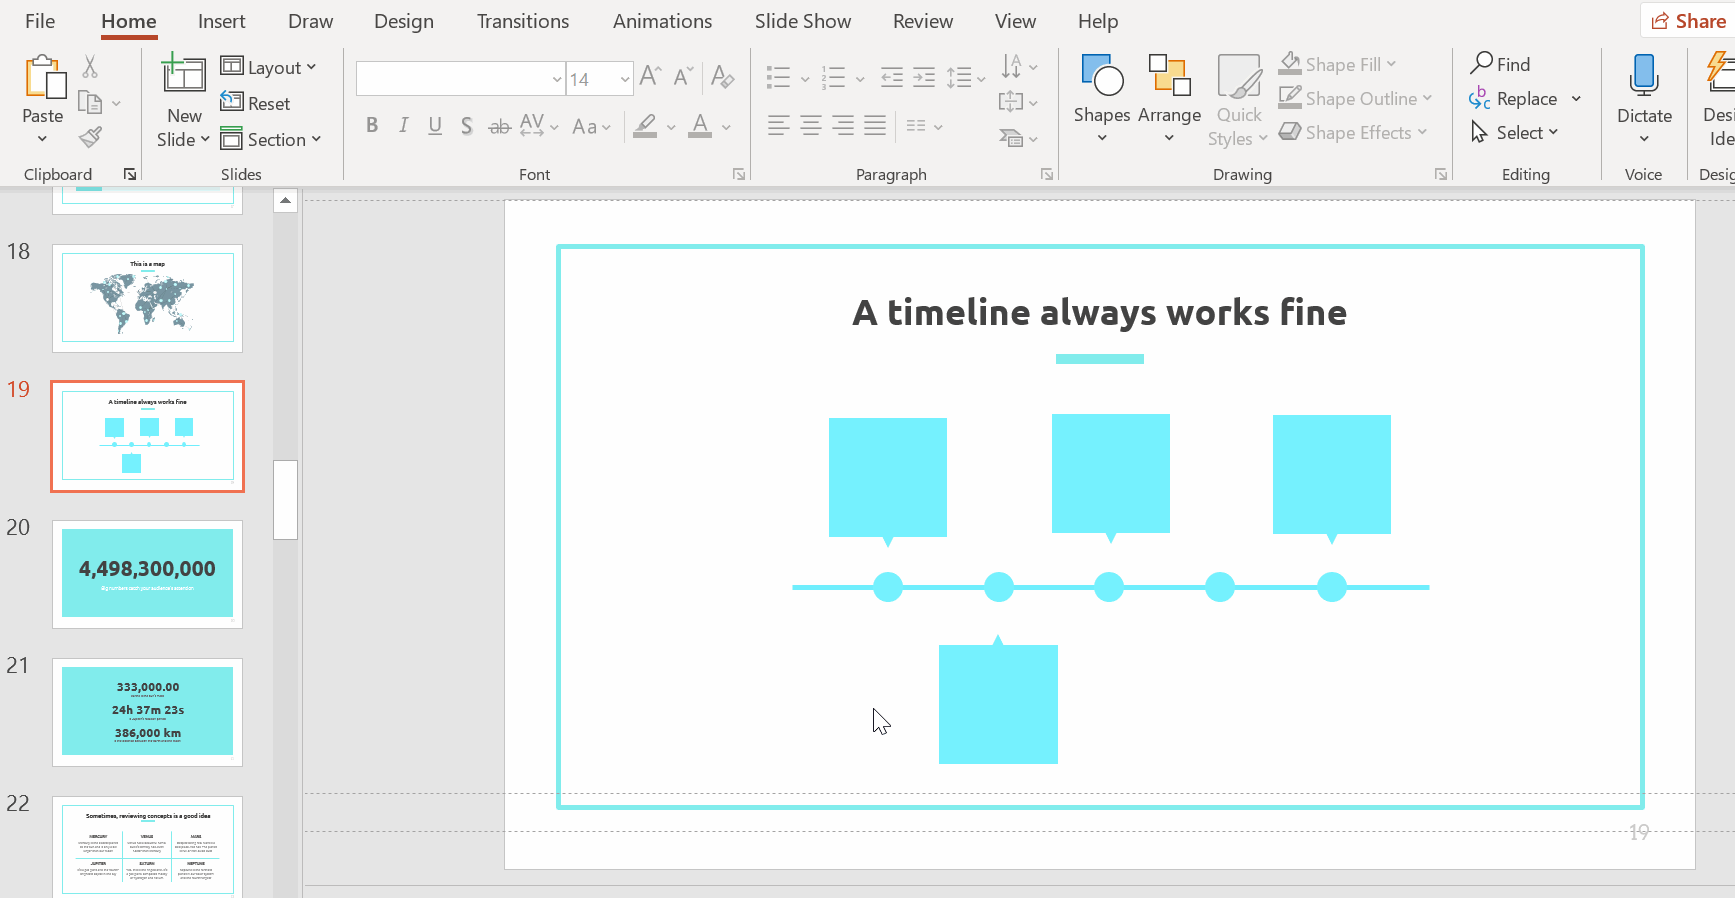
- Copy and paste one more callout and place it under the second circle.
- Now, you’ll want to rotate it so that its tail points towards the circle (milestone). Do this by clicking on the callout to bring up its outline and a rounded arrow. Drag the rounded arrow to rotate the callout until it is inverted 180 degrees.
Pro tip: Hold down Shift while dragging to rotate the callout by incremental 15 degrees.
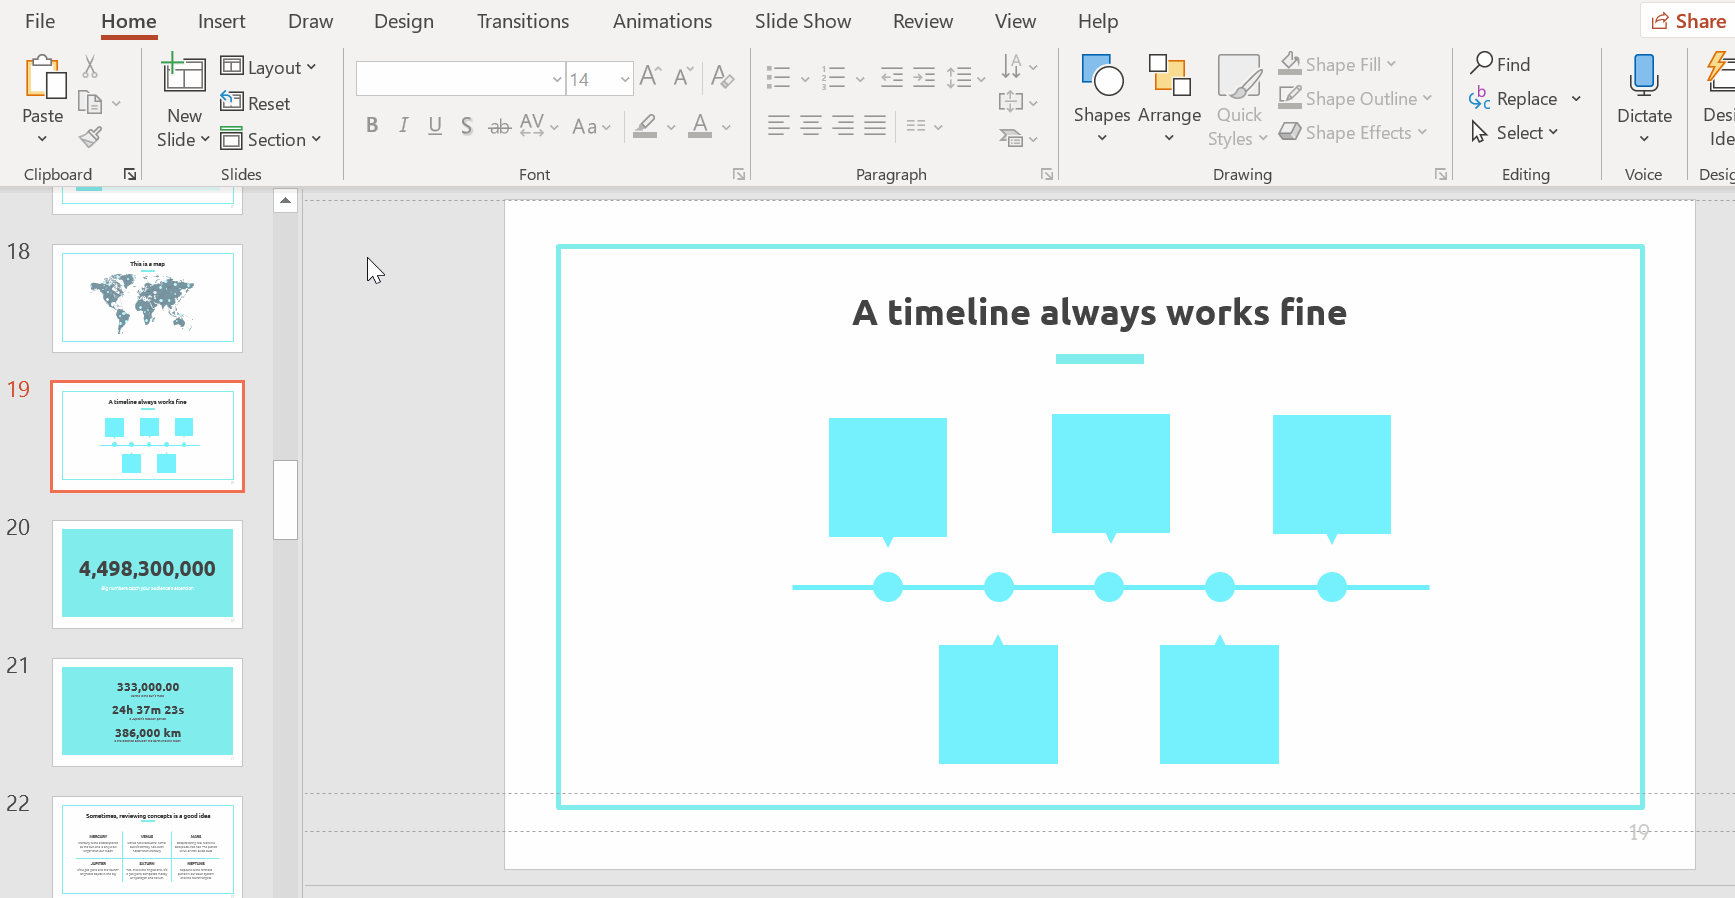
- Copy and paste a fifth and final callout and place it under the fourth circle.
Pro tip: For a more polished look, ensure each callout is pointing towards the middle of its corresponding circle and that all the callouts are at the same distance from the circles.
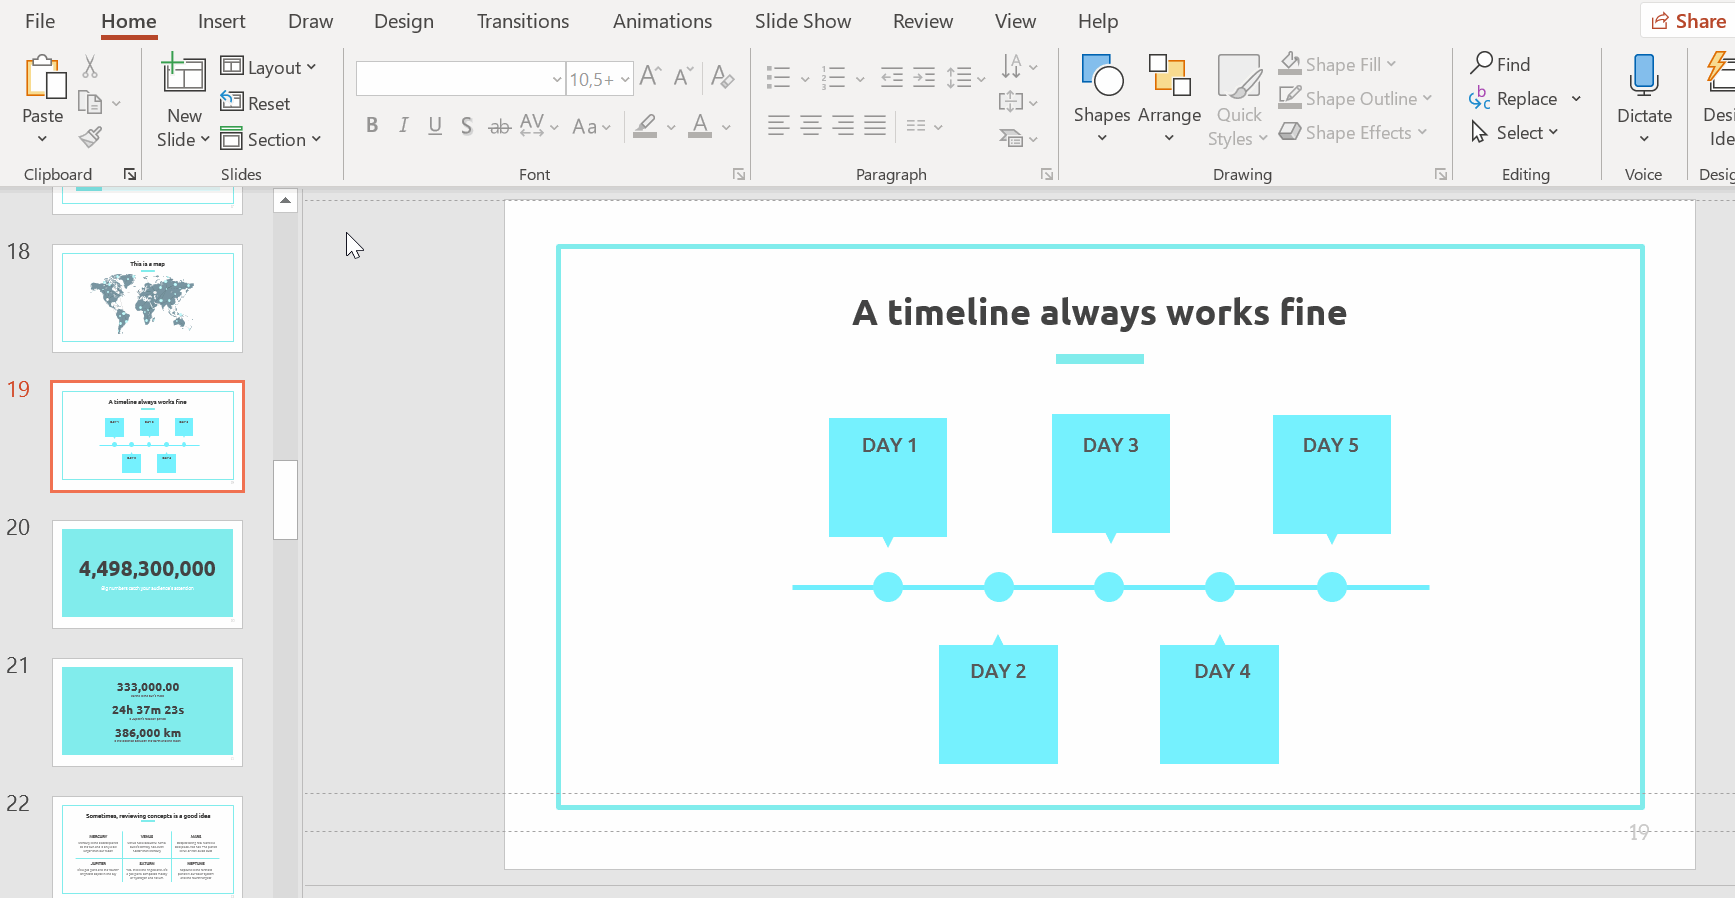
Writing titles
- Click on the Insert tab → Text Box.
- Click and drag to create the text box for your first title.
- Type your title in the text box.
Pro tip: Create text boxes that have the same widths as the callouts and centralize your text. This gives your timeline a much sleeker look.
- Select the title text to display style (Font, Font Size, Font Color, Alignment, etc.) and formatting options (Bold, Italic, Underline).
- Centralize the text for a neater design. As always, maintaining the style of the master slides is the best way to produce a coherent presentation.
- Create titles for all five callouts
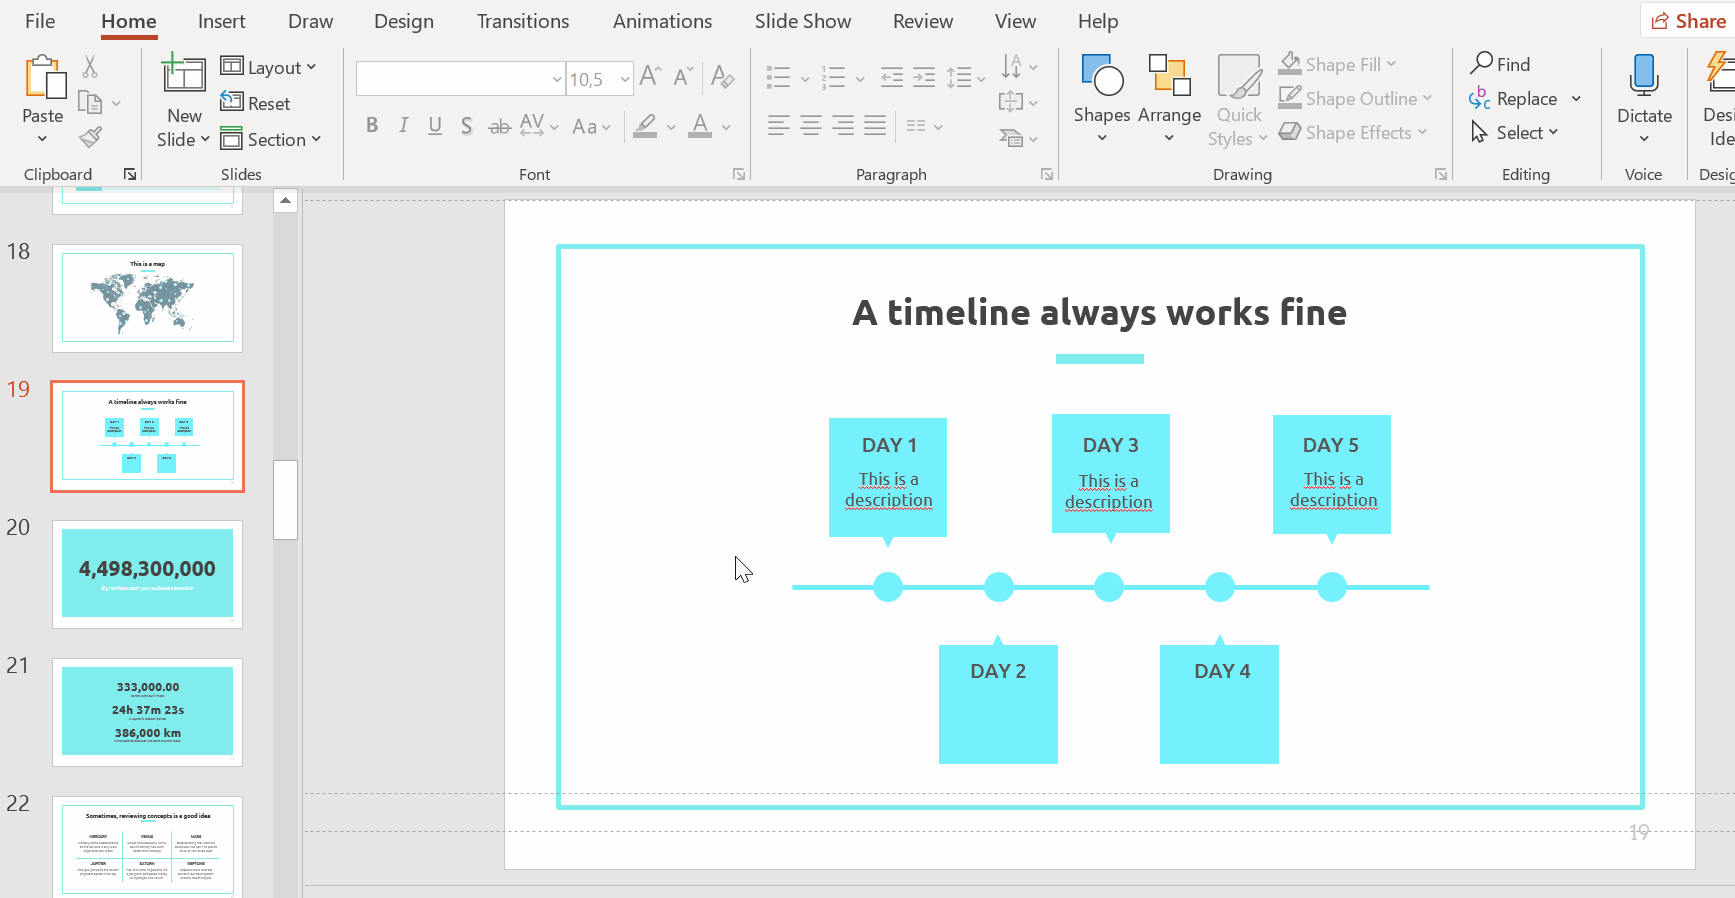
Writing descriptions
- Click on the Insert tab → Text Box.
- Click and drag out a text box for your first description. Remember to ensure it’s of the same width as the callout.
- Write your text. Keep it short and sweet!
- Style your text as desired and centralize it while aligning its typeface with the general theme and design of the slides.
- Copy and paste four more text boxes.
- Place and align them centrally in their corresponding callouts and fill them with a description.
Beautifully done! You’ve just created a timeline in PowerPoint!
Want to get inspired by project timeline ideas for your next presentation? Check out our creative timelines and templates for PowerPoint.
Do you find this article useful?
Related tutorials

How Smart Template Matching Saves Hours on Your Next Presentation
Content Find your perfect template, automatically How it works Templates that match your topic Get better results FAQ Skip the Search, Start Creating Find your perfect template, automatically Great presentations look intentional—where the design supports the message. But finding a template that fits usually means scrolling through dozens of options....
Creative PowerPoint Night Ideas
Want to be the star of your next PowerPoint Night? With the right ideas and a spark of creativity, you can turn any theme into a show-stopping experience that keeps everyone laughing and engaged. Whether you’re planning a friendly game night, a classroom challenge, or a team-building session, this guide is your...
Smart Guide: Best AI Prompts for Powerful Presentations
Ever stared at a blank slide, knowing your message matters but not sure how to bring it to life? You’re not alone. With the rise of AI Presentation Maker, more creators, educators, and professionals are asking: What are the best AI prompts for presentations?This guide shows you exactly how to...

How Teachers Are Really Using AI in the Classroom: Voices from the Field
“I hope that AI can ensure students are still doing the planning, writing, and critical thinking needed. Students can't lose these skills.” -6th grade Science Teacher, FloridaFull disclosure: I interviewed my mom for this blog post.My mom, a retired 25+ year veteran educator who recently returned to the classroom, told me...