How to Make a Quiz for Your Online Classes Using PowerPoint

Sometimes it is not easy to get your students involved when giving a presentation. One of the best ways to capture their attention is creating interactive quizzes and questions, so they will interact with the slides. This way, the learning process will turn into something fun and amazing for children.
If you want to learn how to make some interactive quizzes for your pupils using PowerPoint presentations, read this tutorial. It’s an easy task, and it will only take you a few minutes!
Creating the Main Page of the Quiz
- Open your PowerPoint presentation.
- You can create or select the slide to which you want to add the interactive quiz.
- Now type the title and the subtitle of your question using text boxes.
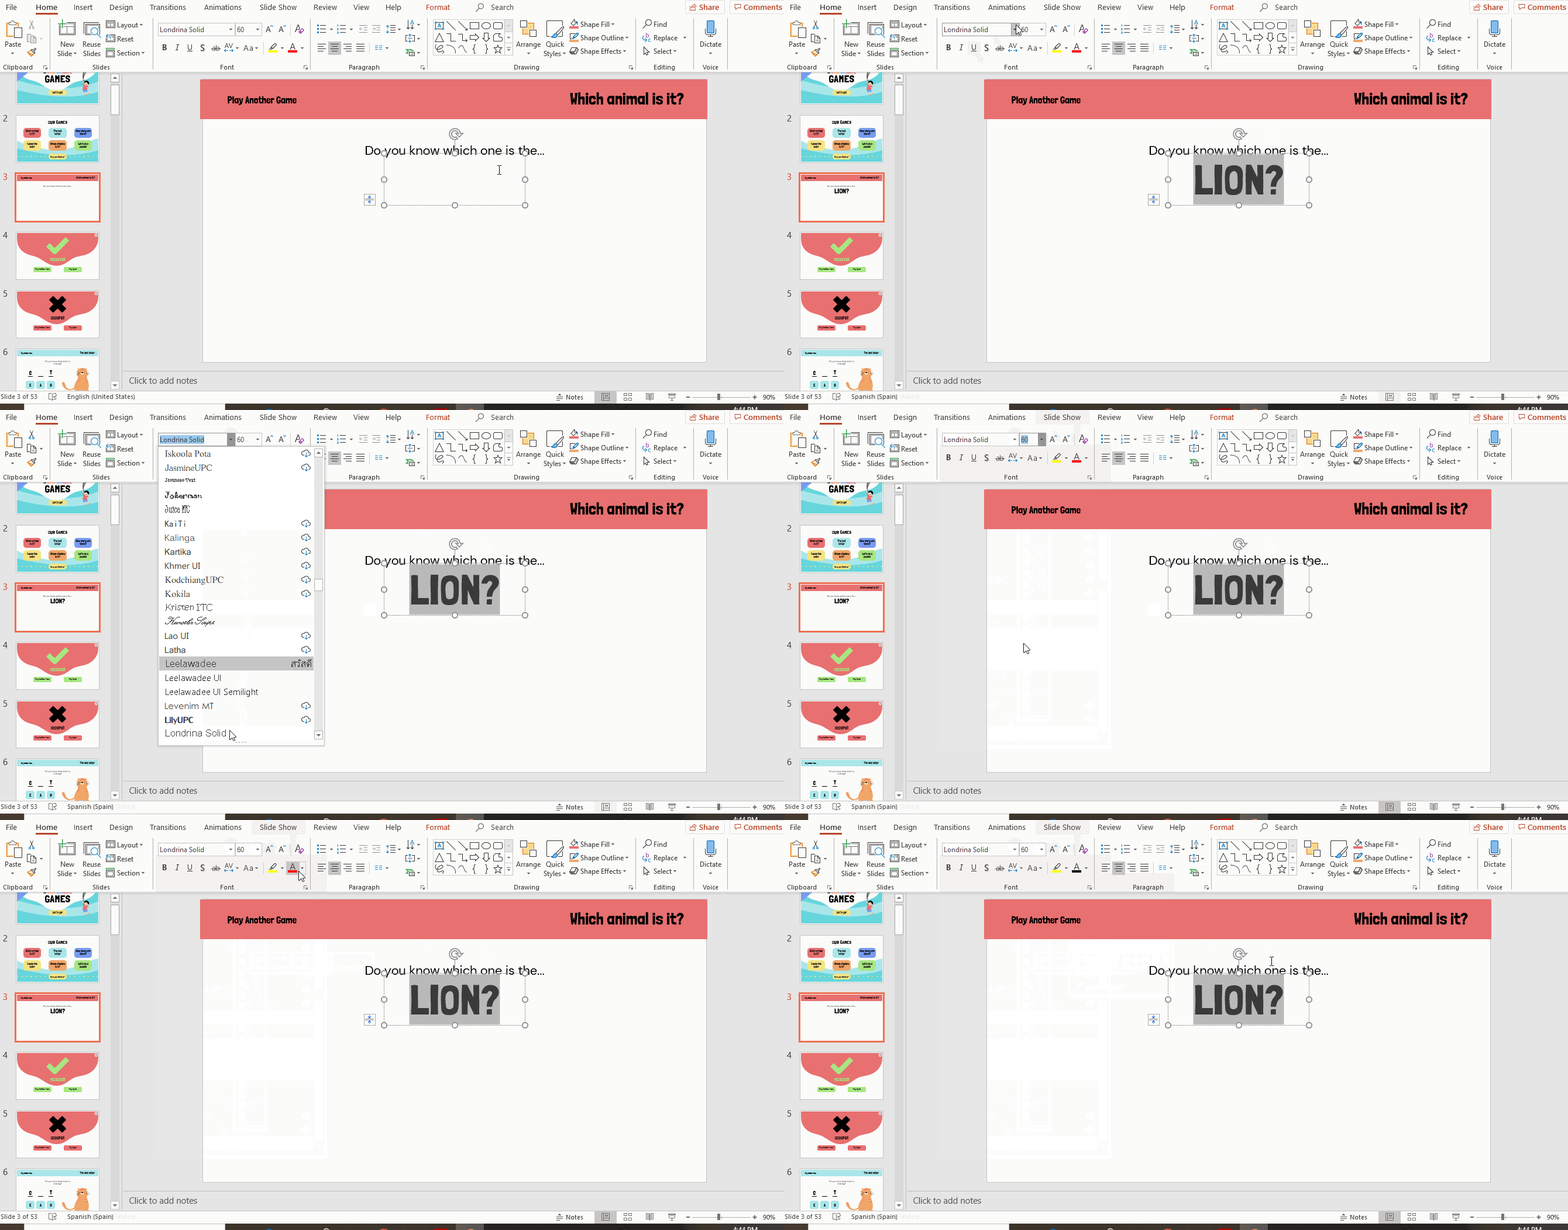
- You may want to add some images or illustrations to the slide. As you are working with children, you could add some adorable images of animals, for example. If you have issues with how to add, crop or mask images, you can read this tutorial. For our example, we have included three different illustrations that represent the answer options.
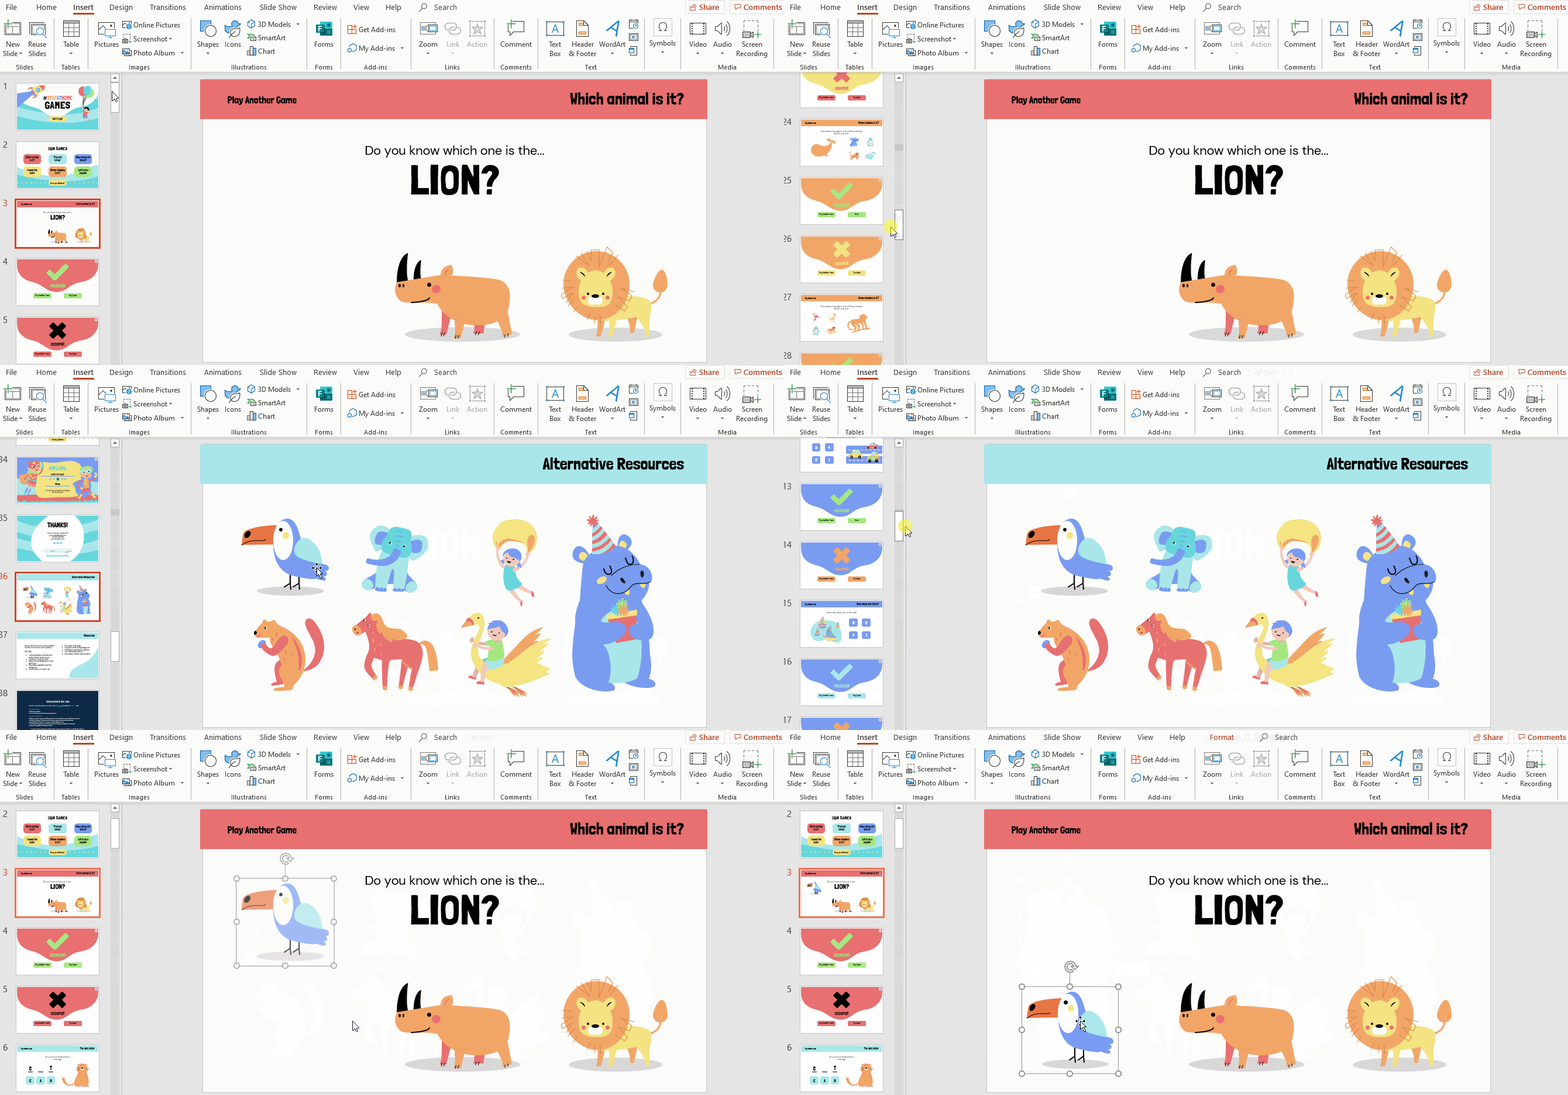
- The next step is adding button-like shapes to your different answers. At a later stage, you’ll need to link those buttons to other slides.
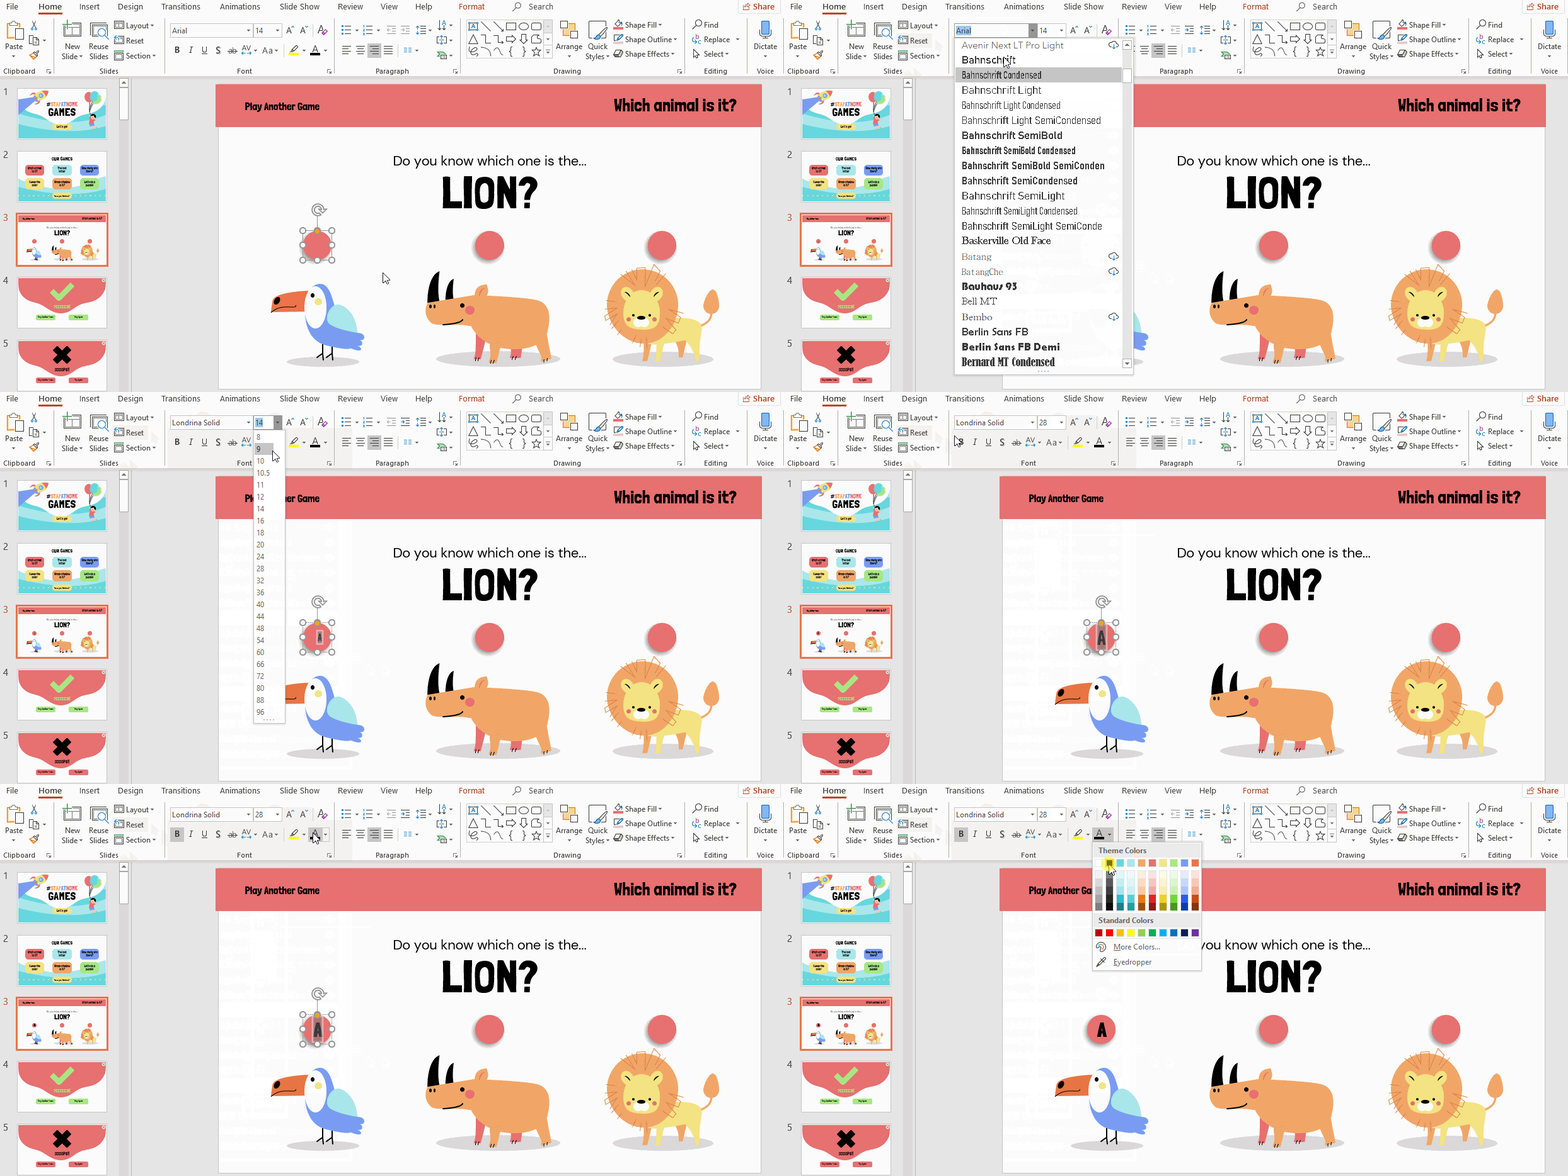
- We decided to use circles here. In Insert, select Shapes → Basic Shapes → Oval.
- Click and drag the cursor to add the shape. Remember to press Shift while dragging to create a perfect circular shape.
- To make the look of the shape coherent with the rest of the slides, it is a good idea to use the colors of the theme. To change the color inside the shape, click on Shape Fill and select one.
- Likewise, if you want another border color, click on Shape Outline and find a new one.
- To give the circles the aspects of buttons, you can add some effects to the shape (e.g. shadow, reflection, glow, soft edges...). Select Shape Effects and explore all the possibilities.
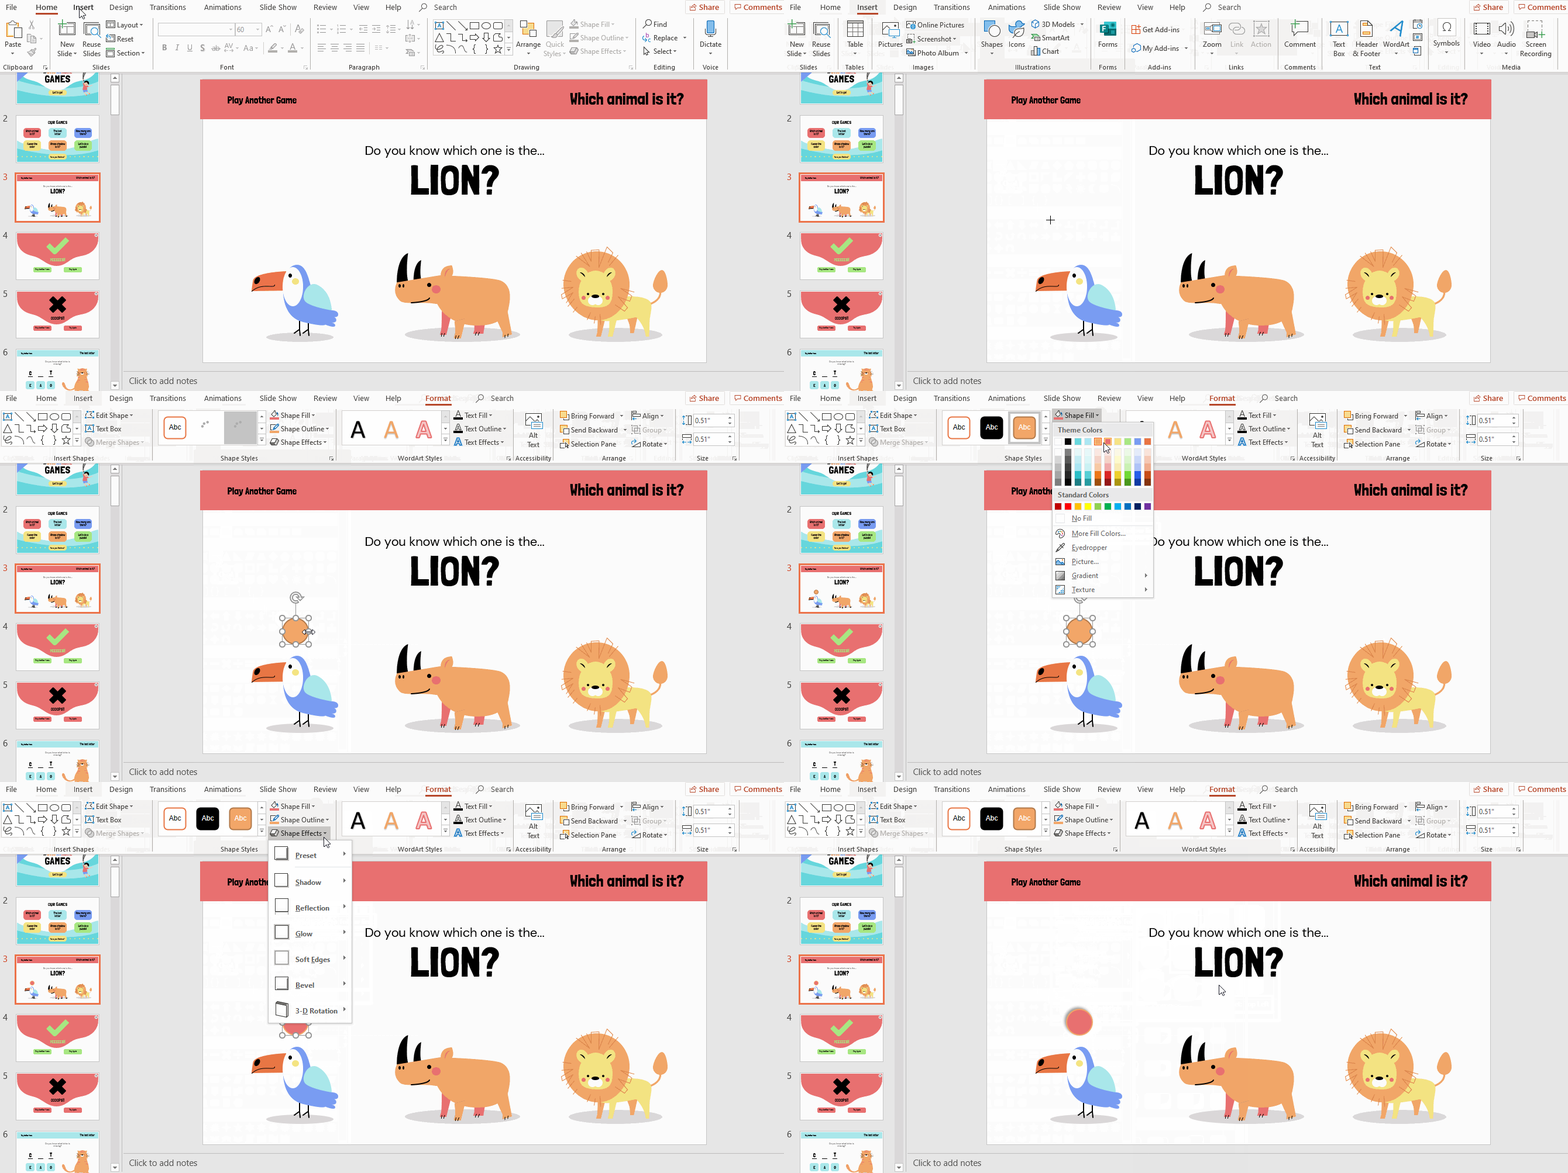
- You’ll need to add some more buttons, as the quiz has more than one option. To do so, click on the shape. Hold Ctrl and Shift and drag the new circle. These two buttons will keep the circles aligned. Pay attention to the guiding lines. Thanks to them you can make sure that everything is in place.
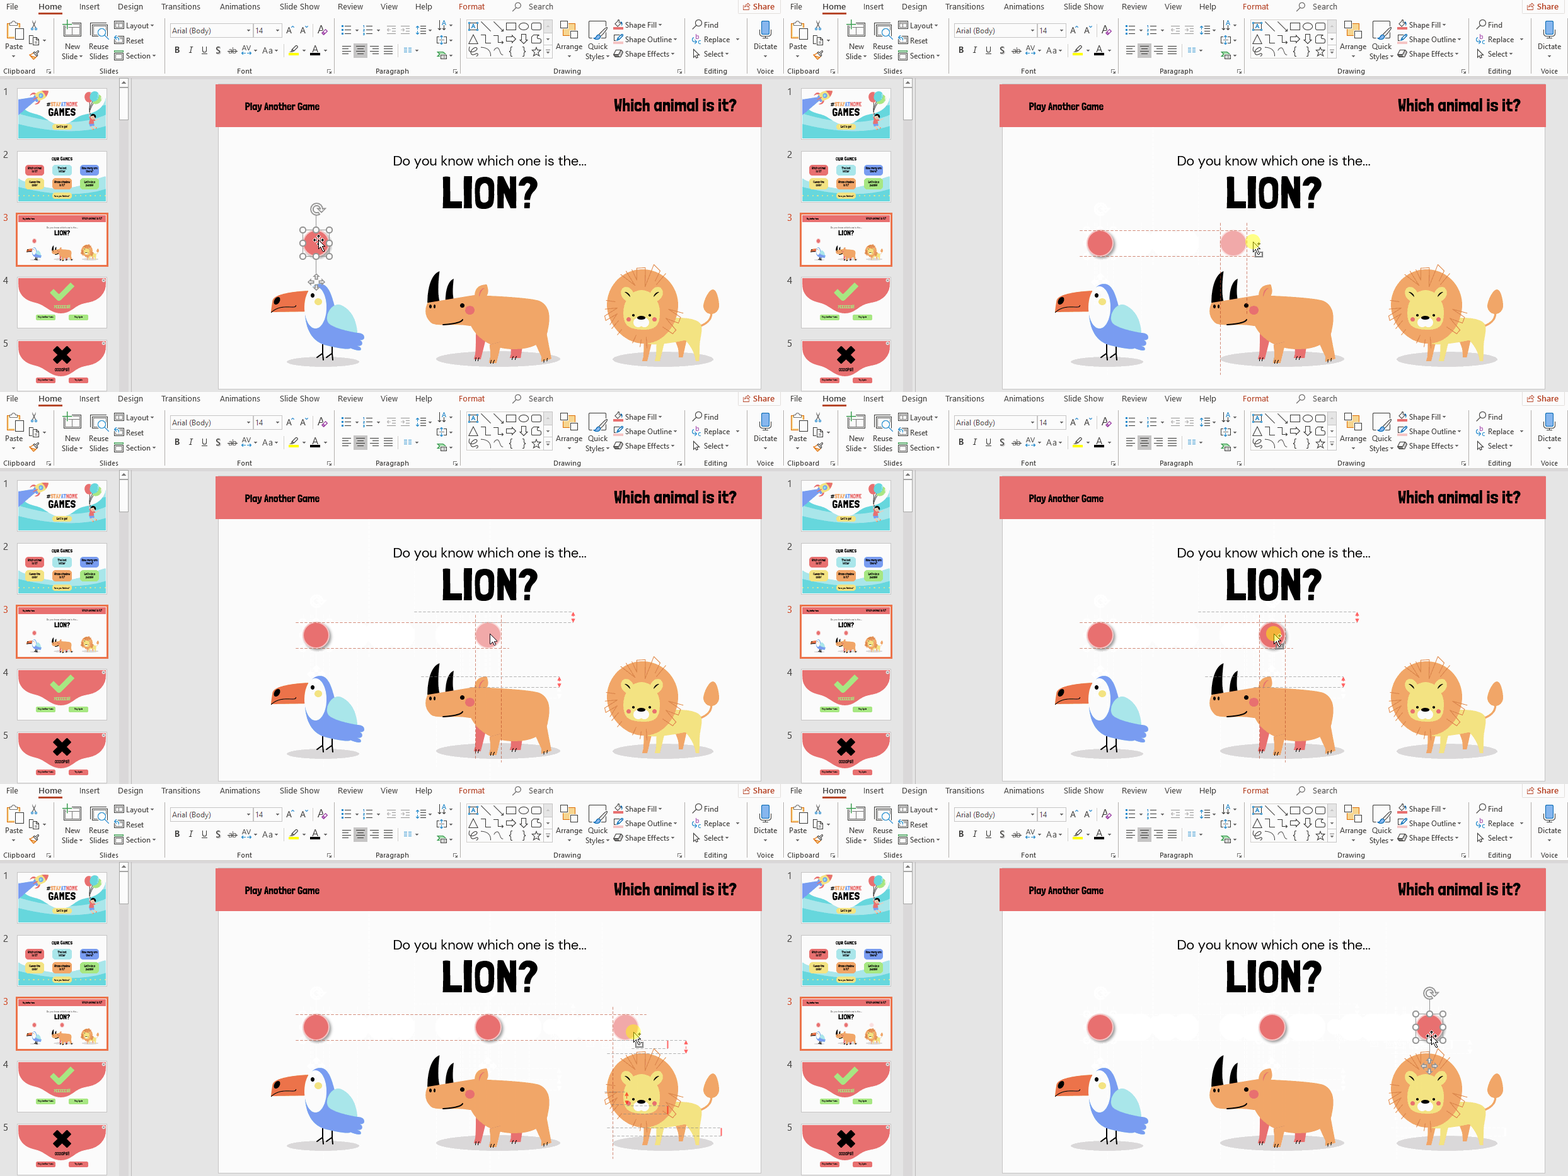
- Now we need to add a letter per button, to name them and to make clear that there are three options. Simply click on each shape and write!
- If you don’t like the font, the size or color, you can change them using the Font options.
Creating the “Right Answer” Slide
To surprise your audience, it is necessary to add two new slides. We are going to call the first one the “right answer” slide. This is the one telling that you have given the correct response. The second one is called the “wrong answer” slide, and means that the student has failed answering correctly. Let’s focus on the first one.
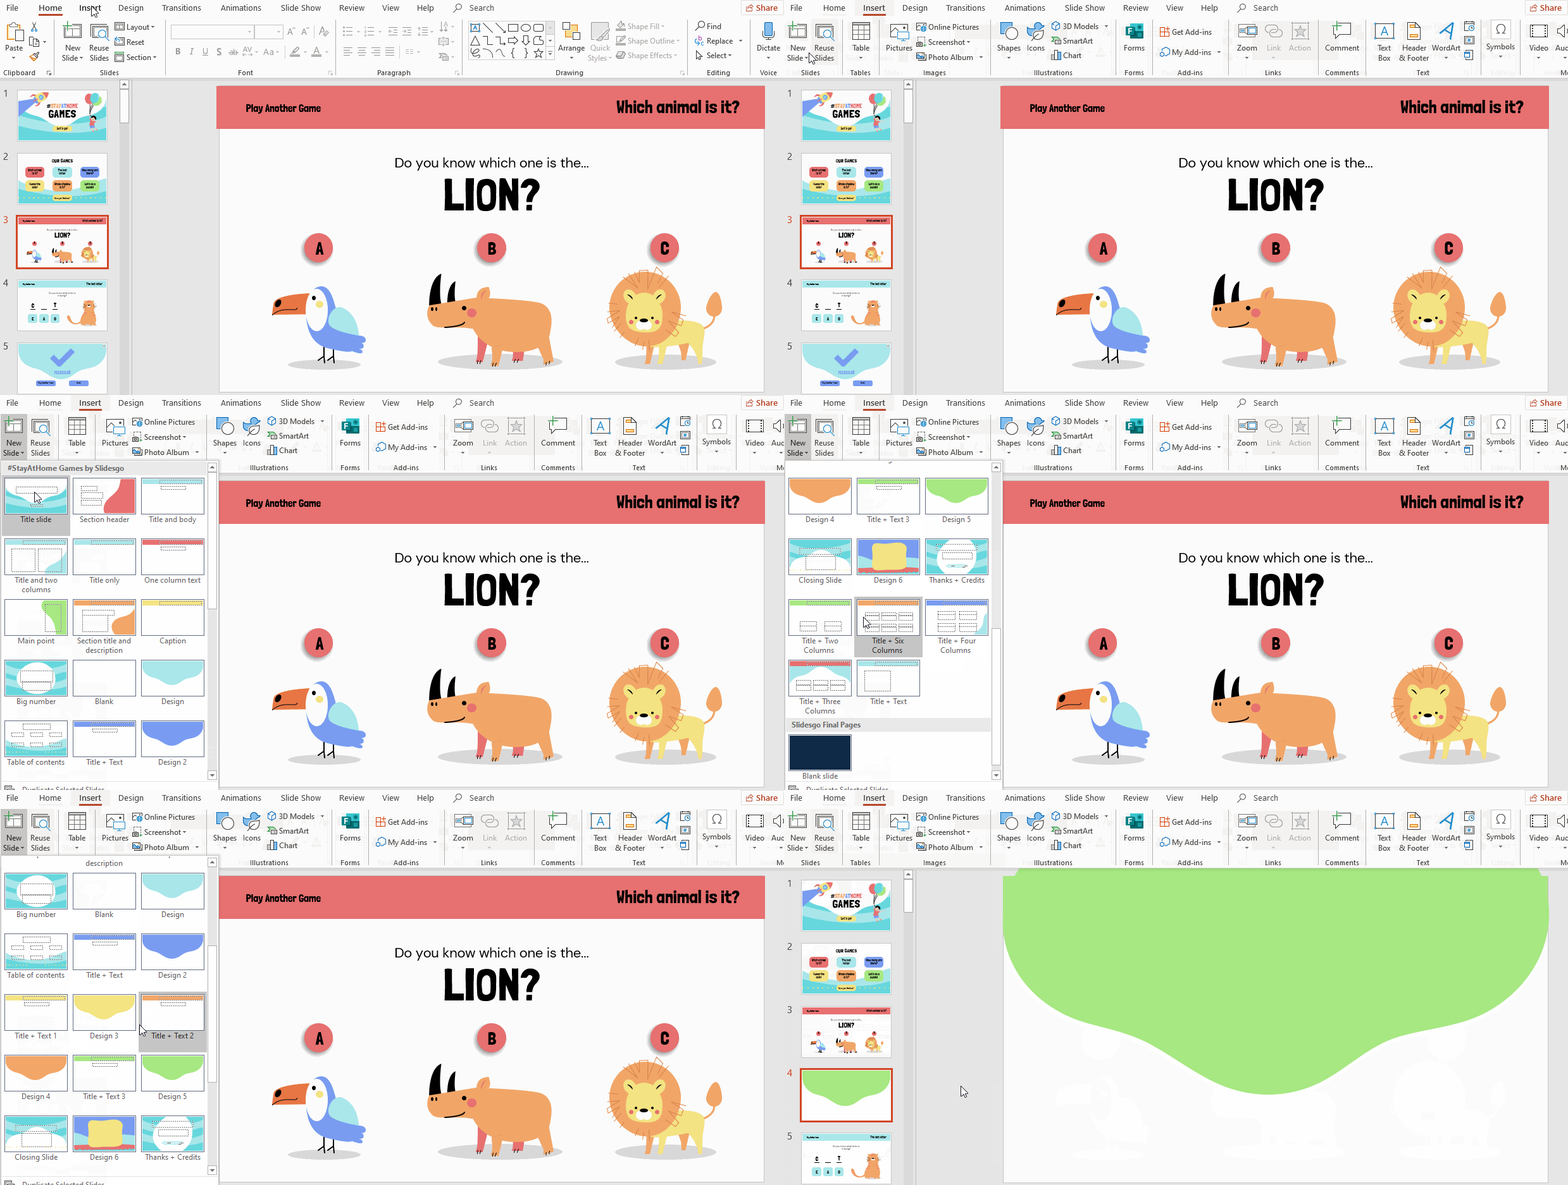
- When you are in the question slide, select Insert. Click on the New Slide down arrow and the program will display a drop-down menu that shows the different sort of designs of the template. Choose one.
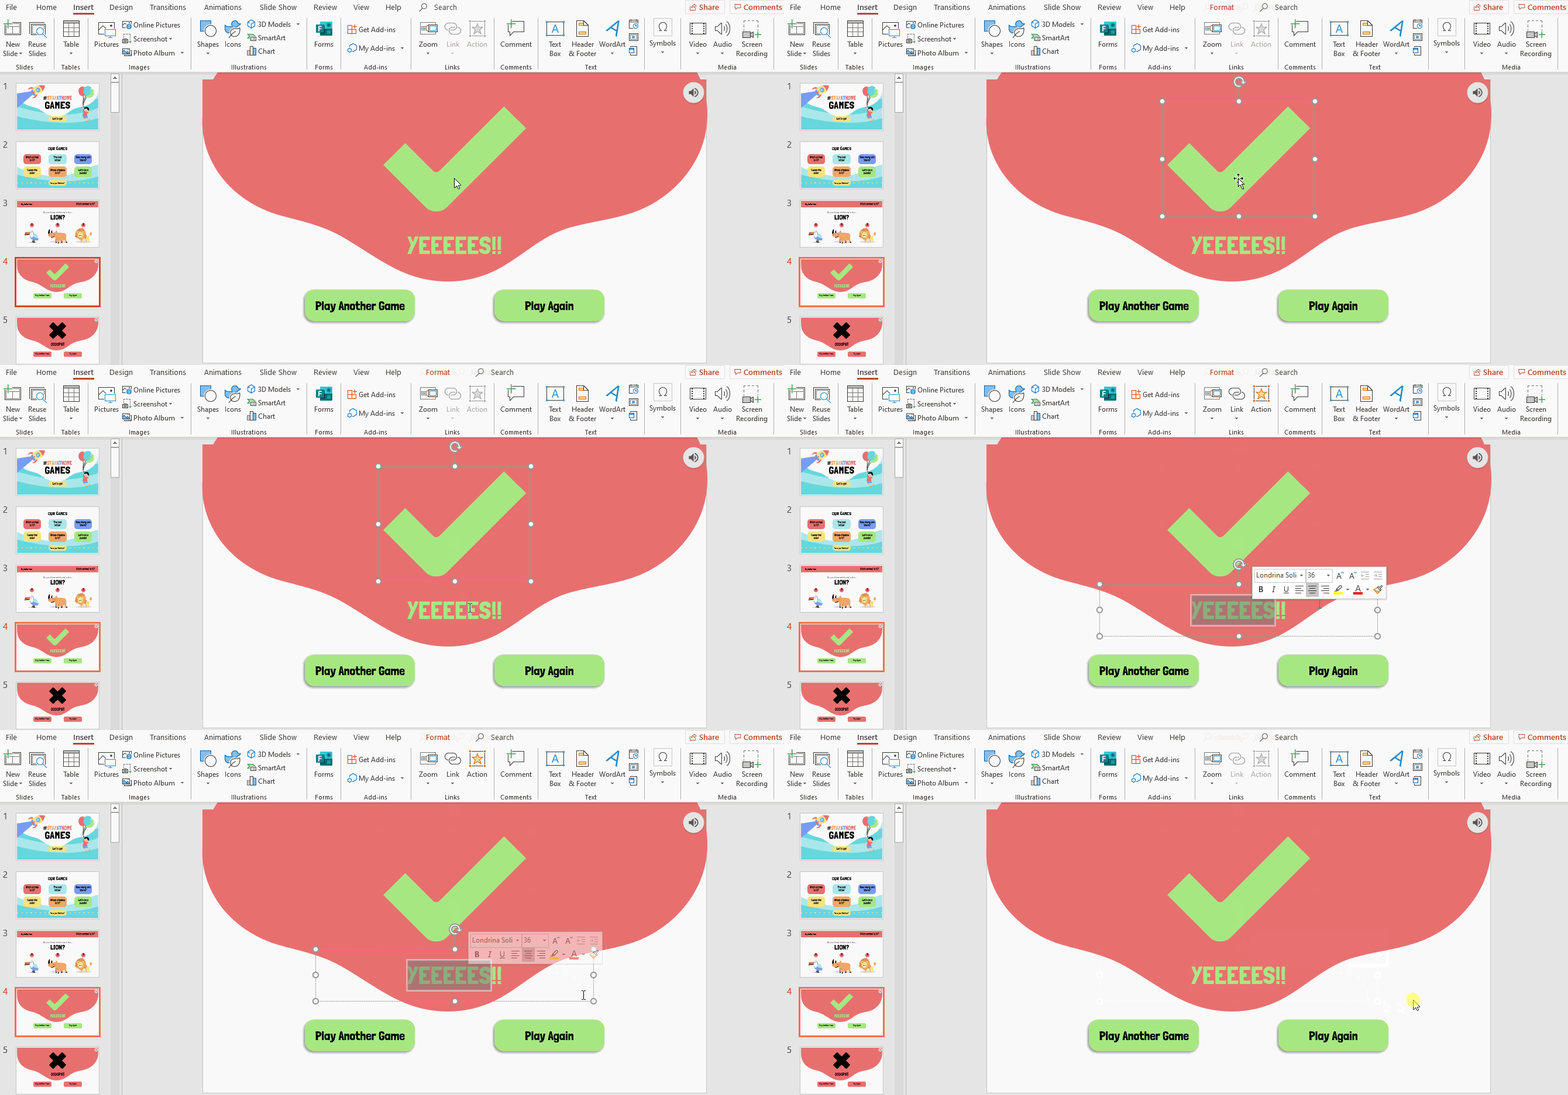
- When designing and formatting the slide, remember to use the fonts and colors of the theme.
- Giving encouraging messages here is key. Add a check mark symbol and a text reading “Well done!”, “Yes!”, “Correct” or “You’ve made it.”
Creating the “Wrong Answer” Slide
Now it is time to add the “wrong answer” slide. You’ll need to repeat a process that is very similar to the previous one.
- Once again, add a new slide: Insert → New slide → drop-down menu. Choose your preferred layout and format as needed.
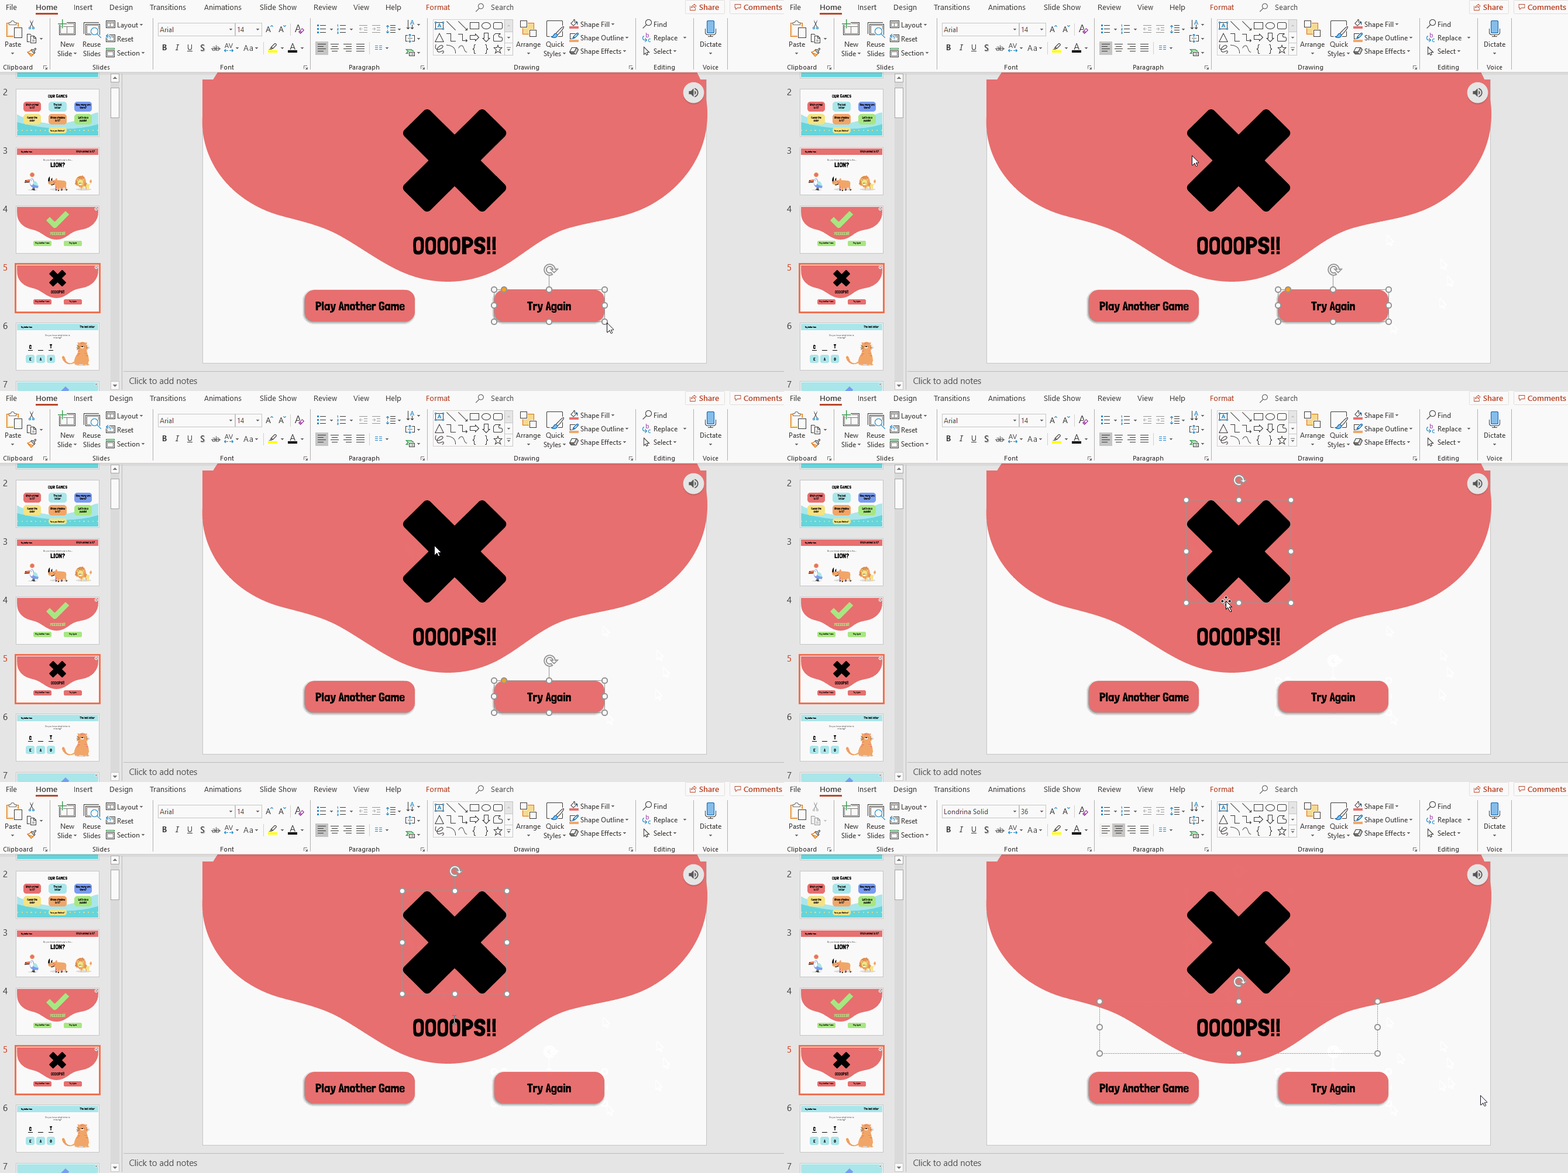
- Here we will add a symbol like “X” to let children know that the answer is incorrect. Add a message that supports the symbol, such as: “Try again”, “Oops!”.
- As the student answered incorrectly, we need to make sure that he or she goes to the question once again and gives a correct response. Thus, create a button to redirect the child to the “question slide.” You can try adding a message such as “Try again.”
- Simply add a shape (as in the section above) and format as needed.
Linking Slides
Adding links and hyperlinks can be a little bit confusing, although you can learn about it thanks to our tutorial How to Insert a Hyperlink in PowerPoint. For this section, you’ll need to link the “question” slide to the “correct answer” and “wrong answer” slides. Don’t worry, you’ll see how to do it step by step.
- It’s time to add a link to each button in the question slide.
- Here, the two first options are wrong, so they must lead you to the “wrong answer” slide.
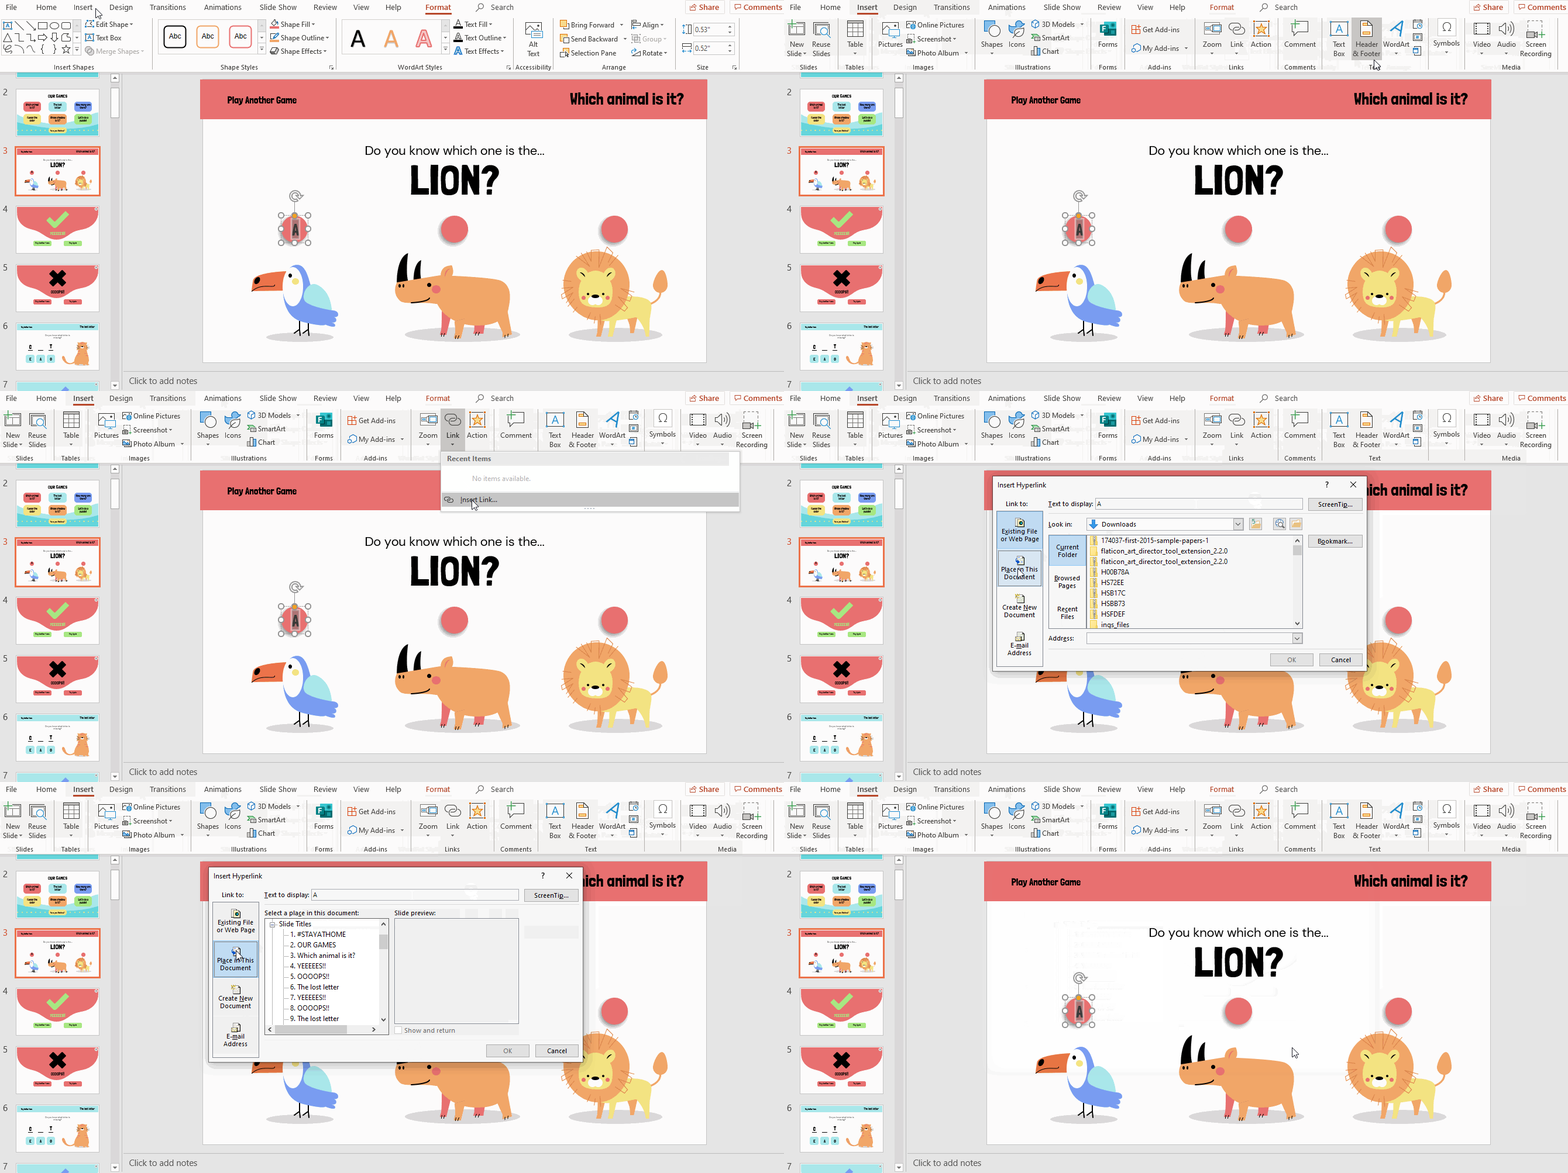
- Click a couple of times and select the text of the first button.
- Click Insert. Then go to the Link menu and click on Link. A popup will appear.
- You can add a link from different sources: an existing page, the presentation you are creating, a new document or an e-mail address.
- Double click on Place in This Document.
- Select the “wrong answer” slide and click OK. You’ll see the slide preview so you don’t get confused.
- As option B is incorrect, you’ll need to repeat the same steps for that option.
- Option C is the target answer. Thus, it’s time to link it to the “correct answer” slide.
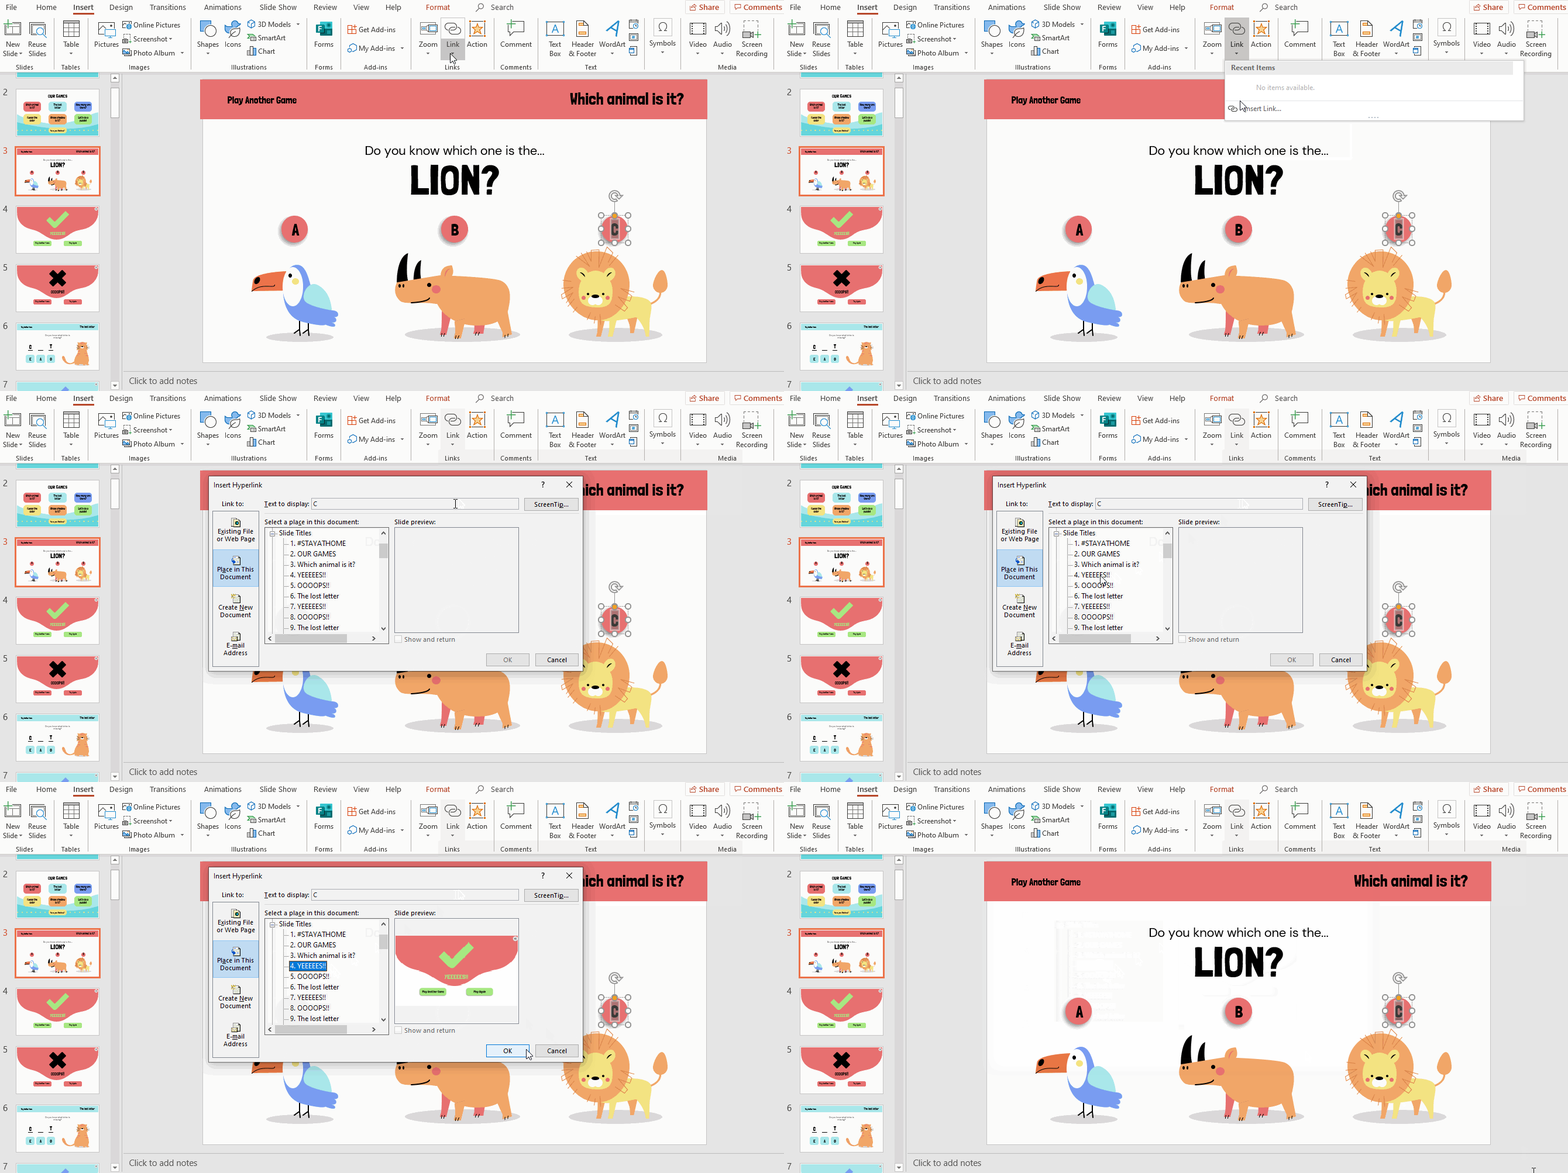
- Once again, select the text in the C option button.
- Click Insert. Then go to the Link menu and click on Link. A popup window appears.
- Select Place in This Document.
- Choose the “correct answer slide” and then click OK.
- You have linked the three options with the “wrong” or “correct answer” slide, congratulations! You are almost there. The last thing to do is to create a link to direct the student from the “wrong answer” to the “question” slide once again.
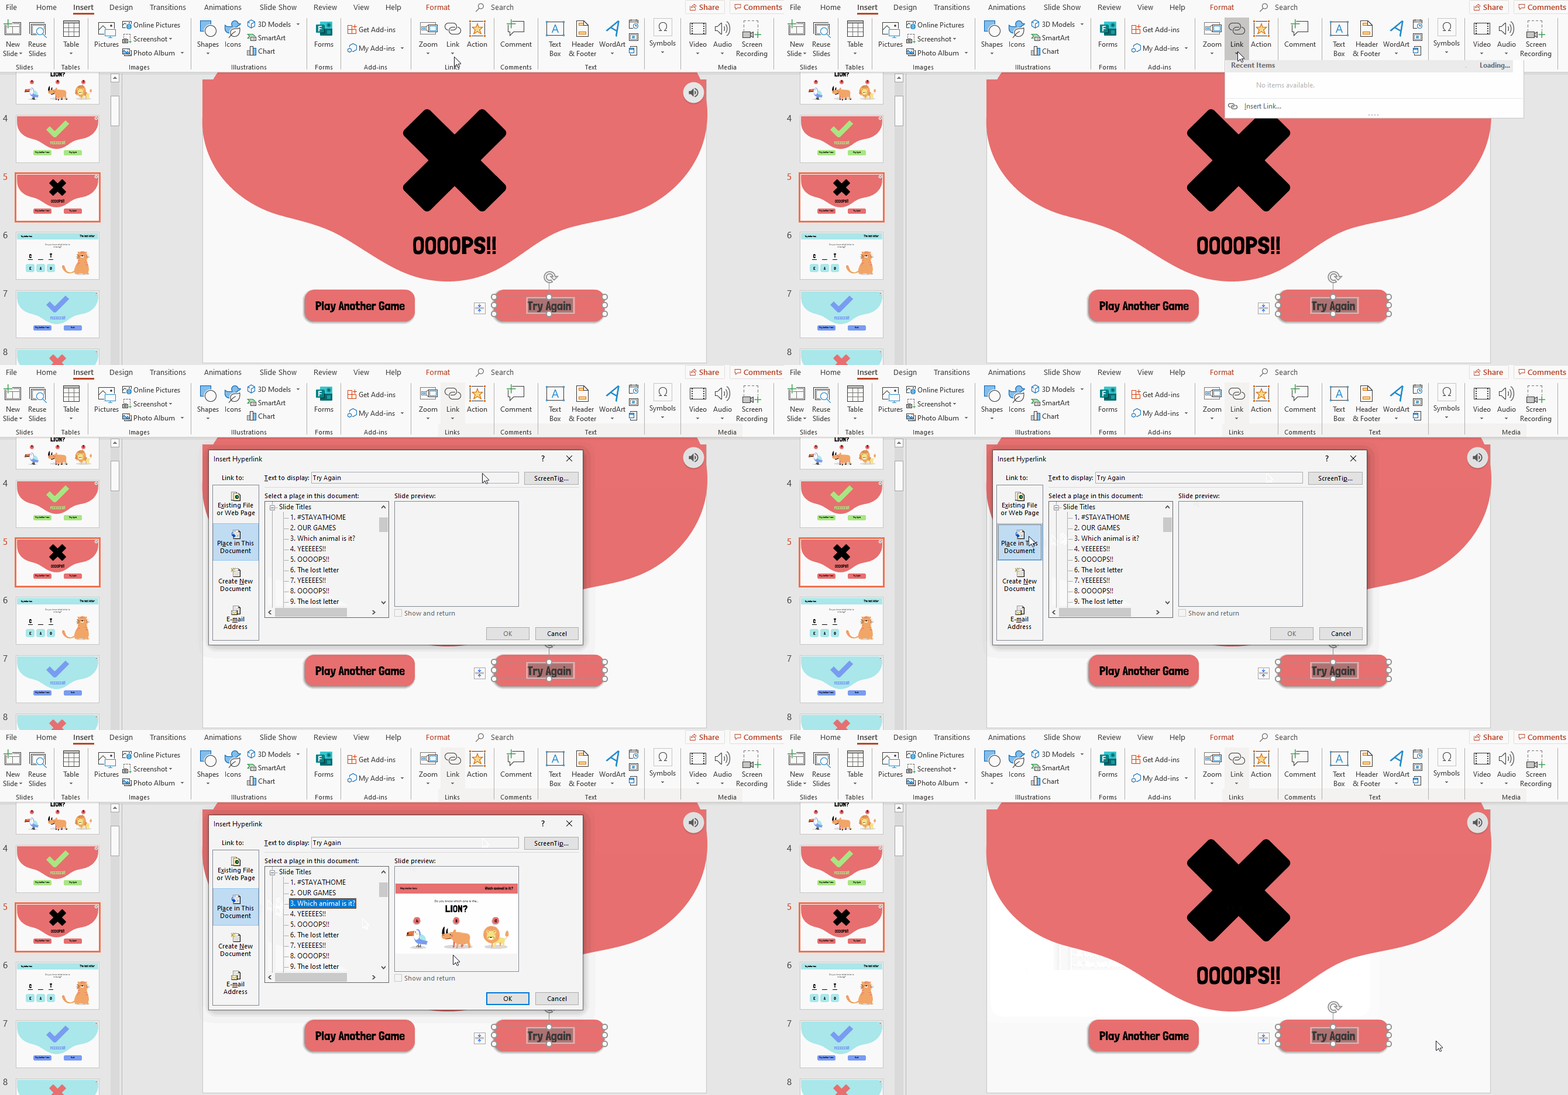
- Go to the “wrong answer” slide and spot the “Try again” button.
- Select it, click Insert → Link → Insert link →. Place in This Document.
- Choose the “question” slide.
- Click OK.
- Your quiz rocks!
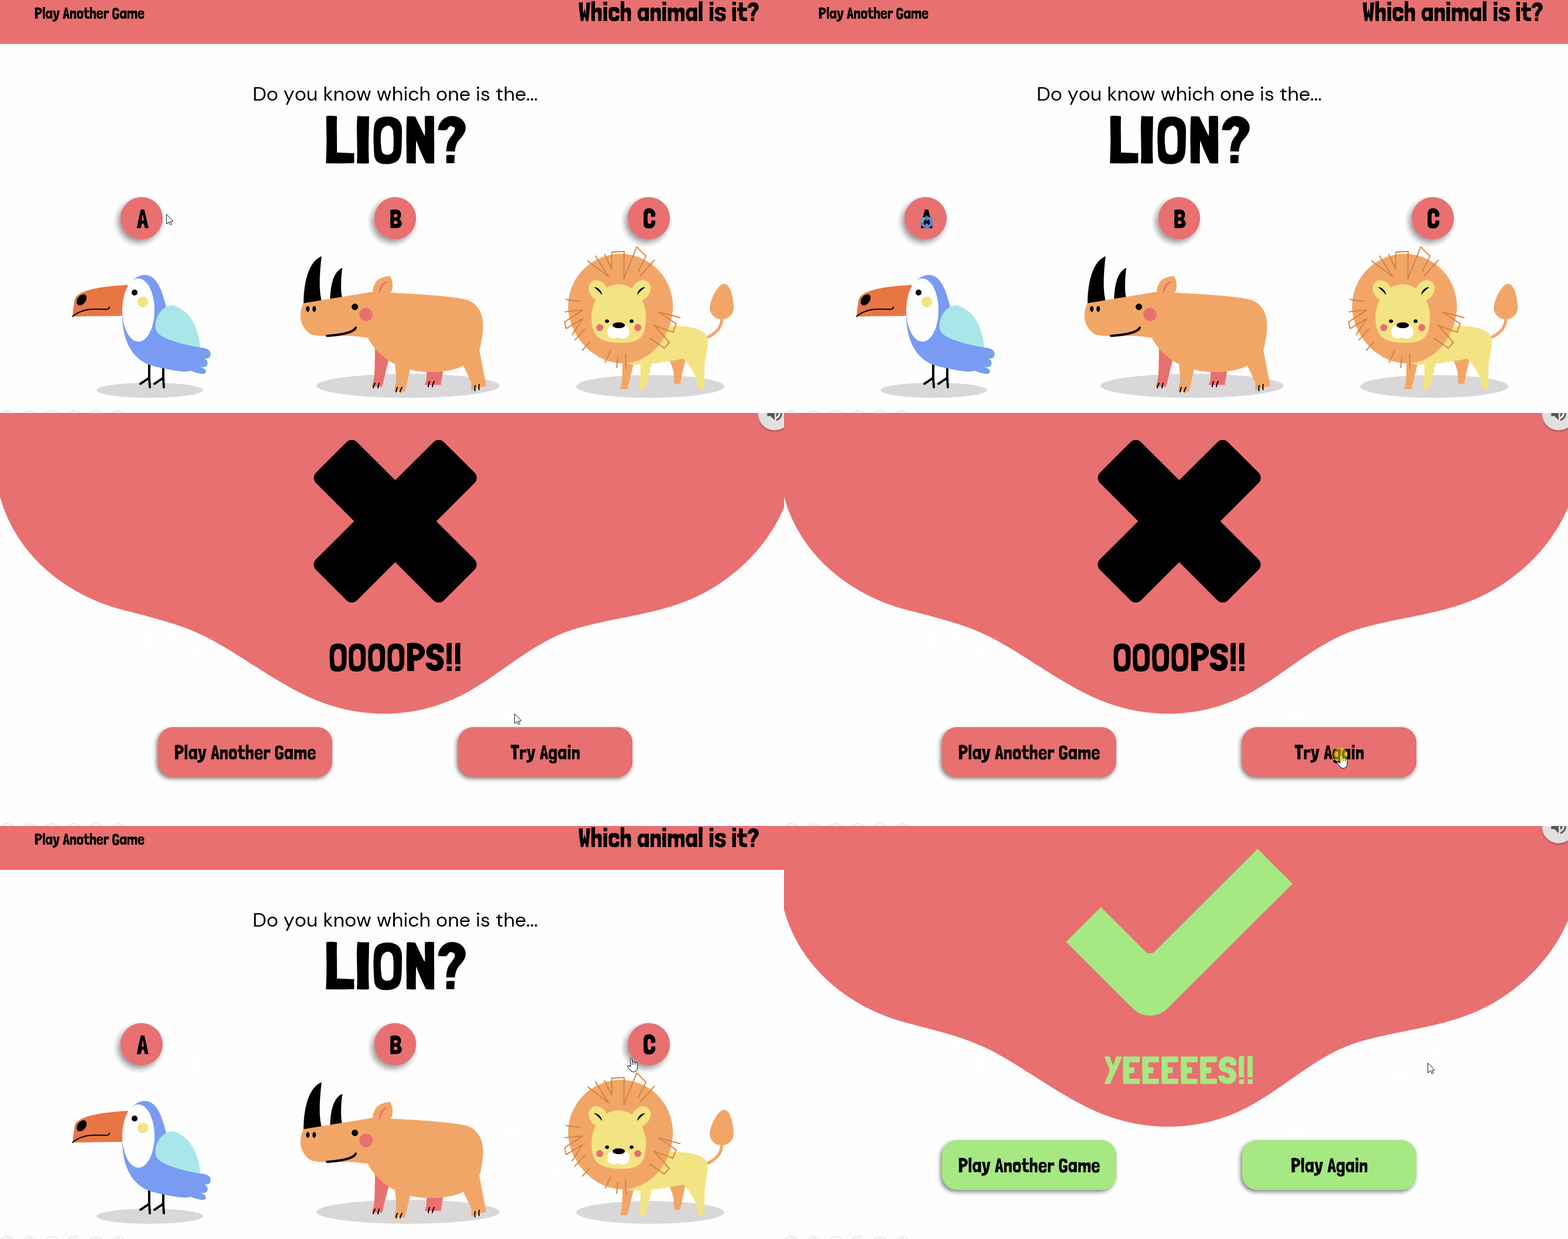
Find this #StayAtHome Games presentation and many more on Slidesgo. They are 100% editable… and free!
Tags
EducationDo you find this article useful?
Related tutorials

How Teachers Are Really Using AI in the Classroom: Voices from the Field
“I hope that AI can ensure students are still doing the planning, writing, and critical thinking needed. Students can't lose these skills.” -6th grade Science Teacher, FloridaFull disclosure: I interviewed my mom for this blog post.My mom, a retired 25+ year veteran educator who recently returned to the classroom, told me...

Top 8 About me presentation templates for going back to school
With the new school year just around the corner, we are all gearing up for those first few days of class. As teachers, one of the most enjoyable ways to break the ice and create a welcoming atmosphere is through an engaging about me presentation. It’s a great way to introduce...

Make school fun from day one with Disney and Pixar templates
The shine of new books, the smell of fresh notes, the clink of the pens in your pencil case, the sound of the bell, and the feel of desks… Back-to-school is here, tingling all your senses! But even if this isn’t your first rodeo in the educational arena, there’s an...

Free printable coloring pages in PDF for back to school
As the new school term approaches, excitement, and anticipation fill the air. One fantastic way to channel this energy is through free back to school coloring pages! These aren’t just for fun—printable coloring pages in PDF format can help kids develop fine motor skills, enhance their creativity, and provide a calming...
