
How to add a border in PowerPoint
Giving your presentation a cool design and taking care of every detail makes your speech look well-prepared and makes you give a detailed-oriented outlook. Adding a border to your slides is a perfect way to achieve a modern look and it’s very easy to do. In addition, it makes your content look structured and it will help catch your public’s attention.
In this tutorial you are going to learn how to add borders to slides and pictures in PowerPoint. It is so easy that you will master it in five minutes!
How to insert a border in PowerPoint
A border is what gives slides a final touch, so if you want your presentation to have a modern design, follow these easy steps! For this tutorial we will be using the presentation OKR Framework for Performance.
Are you ready to insert your first border?
First, select the slide that you want. Then, go to the top menu, and Insert → Shapes. There are lots of options, so you can choose the one that matches the edges of your slide. Do not worry if you can’t fit it on the first try, you can always modify it later.
After inserting it, you need to change the Shape Fill to No fill. You can do it by selecting the shape, going to the top menu and clicking on Shape Format → Shape Fill. This way, the shape will be transparent and only the borders will appear.

Now the creative part! You can change the border’s appearance in the Shape Format menu:
- Go to Shape Outline, there you can change the thickness of the line and its style.
- Go to Shape Effects to add cool effects like glow or shadows.
You can apply the border design you just created to another slide. The only thing you need to do is copy and paste it.
Pro tip: You can create a design that appears in every slide, if you add it to the master slides. To do so, go to the top menu and select View → Slide Master. Then, follow the same process as before. Make sure you are adding the border to the first master slide!

When you’re done creating the form, close Master View. Now, the design will appear in every slide of the presentation.
How to add a border to a picture in PowerPoint
Adding a creative border to a picture is an amazing way to draw the viewer’s attention to it and it makes your slide look more entertaining. It’s a very easy process that has a big impact on your presentation! There are two ways you can do it:
- The fastest way is using the pre-made designs that PowerPoint includes. First, select the picture you want to edit, go to the top menu and click on Picture Format. Then, go to Picture Styles and choose the one you prefer.
- You can also create a custom border. To do so, select the picture, go to the top menu, click on Picture Format → Picture Border. Now you can get creative! Choose the color, shape and thickness that best suits your presentation.
Now you are ready to create your own designs!
The templates used in these last parts are Caramel Popcorn Day! and Rhine in Flames. Slidesgo offers lots of different templates that you can edit, so if you want to put your new skills into practise, take a look at our website.
You can also continue learning about PowerPoint with our other tutorials!
Tags
Edit & FormatDo you find this article useful?
Related tutorials
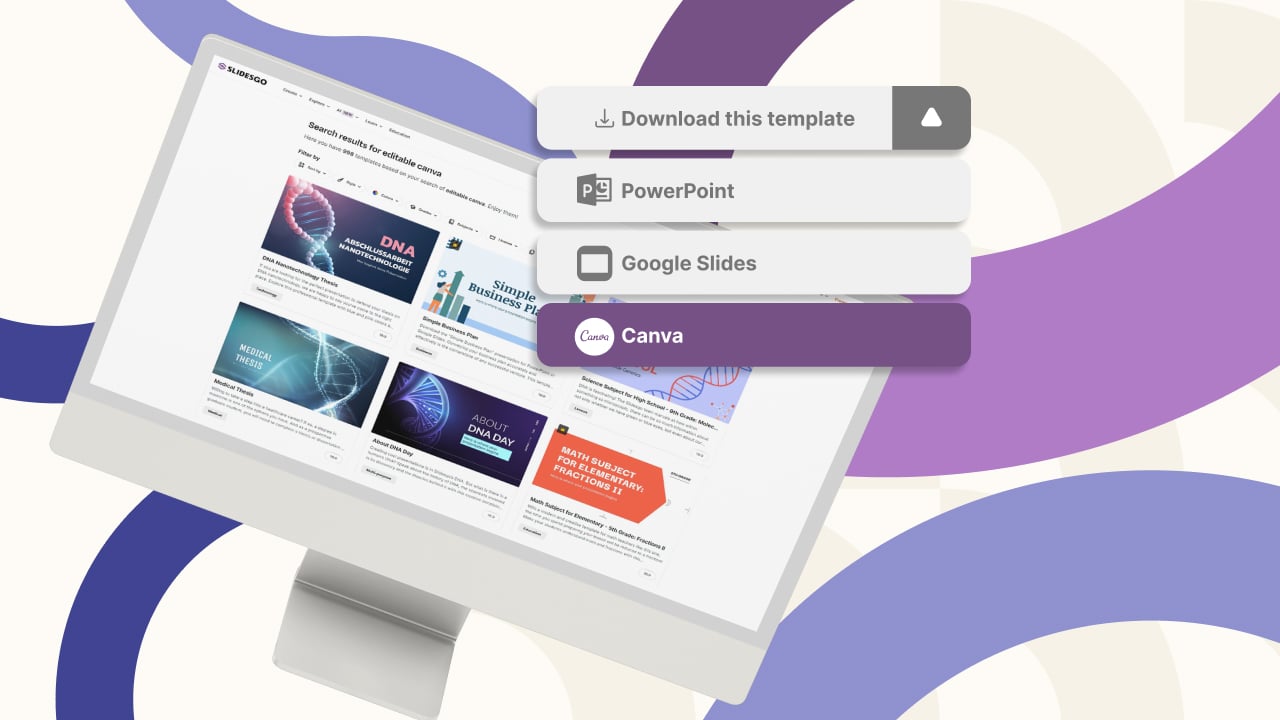
New feature available: edit our templates with Canva
Whenever you need to create, Slidesgo is there. We’re continually enhancing your presentation design process with templates that are primed to impress for any occasion. And in order to let your ideas flow best, comfort is key. How could Slidesgo help you with this? By making you feel right at home with...
How to print PowerPoint notes
Crafting an impactful PowerPoint slideshow and delivering a captivating presentation are distinct skills. The first focuses on designing appealing visuals to convey a clear message, while the second involves employing effective presentation techniques to ensure the audience grasps the idea. The content of this article will help you with the latter...

Discover Our Online Presentation Software for Free
We have great news for you today! If you’ve been a Slidesgo fan for years (or months, or weeks, or days, or mere hours, we welcome everyone!), you’ll probably know for now that our templates are available mostly in two formats: for use in Google Slides and PowerPoint.Google Slides is a...

Webinar: Presentation Audit
With more than 15,000 templates released on Slidesgo and a user base composed of millions of people, we estimate that the total number of presentations created adds up to… um, a lot! Our team of professional designers work very hard to provide you with editable slides so that the only thing...