
How to Make a Jeopardy Game in PowerPoint
Thinking about new ways of reviewing concepts for your students? Do you simply want to have fun with your friends? Or are you a medical student and need a helping hand with the names of the different parts of the inner ear? We can help you!
Gamification is always a good idea when trying to learn new things, don’t you think? We have created an educational Jeopardy using interactive slides. You can pick different subjects and questions clicking on different buttons! Does it sound like rocket science? In this tutorial, we’ll teach you how to create a funny Jeopardy from scratch. Pay attention, it’s easy!
How to create the game board
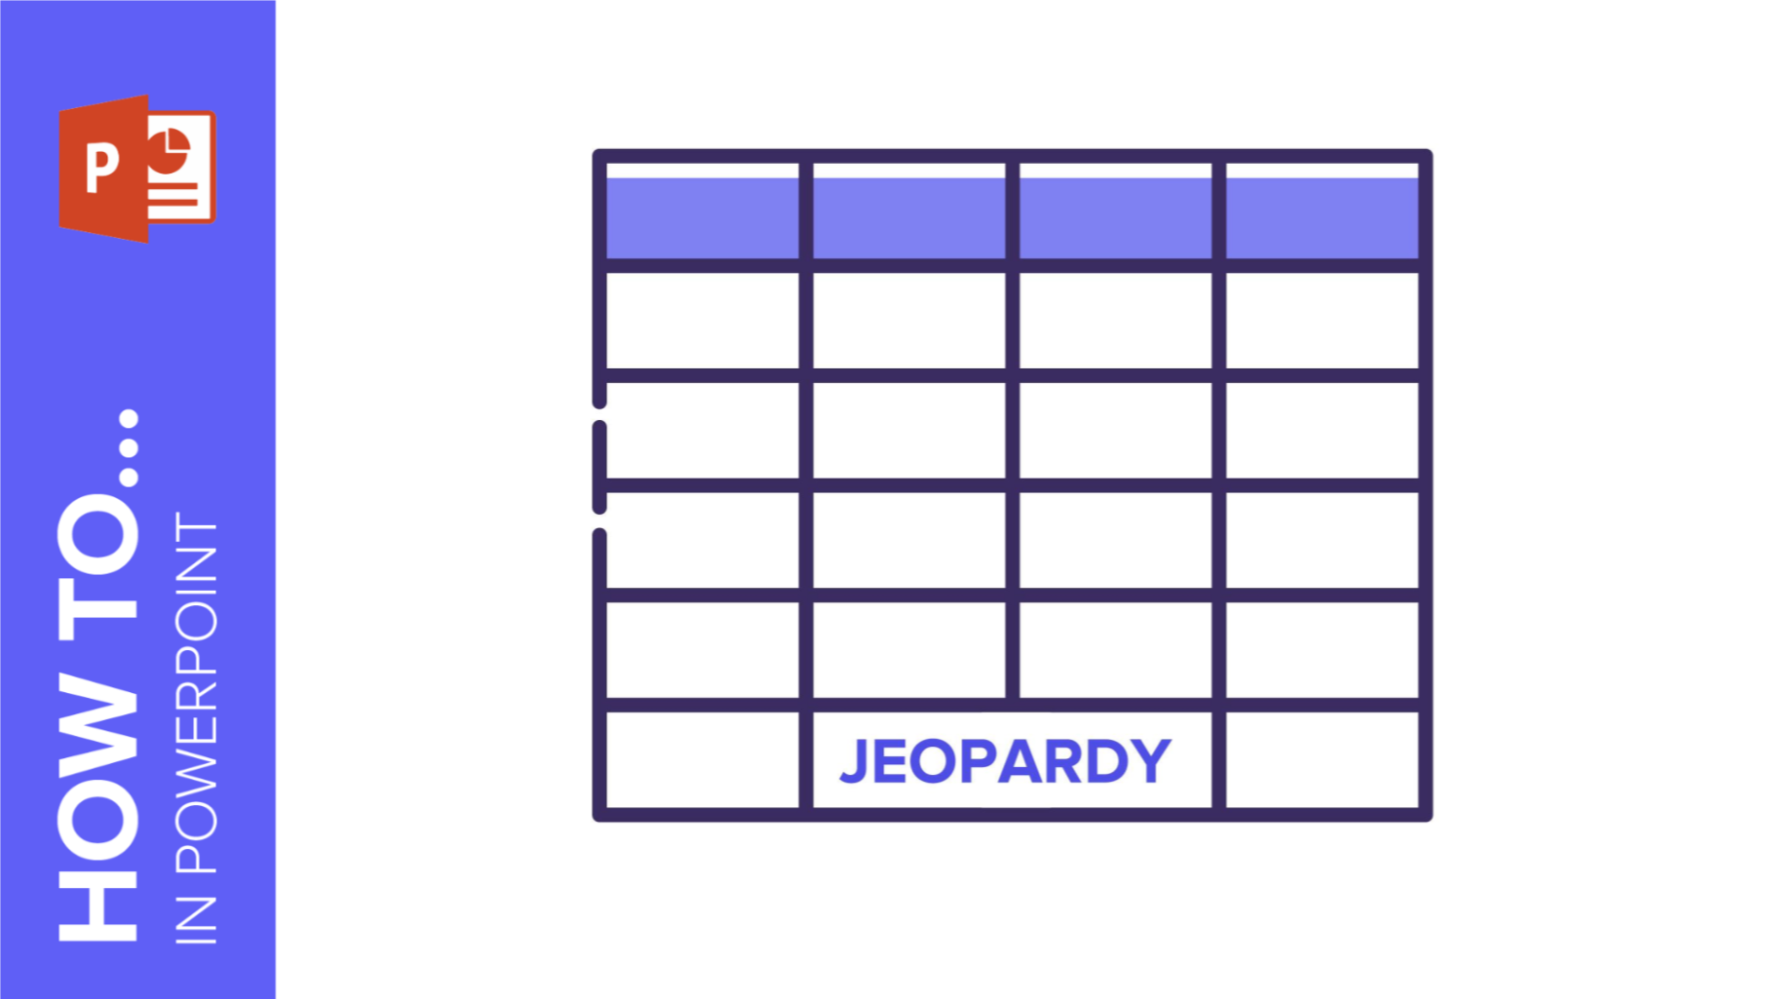
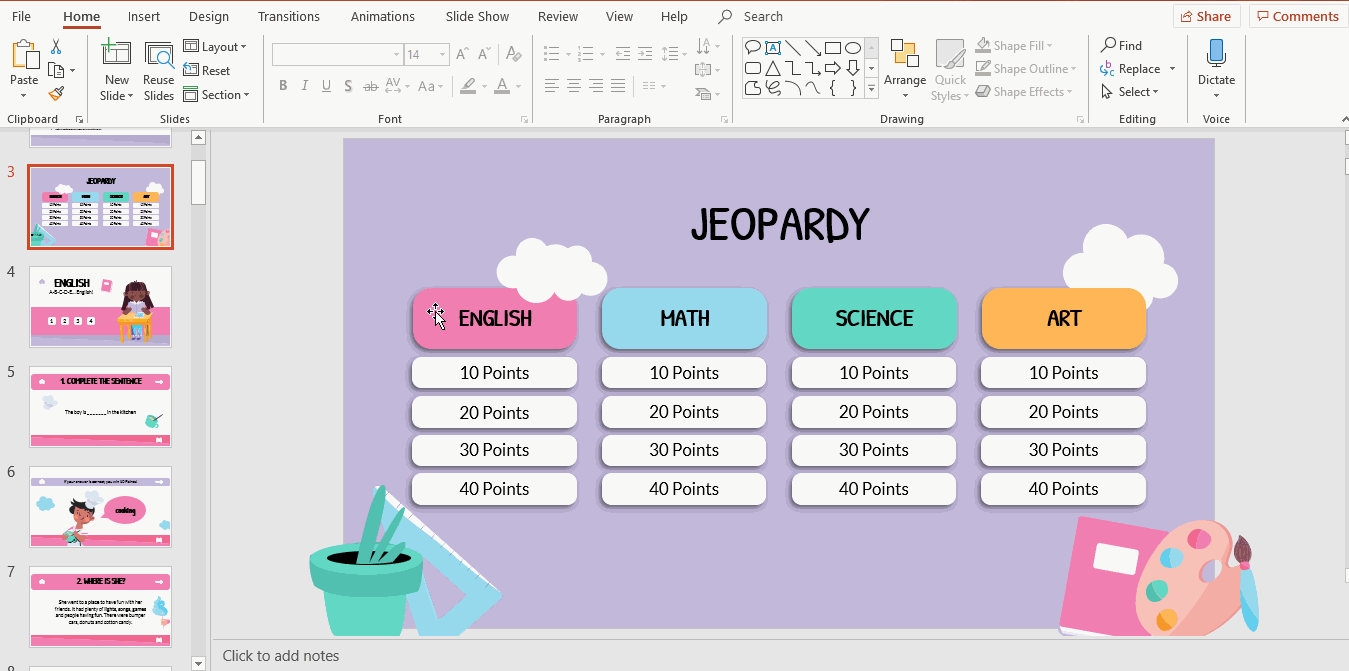
To create a game board, we need to create a table with two sorts of information: categories or subjects and score. Let’s see how to do it.
- In order to design a table, you have two different options, either adding a PowerPoint table or adding a series of square shapes. We will teach you both of them so you can choose one. Let’s begin by creating a table!
- Of course, the table may have different values. Still, for our tutorial, it is going to have 5x4 cells. Click on Insert, in the toolbar. Click on Table and choose the dimensions.
- You’ve learned how to create a game board by means of a table. Now, it’s time to explore how to create a board using shapes.
- In Insert, click on Shapes and choose Rectangle: Rounded Corners. The shapes of the first row need to be bigger than the rest, as they represent the subjects or themes.
- When you create a rectangle, you can copy and paste it to create many more. When you click on the shape, drag while you press Ctrl or Cmd in Mac. Voilà!
- Edit the rectangle as you please. Use the options Shape Fill, Shape Outline and Shape Effects. This last feature will help you add shadow to the rectangles. Don’t forget to use the colors of the theme.
- Time to fill the rectangles! To add some text, double click on every rectangle and type. You can change the style of the text selecting it and making use of the Font tools in the toolbar.
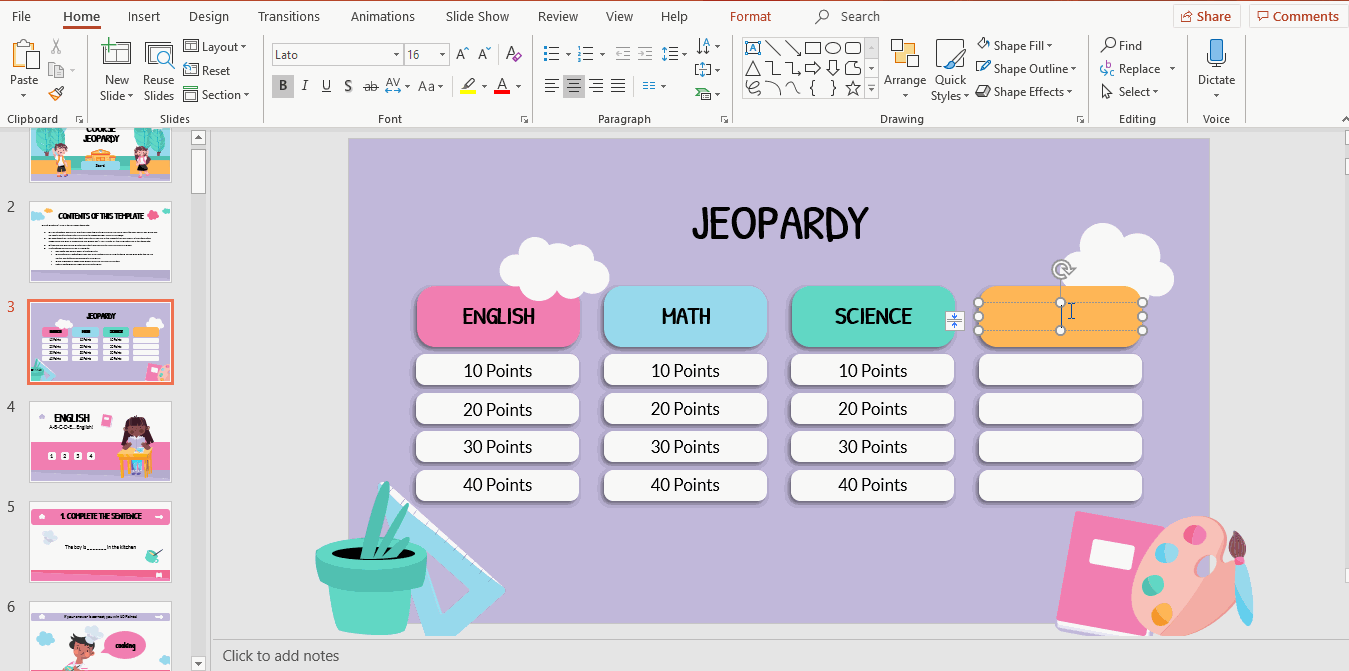
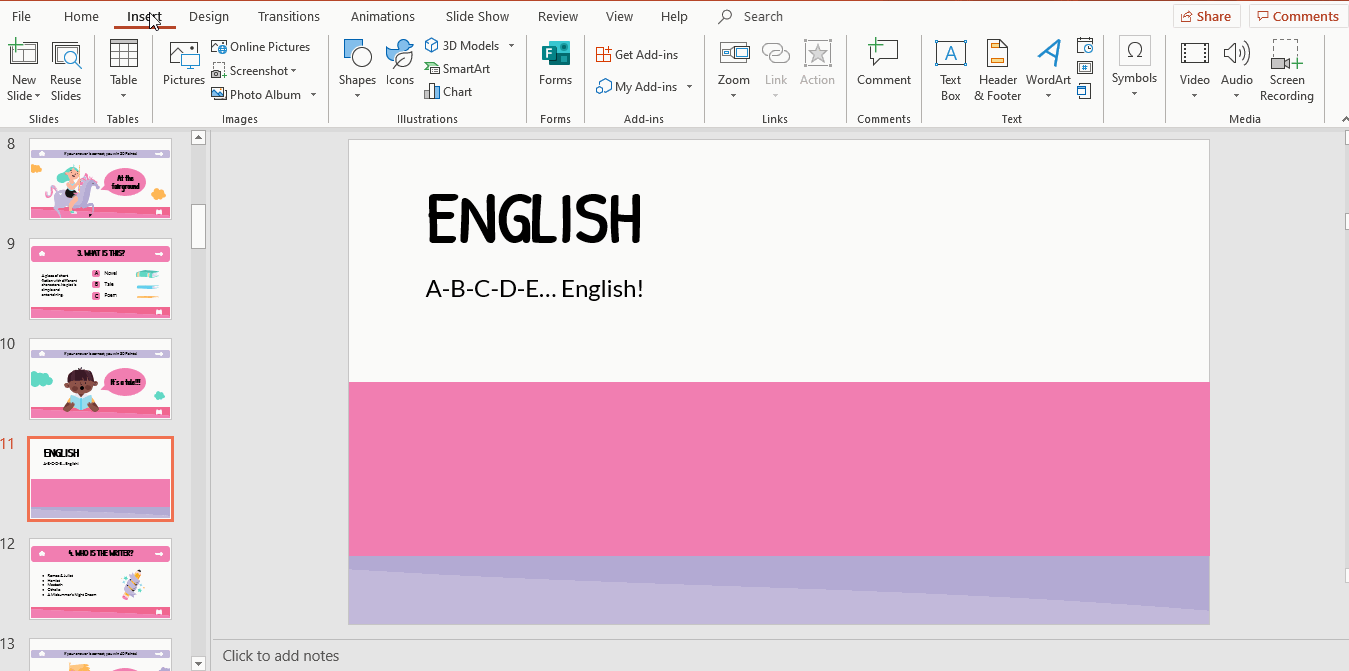
Designing the subject slide
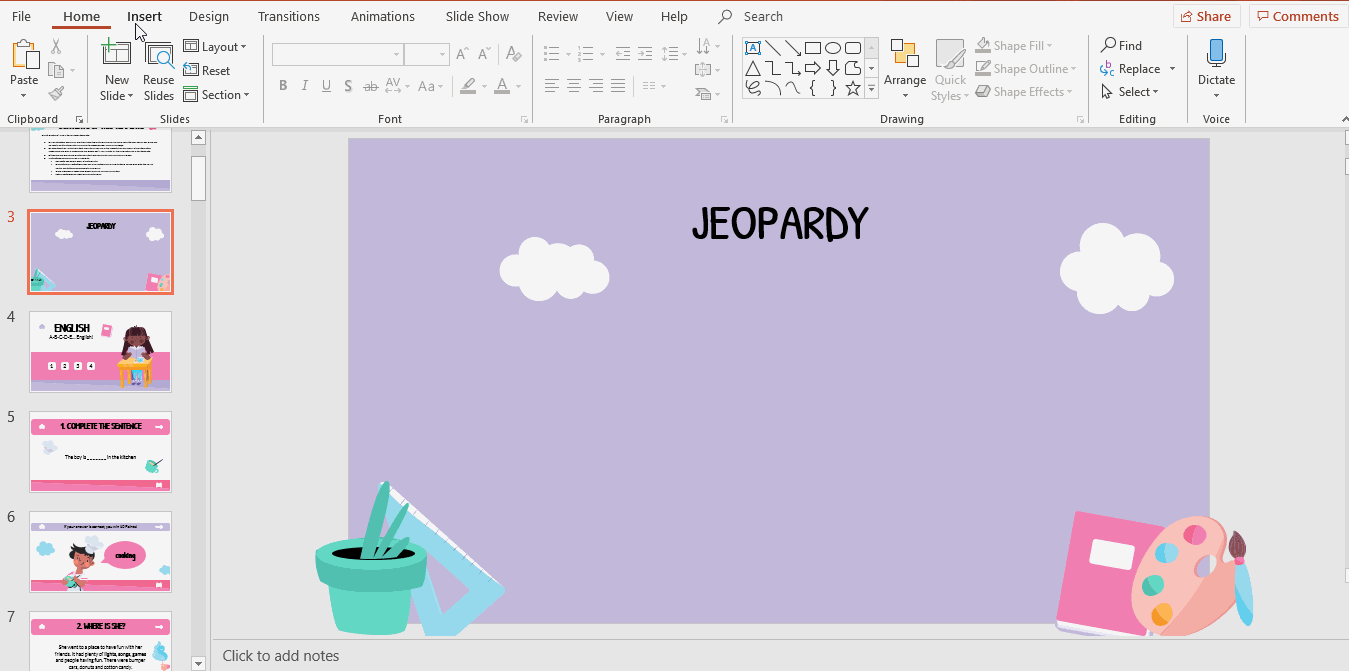
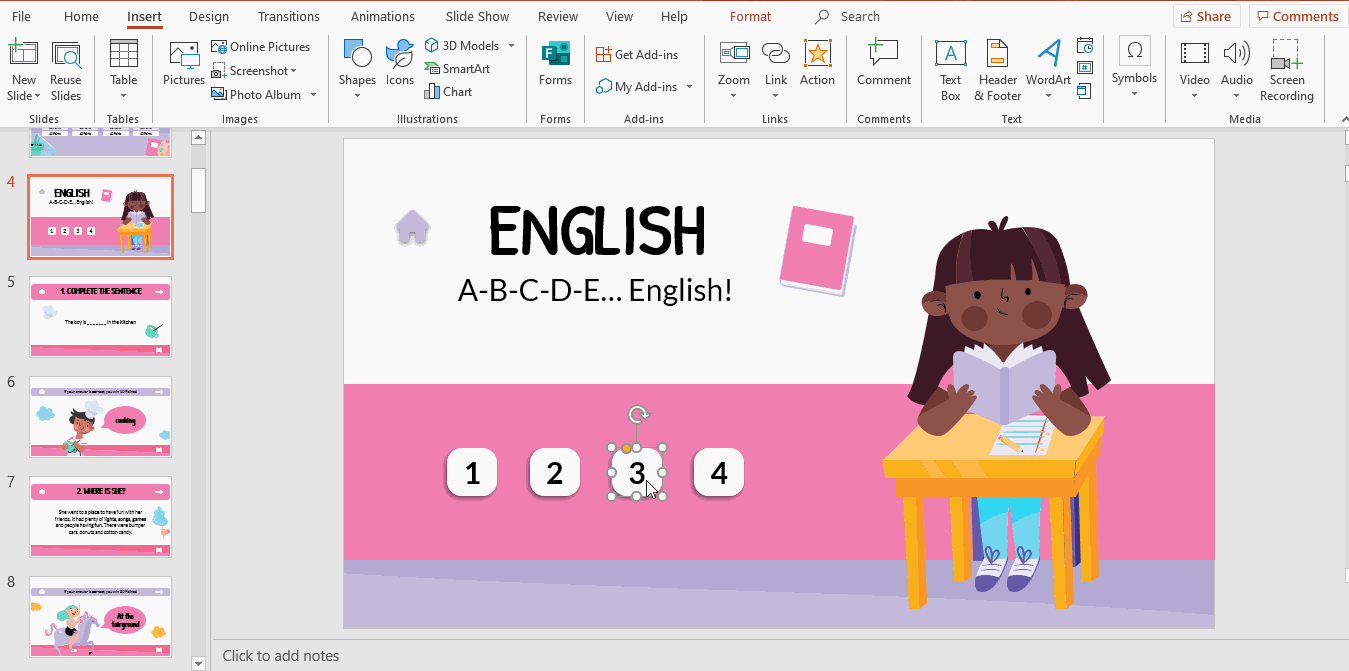
- First things first: let’s add a title and a subtitle. Click on Insert. Then, select Text Box, click and drag to create a new box. You simply need to type and, if you need to edit its style, change the Font, Font Size and apply other effects.
- We are going to create 4 questions per subject, so we need to insert 4 buttons. Click on Insert → Shapes → Rectangle: Rounded Corner. Instead of using the Insert option, to add more rectangles, click on the one you have created and drag while pressing Ctrl or Cmd in Mac and you’ll duplicate it. Use the options Shape Fill, Shape Outline and Shape Effects. This last feature will help you add shadow to the rectangles.
- Numerate the buttons. Click on them and simply type as needed. Then, adjust the Font and Font Size, and make use of other features in the toolbar. Align the text to make it visually appealing.
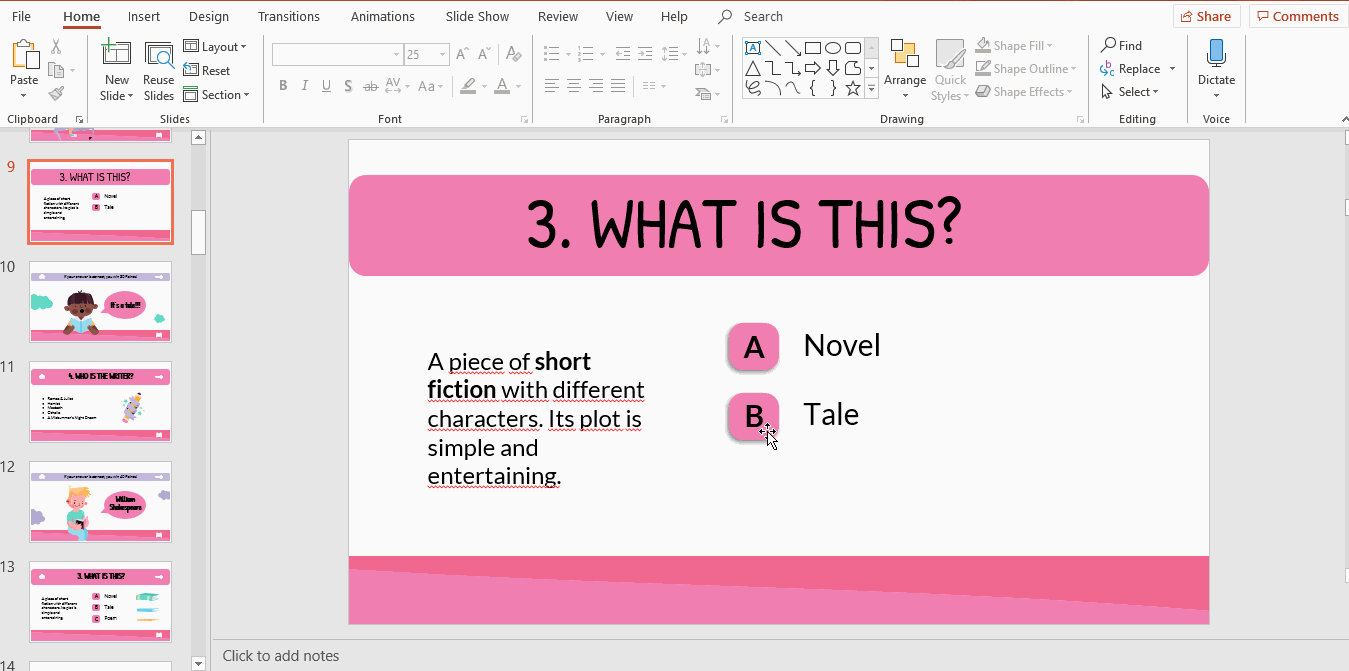
Designing the clue slide
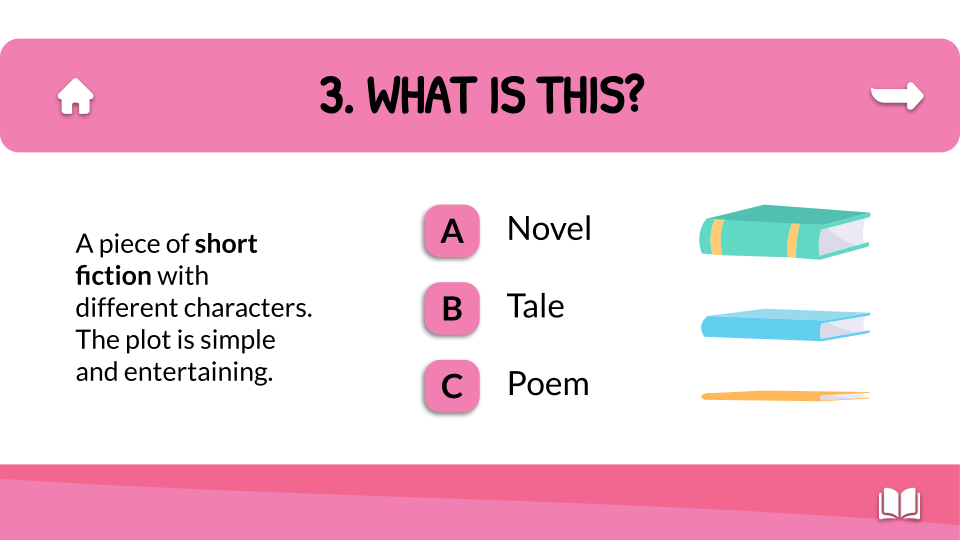
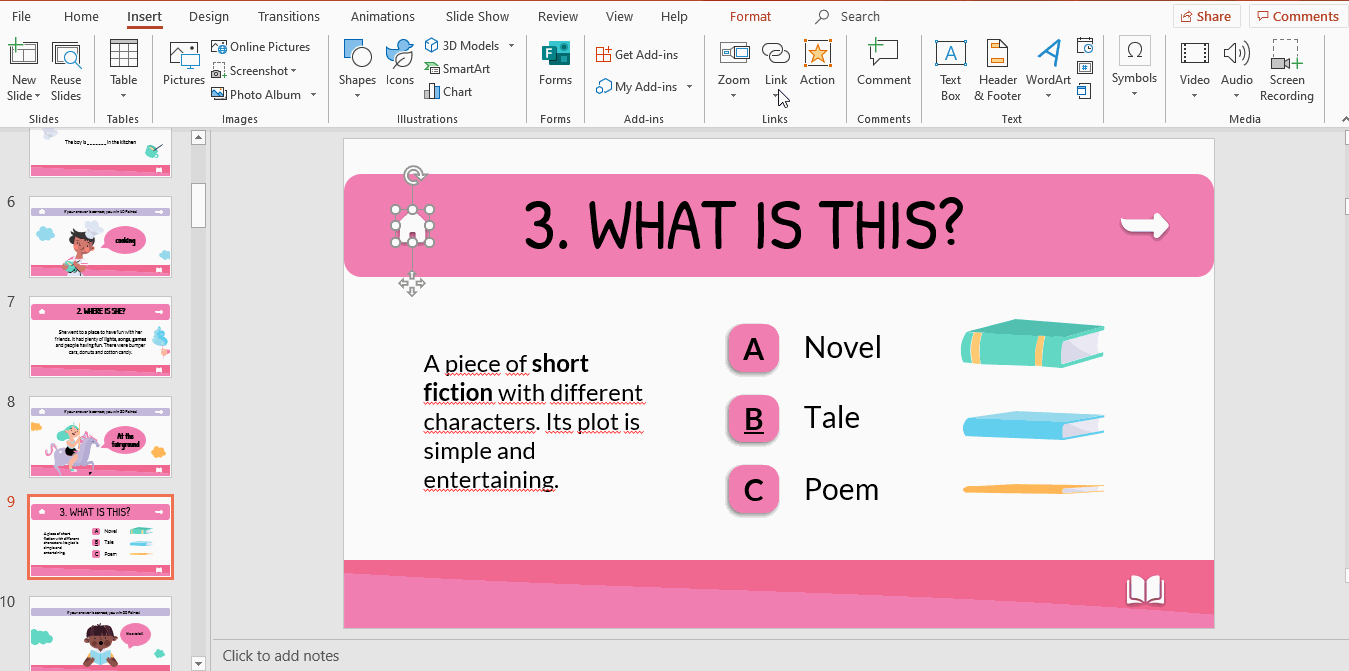
We are going to add a “clue” slide about literary genres, as we are dealing with English. In this sort of game the answer or clue comes first and, after that, we include the question slide. Our example has 3 possible answers. If you click on the correct one, it will direct you to the next slide.
- To insert a title, click on Insert → Text Box, then click and drag to create it. If you need to edit the text, use the features Font or Font Size.
- To add a description of the literary genre, add another text box.
- Now you need to create three buttons. To do so, add shapes that will work as buttons. Click on Insert → Shapes → Rectangle: Rounded Corners. Click and drag, and change its Fill and Border Color. Add shadows with the feature Shape effects. If you want to duplicate a shape, click on it and drag while you press Ctrl or Cmd in Mac.
- Click on each button and type A, B and C.Edit the text as needed with Font, Font Size and other font effects.
- The buttons are ready, but you need to add a text box close to them to type the name of the genre. Click on Insert → Text Box. If you want to duplicate a text box, click on it and drag while you press Ctrl or Cmd in Mac.
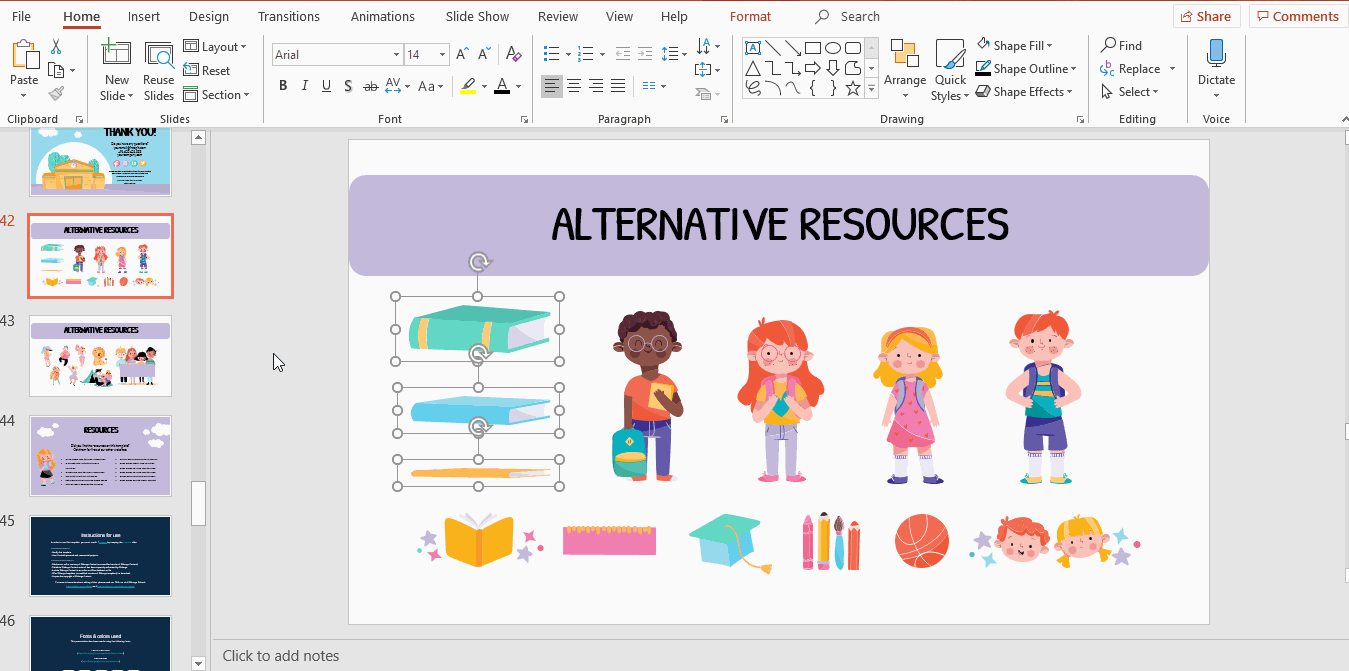
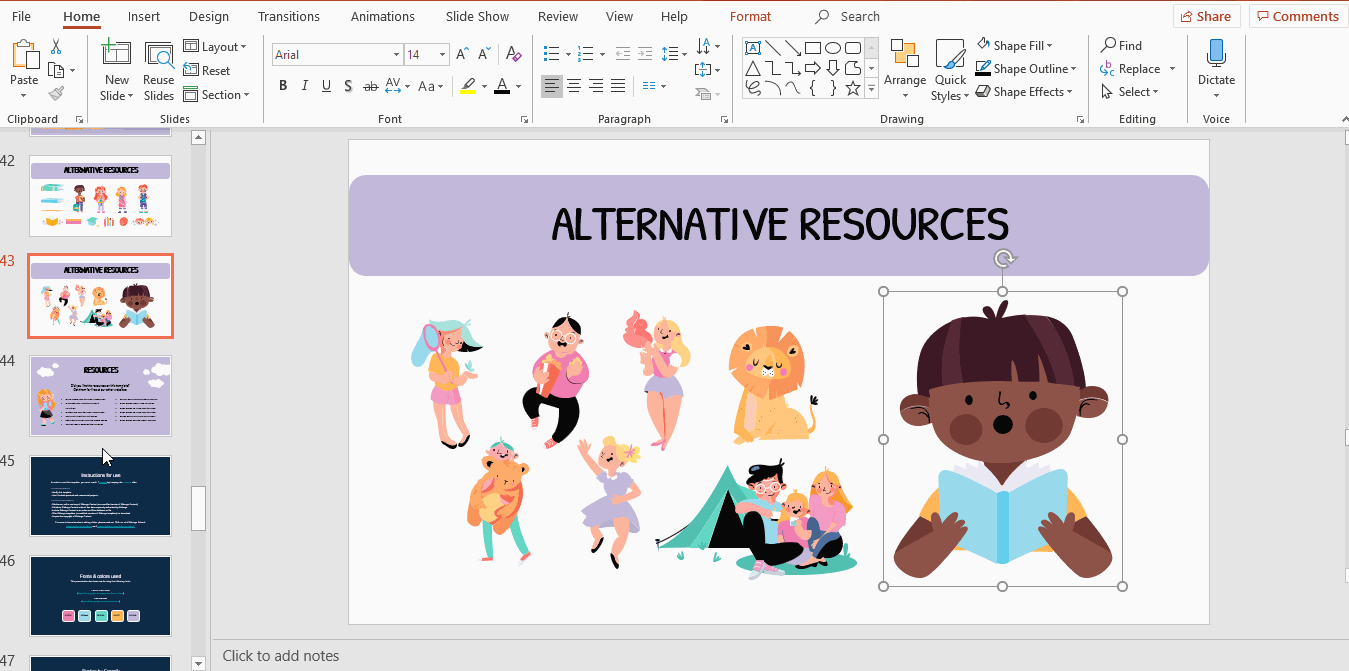
- Add some illustrations to decorate the slide! Go to the Alternative resources slide, copy them (Ctrl + C or Cmd + C in Mac) and paste them in the clue slide (Ctrl + V or Cmd + V in Mac).
- Remember that our example is an interactive template, so we have some elements that can redirect you to other slides. In this case, we are going to employ icons that work as buttons. We have added a house, a right arrow and a book: you need to connect themto the game board slide, the next slide and the subject slide, respectively.
- You can add these images from our set of editable icons slide, copying and pasting them. Simply press Ctrl + C (copy) and Ctrl + V (paste) or Cmd + C (copy) and Ctrl + V (paste) in Mac. If you find How to Add and Modify Icons a little bit difficult, have a look at our tutorial!
Designing the question slide
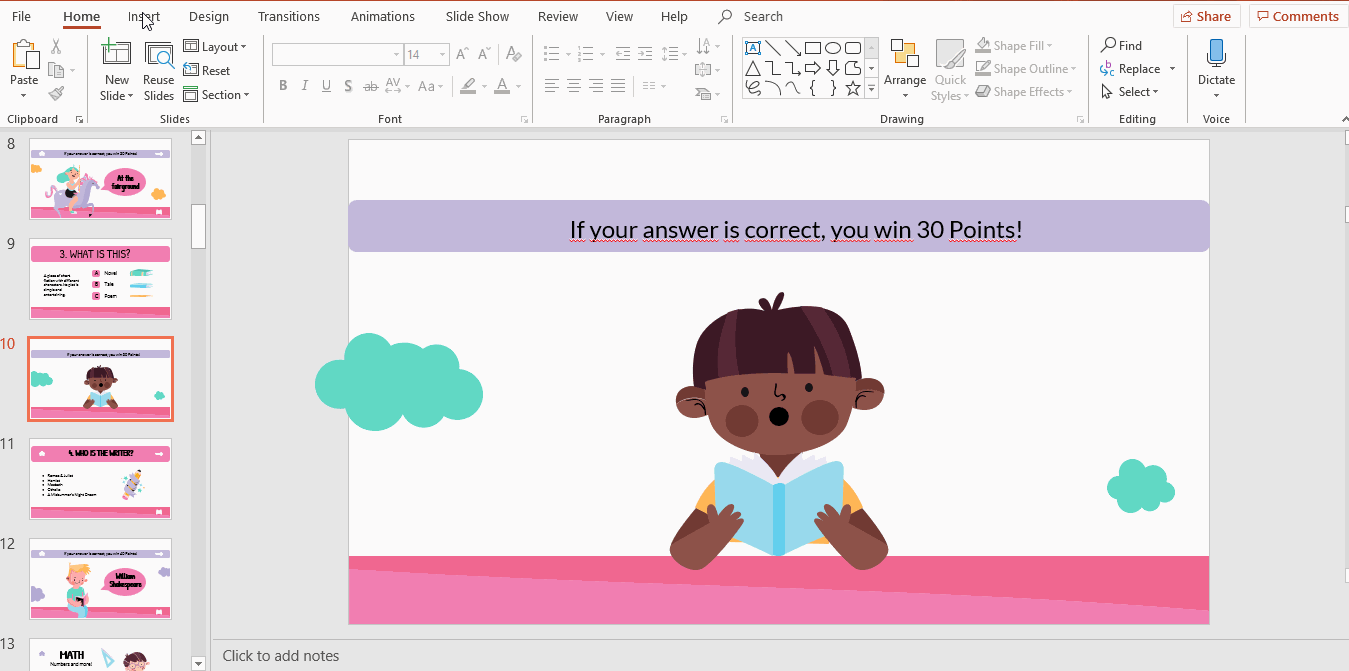
- The next thing you need to do is adding the “question” slide. Insert a new slide and choose a layout.
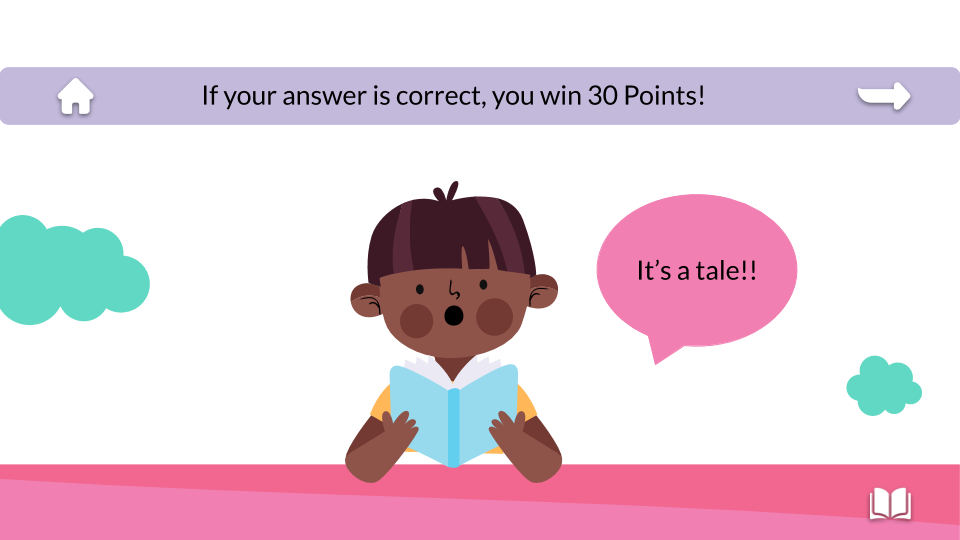
- Select Insert → Text Box. Click and drag to create the box. Type the text and edit it. For our example, we need to specify that, if their answer is correct, they win 10, 20, 30 or 40 points.
- To decorate the slide, we will add an illustration from the Alternative resources. Our idea is to represent a boy with a speech bubble that includes the answer. To get the illustration of the boy, copy the image from the Alternative Resources (Ctrl + C or Cmd + C in Mac) and copy it in the slide (Ctrl + V or Cmd + V in Mac)
- We chose to put the answer inside of a speech bubble. Naturally, we need to add a shape: mark Insert → Shape → Callout. Click and drag to create the shape, and use the colors of the theme in Fill Color and Border Color. In order to type the text, double click on the speech bubble. To style thee text, select it and change its features.
- Take into consideration the previous slide. Do you remember that we included some icons? We are going to do the same here. Go to the Set of editable icons and copy and paste them using Ctrl + C and Ctrl + V or Cmd + C and Cmd + V if you are using Mac.
Connecting with hyperlinks
You have almost finished! Now we need to make this presentation interactive by adding hyperlinks:
- Let’s begin with the game board slide. Click on the subject button (in our example, the “English” one). Now, go to Insert → Link → Place in This Document. Pick the cover slide of the subject and apply clicking on OK.
- The next step is dealing with the score buttons. In this example, we are going to link the “30 Points” slide. Click on Insert → Link → Place in This Document. Take the “clue” slide and finish clicking on OK.
- Repeat the process for the rest of subjects and the scores.
- Go to the “English” section slide. There are 4 buttons. Click on each of them and click on Insert → Link. Then, choose Place in This Document and click on the“clue” slides. Select OK.
- Remember that you need to link the icons that we include in the slide to something. Let’s see how to do it, beginning with the clue slide.
- The home icon is the first one you are going to encounter: click on it, and then in Insert. Then, choose Link and Place in This Document, as we need to link it with a slide within this presentation. Look for the game board slide, click and then select OK.
- The next icon you can observe is the right arrow. Intuitively, one can think that this leads to the next slide. Click on the icon. Again, select Insert and then go to Link. Select Place in This Document and simply choose the next slide.To finish, click OK. The last of the icons is the open book. We need to connect it to the subject slide. Click on it, go to Insert → Link → Place in This Document. Choose the “English” slide, or any other subject slide. Click OK to apply the hyperlink.
- Repeat the process in the “question” slide. Brilliant!
You have connected your slides using links. Your pupils will enjoy this End of Course Jeopardy template! If you liked it, you can find other interactive themes on our website!
Tags
EducationDo you find this article useful?
Related tutorials

How Teachers Are Really Using AI in the Classroom: Voices from the Field
“I hope that AI can ensure students are still doing the planning, writing, and critical thinking needed. Students can't lose these skills.” -6th grade Science Teacher, FloridaFull disclosure: I interviewed my mom for this blog post.My mom, a retired 25+ year veteran educator who recently returned to the classroom, told me...

Top 8 About me presentation templates for going back to school
With the new school year just around the corner, we are all gearing up for those first few days of class. As teachers, one of the most enjoyable ways to break the ice and create a welcoming atmosphere is through an engaging about me presentation. It’s a great way to introduce...
Make school fun from day one with Disney and Pixar templates
The shine of new books, the smell of fresh notes, the clink of the pens in your pencil case, the sound of the bell, and the feel of desks… Back-to-school is here, tingling all your senses! But even if this isn’t your first rodeo in the educational arena, there’s an...

Free printable coloring pages in PDF for back to school
As the new school term approaches, excitement, and anticipation fill the air. One fantastic way to channel this energy is through free back to school coloring pages! These aren’t just for fun—printable coloring pages in PDF format can help kids develop fine motor skills, enhance their creativity, and provide a calming...