
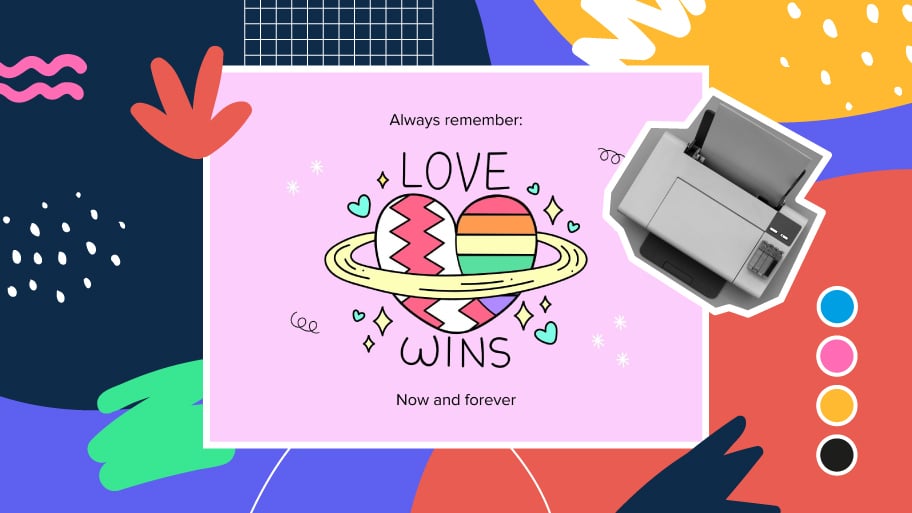
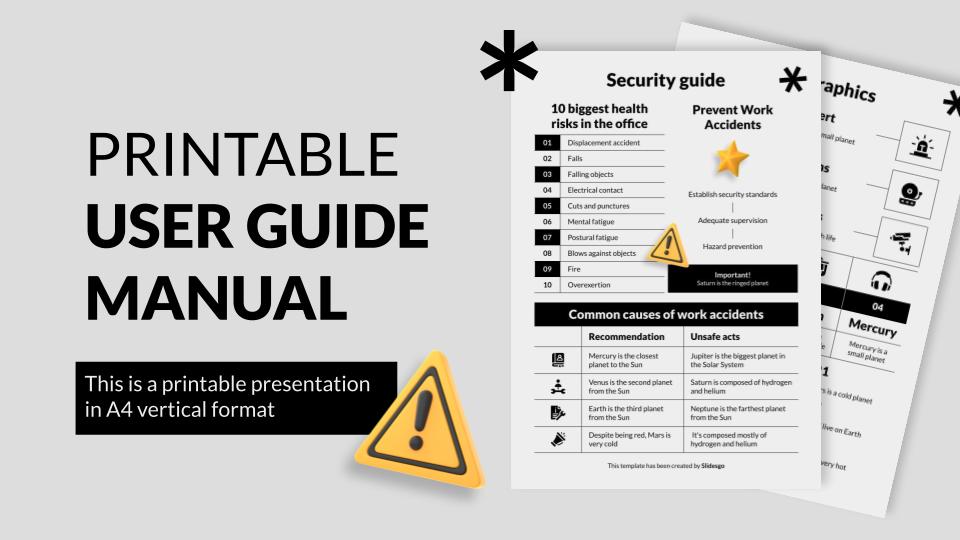
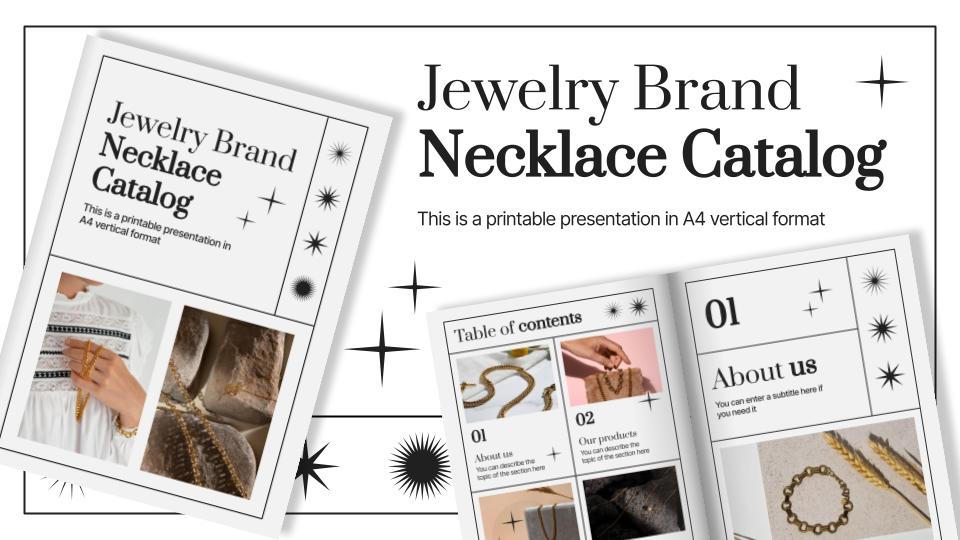
Discover our collection of printable templates
With the advance of technology, printing has become something that is no longer a necessity. Smartphones have made the paper format less and less frequent, but there are still certain cases in which having physical resources is much more convenient. Whether it's for taking notes, handing out assignments, making worksheets or handing out business cards or invitations, it's necessary to print your customized designs.
From now on, in every Slidesgo printable presentation that you download, you will find the instructions for printing on the third slide. Depending on the style, colors or format of each presentation, we will tell you if you can print at home or if it’s advisable to print at a copy shop.
Home printing
In the case of home printing, in the third slide of the presentation we indicate for which format the presentation is intended. If you follow these steps, your printing will be a total success without moving from the comfort of your own house!
- Modify or add text and images as needed.
- Delete all slides after the "Thanks" slide (or after the slide of your choice).
- In the horizontal menu, click File > Download > PDF Document.
- For this step, open the presentation with Adobe Acrobat and select "Print".
- In the presentation there is a screenshot with all the exact settings to check when the window appears to configure the print settings in Adobe Acrobat (for both MAC and Windows), but note that each setting will be different depending on what type of format you are using!
Double-sided printing, flipping on short or long edges, printing notebooks or books with pages in multiples of 2... Your printer can handle this and more!
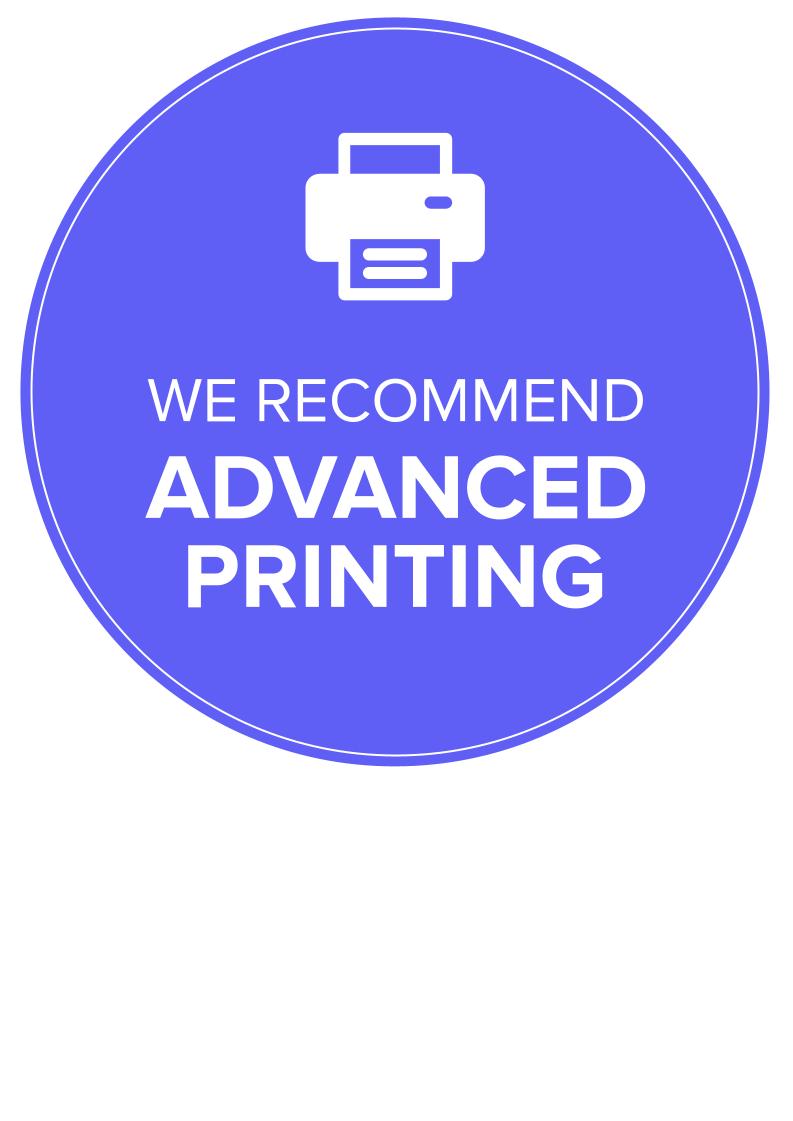
However, there are presentations such as A3 posters, business cards, research posters, etc., that are more complicated to print at home and require advanced printing from a print shop or printer.
Advanced printing
Why are some formats more difficult to print at home? Well, some of them are larger than the size of the printer, like the research poster, for example, so a better quality print is guaranteed from a print shop.
But not only the size, the quality of the paper is also important! For business cards it'd be tedious to print 50 cards on low quality paper, for example, so a more industrial job guarantees a good end result in less time and work. Colors, double-sided printing and paper weight have a higher and more professional quality from a print shop.
As with home printing, we must take into account some parameters to carry out an advanced printing. Mainly the format/size of our document and the materials used in printing influence the final result. And how to know which materials are better for a research poster or a business card? Don't worry, we will always indicate the following parameters so that you only have to go to a print shop and indicate it:
- Size/format.
- Color: Usually copy shops print in CMYK because it’s the most economical printing. So in case you prefer something in Pantone, indicate it beforehand.
- Paper thickness: The thickness or weight of the paper may vary according to your needs. For example, for a business card you may need it to be thicker so that it holds more firmly. However, for an A3 poster, you will need something less stiff and more flexible.
- Type of paper: It’s not the same to use a coated cardboard for playing cards than a brochure that will look great with coated paper. Depending on your needs, you must think about the type of paper that will best suit your printing.
- Finishing: Last but not least, finishing is the icing on the cake of a print! This is where you choose a matte, glossy, laminated or even embossed or unembossed result. For example, for playing cards, a laminated finish might be better so that they do not get damaged with use, but a research poster might look better in matte, in case it’s hung on a wall and there is a risk of light reflection.
How to know which one to choose?
So now you know every printable presentation is intended for home or advanced printing, but how to know which one is it? Well, it’s easy! When you download a presentation, you just have to check the third slide with the printing instructions where it’s indicated whether it’s intended for home or advanced printing. And for the latter, you will find the following stamp (adapted to the color of the presentation):
So now you know all the steps and tricks to get the best out of printable presentations! If you follow these recommendations, your prints will have a high quality result whether printed from home or a professional printer.
Do you find this article useful?
Related tutorials
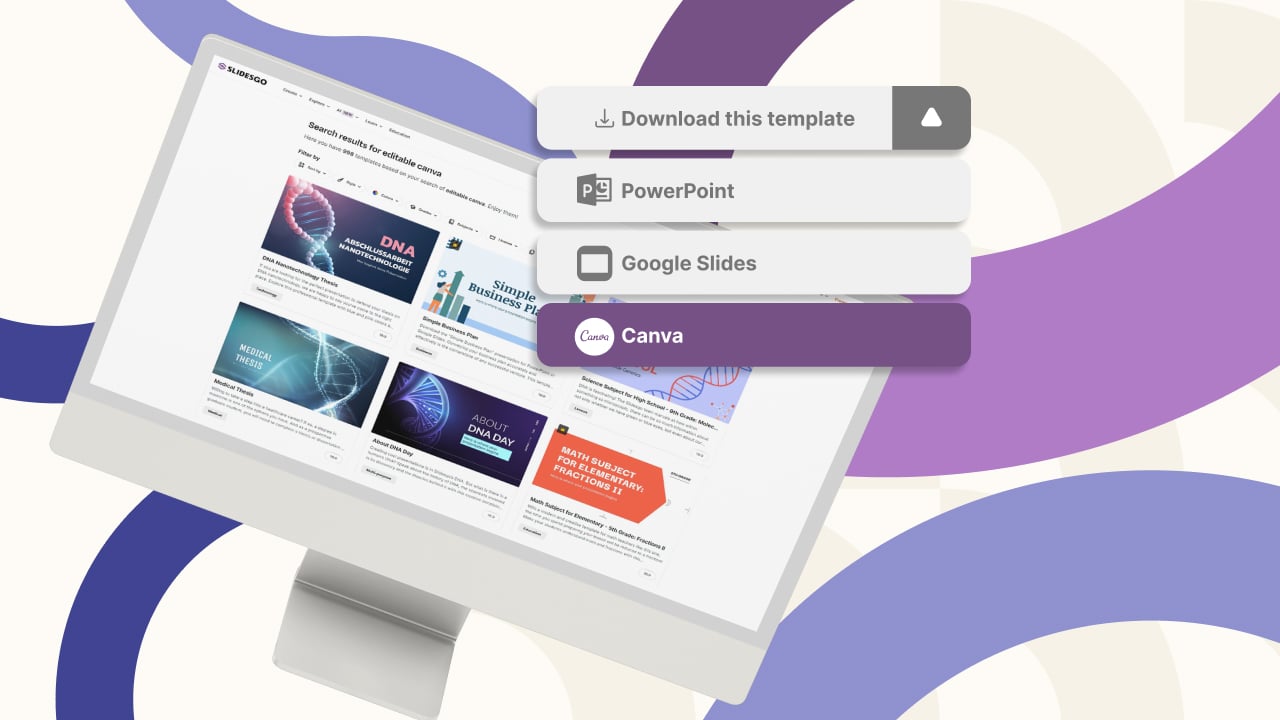
New feature available: edit our templates with Canva
Whenever you need to create, Slidesgo is there. We’re continually enhancing your presentation design process with templates that are primed to impress for any occasion. And in order to let your ideas flow best, comfort is key. How could Slidesgo help you with this? By making you feel right at home with our resources, no matter your preferred platform.You spoke, and we listened. Now, your favorite slides can be accessed on a new platform: Canva! This new format adds to our existing options (PowerPoint and Google Slides), expanding your ways to utilize our first-rate presentation content. We’ve started with a selection of Canva-ready...
How to print PowerPoint notes
Crafting an impactful PowerPoint slideshow and delivering a captivating presentation are distinct skills. The first focuses on designing appealing visuals to convey a clear message, while the second involves employing effective presentation techniques to ensure the audience grasps the idea. The content of this article will help you with the latter part of this process, guiding future presenters on how to print PowerPoint with speaker notes to enhance your presentations success and effectiveness.
Discover Our Online Presentation Software for Free
We have great news for you today! If you’ve been a Slidesgo fan for years (or months, or weeks, or days, or mere hours, we welcome everyone!), you’ll probably know for now that our templates are available mostly in two formats: for use in Google Slides and PowerPoint.Google Slides is a free tool, since you only need a Google account in order to use it. PowerPoint, on the other hand, is part of the Microsoft Office suite, so it’s not a free program, but that didn’t stop it from being one of the most popular options in the world!What if we...
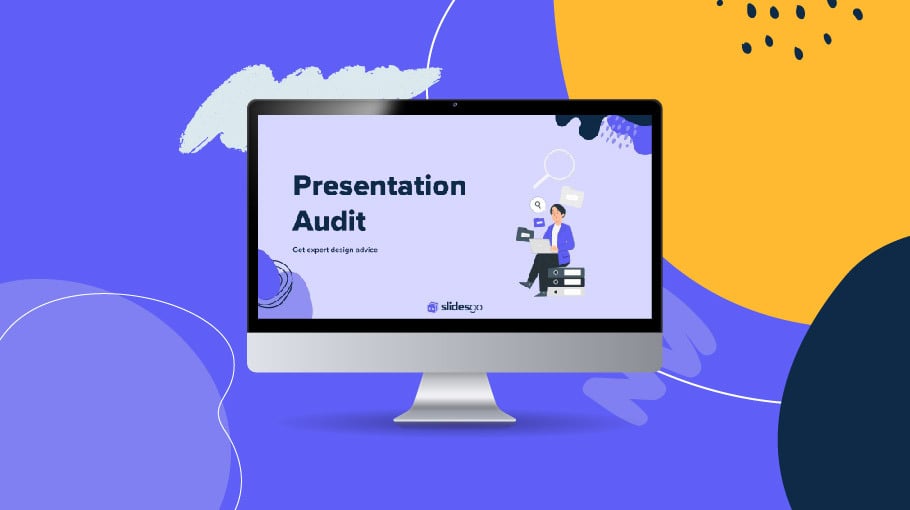
Webinar: Presentation Audit
With more than 15,000 templates released on Slidesgo and a user base composed of millions of people, we estimate that the total number of presentations created adds up to… um, a lot! Our team of professional designers work very hard to provide you with editable slides so that the only thing you need to do is, well, customize the elements to your liking. Starting from any given template, the results may vary a lot depending on the person who edited the contents.Have you ever wondered “Is my presentation good enough?” and wished that an expert on presentations looked at your template...