
How to Use the Presenter View in Google Slides
Google Slides, like PowerPoint, has different presentation modes that can come in handy when you’re presenting and you want your slideshow to look smooth. Whether you’re looking for slides only, speaker notes or the Q&A feature, in this new Google Slides tutorial, you’ll learn about these and their respective settings. Ready? Then let’s explore the presenter view!
Types of presentation modes in Google Slides
There are three presentation modes in Google Slides.
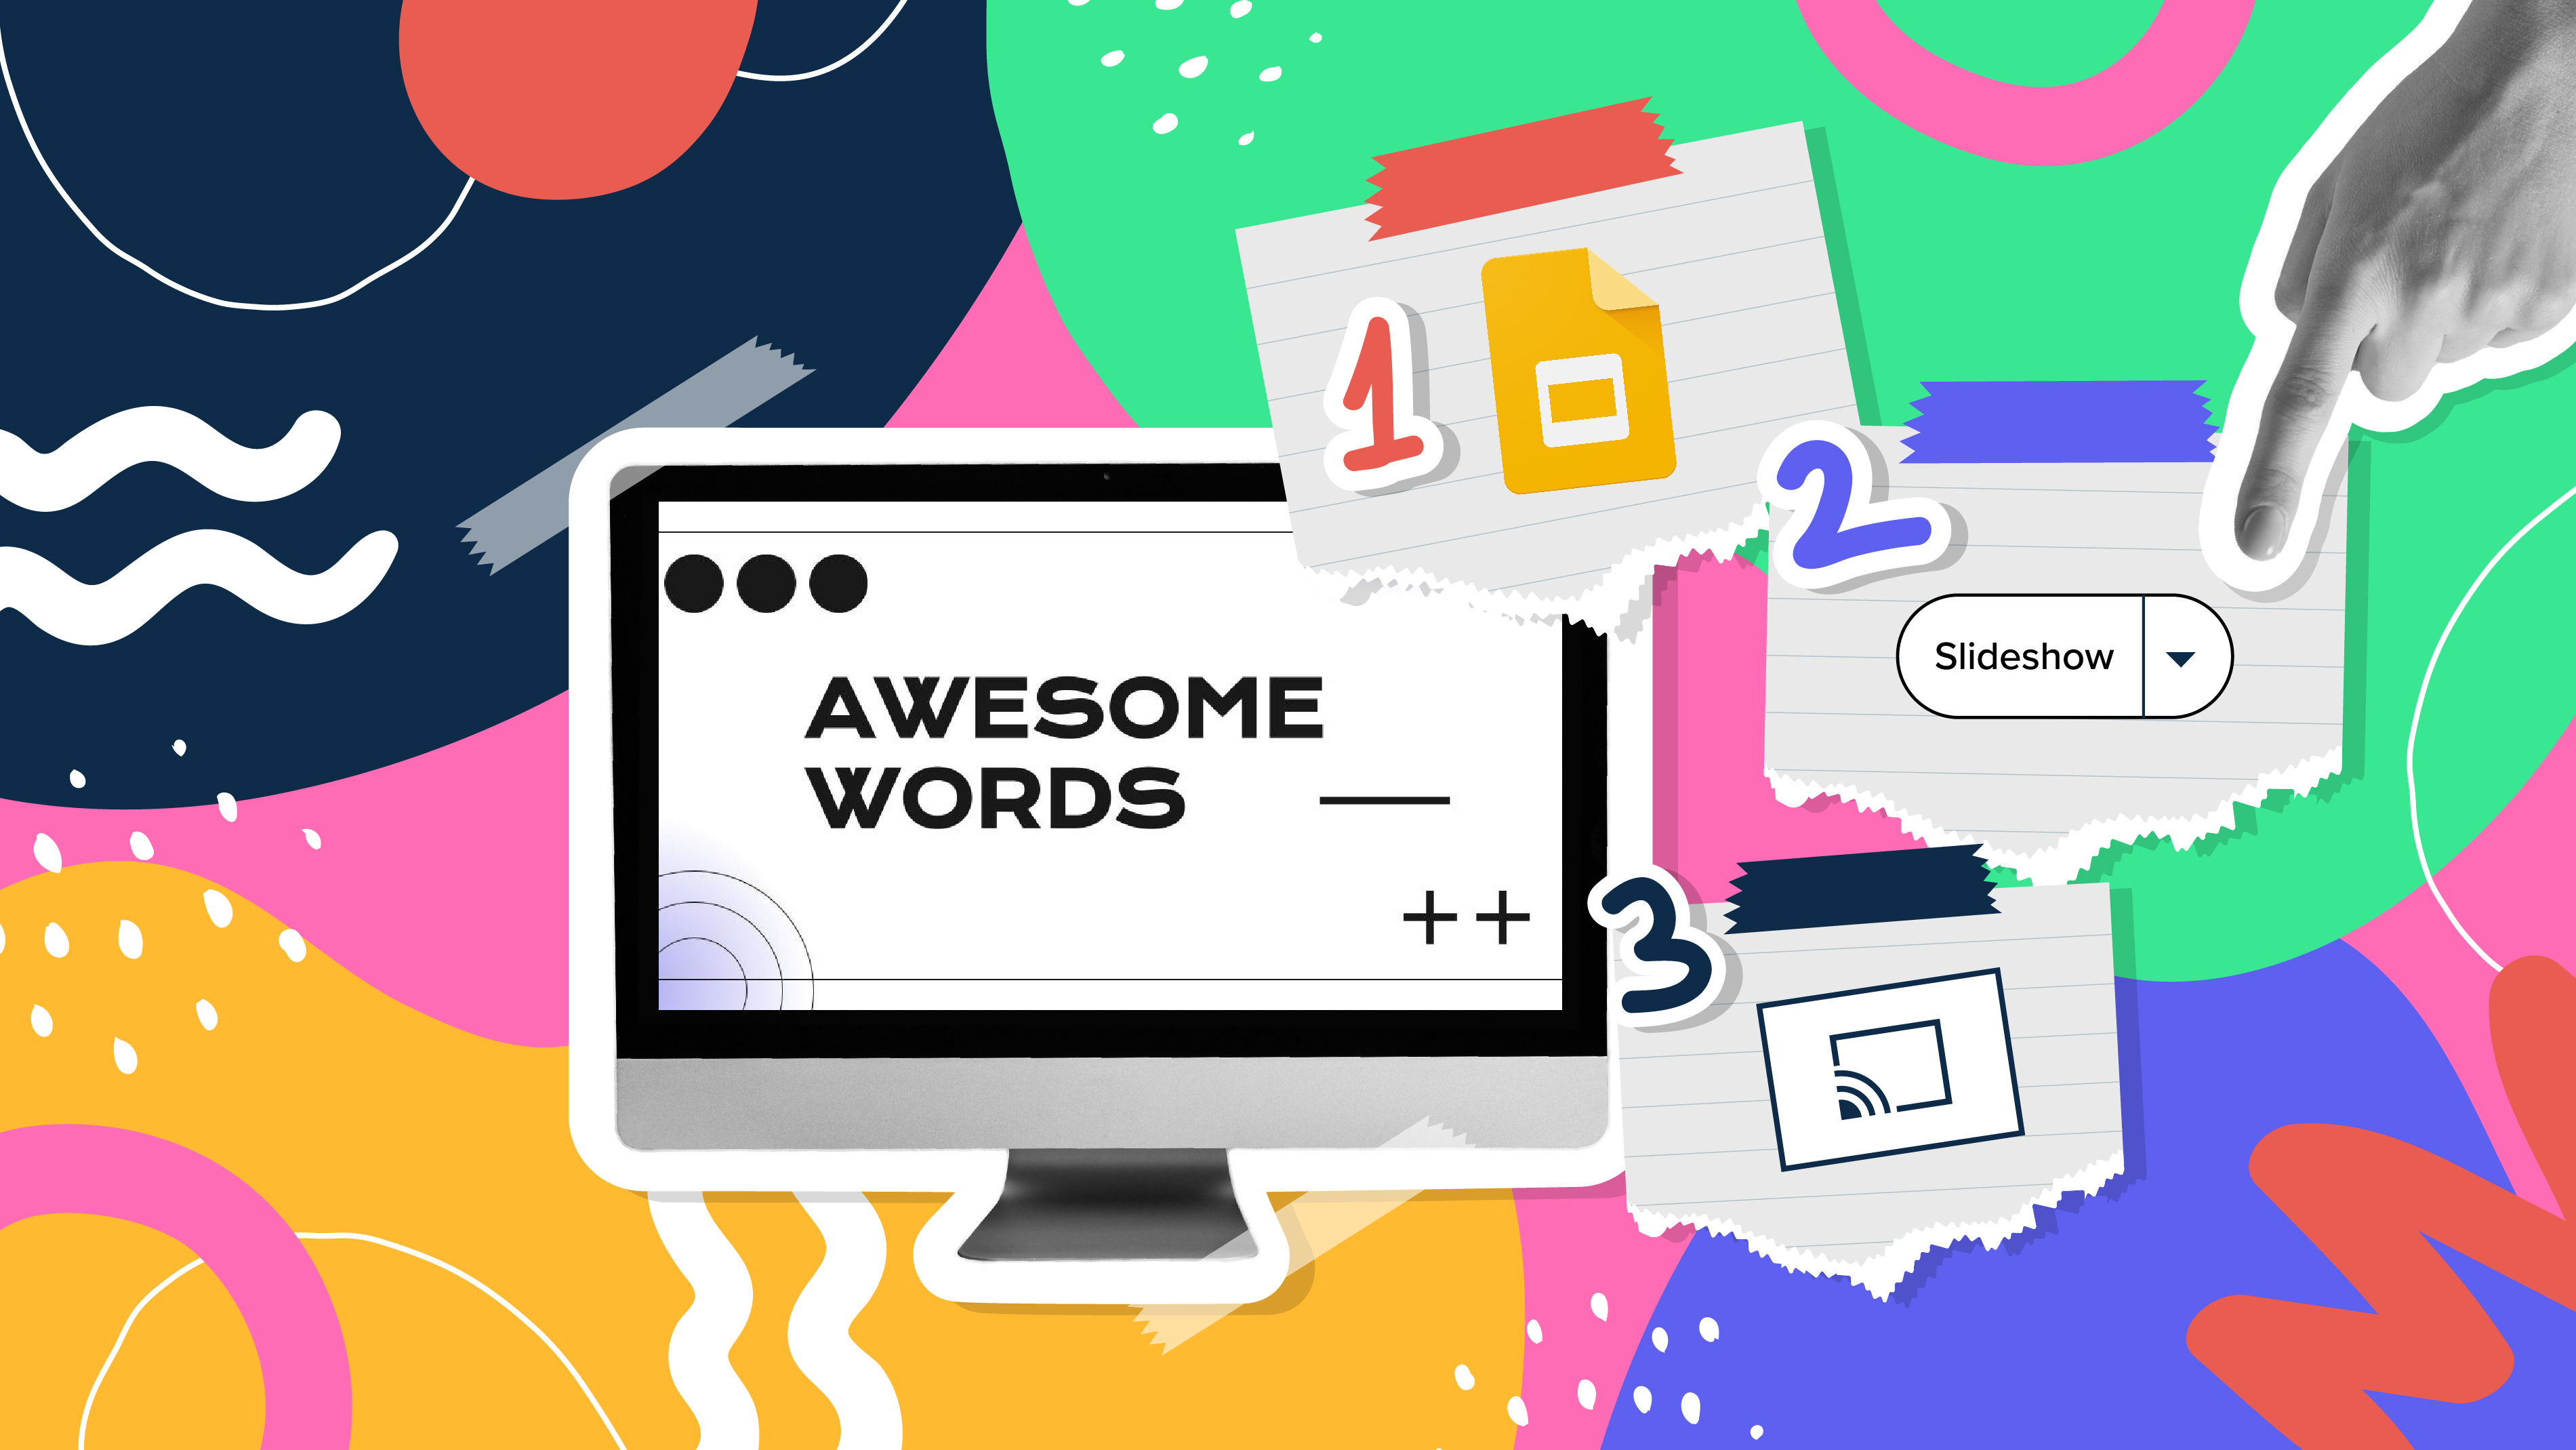
If you click the “Slideshow” button or press Ctrl/Cmd + F5, your presentation will start directly without any speaker notes. This is the most widely used and the simplest option.
Next to the “Slideshow” button, there’s a drop-down arrow. Click on it to see the different presentation modes:

Presenter View
In this mode, you’ll be able to see the speaker notes, check the timer and adjust other settings, such as questions from the audience. For more information about the speaker notes, please refer to this Google Slides tutorial.
To view the different tools, after clicking “Presenter View”, move your mouse to the lower left-hand corner of the screen. You’ll see the slide number, previous and next slide arrows and three dots. Click on the dots and here are your options:

Open speaker notes
This enables the speaker notes and makes them visible. If you click this button, you might exit fullscreen mode. To go back to fullscreen, press Ctrl/Cmd + Shift + F or click the “Fullscreen” button. For more information, please refer to this Google Slides tutorial.

Turn on the laser pointer
You’ll see a red dot on the screen, which you can move around to point out any element from your presentation.

Full screen
Click this button (or press Ctrl+Shift+F) to enter or exit fullscreen mode.

Exit
Click this button to finish the presentation or just press Esc.

Auto-play
If you click on “Auto-play,” more options will appear: Click “Play” and the slides will advance automatically (by default, every two seconds, but there are other options available. You can also choose to play the slideshow on a loop).

Captions preferences
If you have a mic set up, you can enable captions. Click the drop-down arrow to adjust the size of the text and its position on the screen.

Q&A
If you click on “more”, you can enable the Audience Q&A panel by clicking on the first option that appears. For more information, please refer to this Google Slides tutorial.

More: Downloads, printing, info and options
Under the “More” tab, you can also choose different download formats for your slideshow or print it out. This tab also contains a handy list of keyboard shortcuts (if you prefer handling keys to using your mouse) and the possibility to report problems.

Start from beginning
Your presentation will begin from the first slide (Ctrl/Cmd + Shift + F5).

Your presentation will be shown on a different screen via a media display device, such as Chromecast. This option will be available only if there’s another screen available.

Now you’ve mastered the presenter view in Google Slides, which, with a bit of practice, will be a game-changer! Not only will it make you look like a presentation pro, but it will also streamline the process of nailing those crucial talking points. So go out there and strut your stuff – with presenter view on your side, you are unstoppable!
And if you’ve found this tutorial helpful, check out more of them on our blog!