
How to Insert, Crop or Mask Images in Google Slides
In this new Slidesgo School tutorial, you’ll learn how to insert images or GIFs into your Google Slides presentations. You’ll also find out how to crop or mask pictures so that they better suit your needs. Are you ready to begin?
Adding an Image or GIF
- Open your presentation in Google Slides.
- Select the slide where you want to add an image or GIF file.
- Click Insert → Image. You’ll see a list in which you can choose from where you want to add the image. You can even look for images directly in Google and add them to the presentation.
- To add an image from your computer, select Upload from computer. A new window will open, where you must locate the image. Once selected, click Open.
- If you want to add an image from Google Images, select Search the web. A new panel will open on the right side of the screen, where you can search for images. Once the image is selected, click Insert.
- You can also add images stored in your Google Drive account. To do so, choose Drive, select the image that you need and click Insert to add it to your presentation.
- There are other options:
- Photos. Get images from your Google Photos account.
- By URL. Enter the URL of any image found on the internet.
- Camera. Add a picture from a camera that is connected to your computer.
- Lastly, you can just drag the image from your computer directly to the slide. Once done, it will be inserted into your presentation.
Cropping Images
- Open your presentation in Google Slides.
- Select the image that you want to crop.
- Double-click the image or click the Crop button, located on the toolbar. Use the black handles to adjust the cropping. Once you’re done, press Enter or click the Crop button again. You can just click outside the image too.
- If you want to reset the image to its original state, right-click → Reset image, or just click the Reset image button, located on the toolbar.
Masking Images
- Open your presentation in Google Slides.
- Select the image you want to mask.
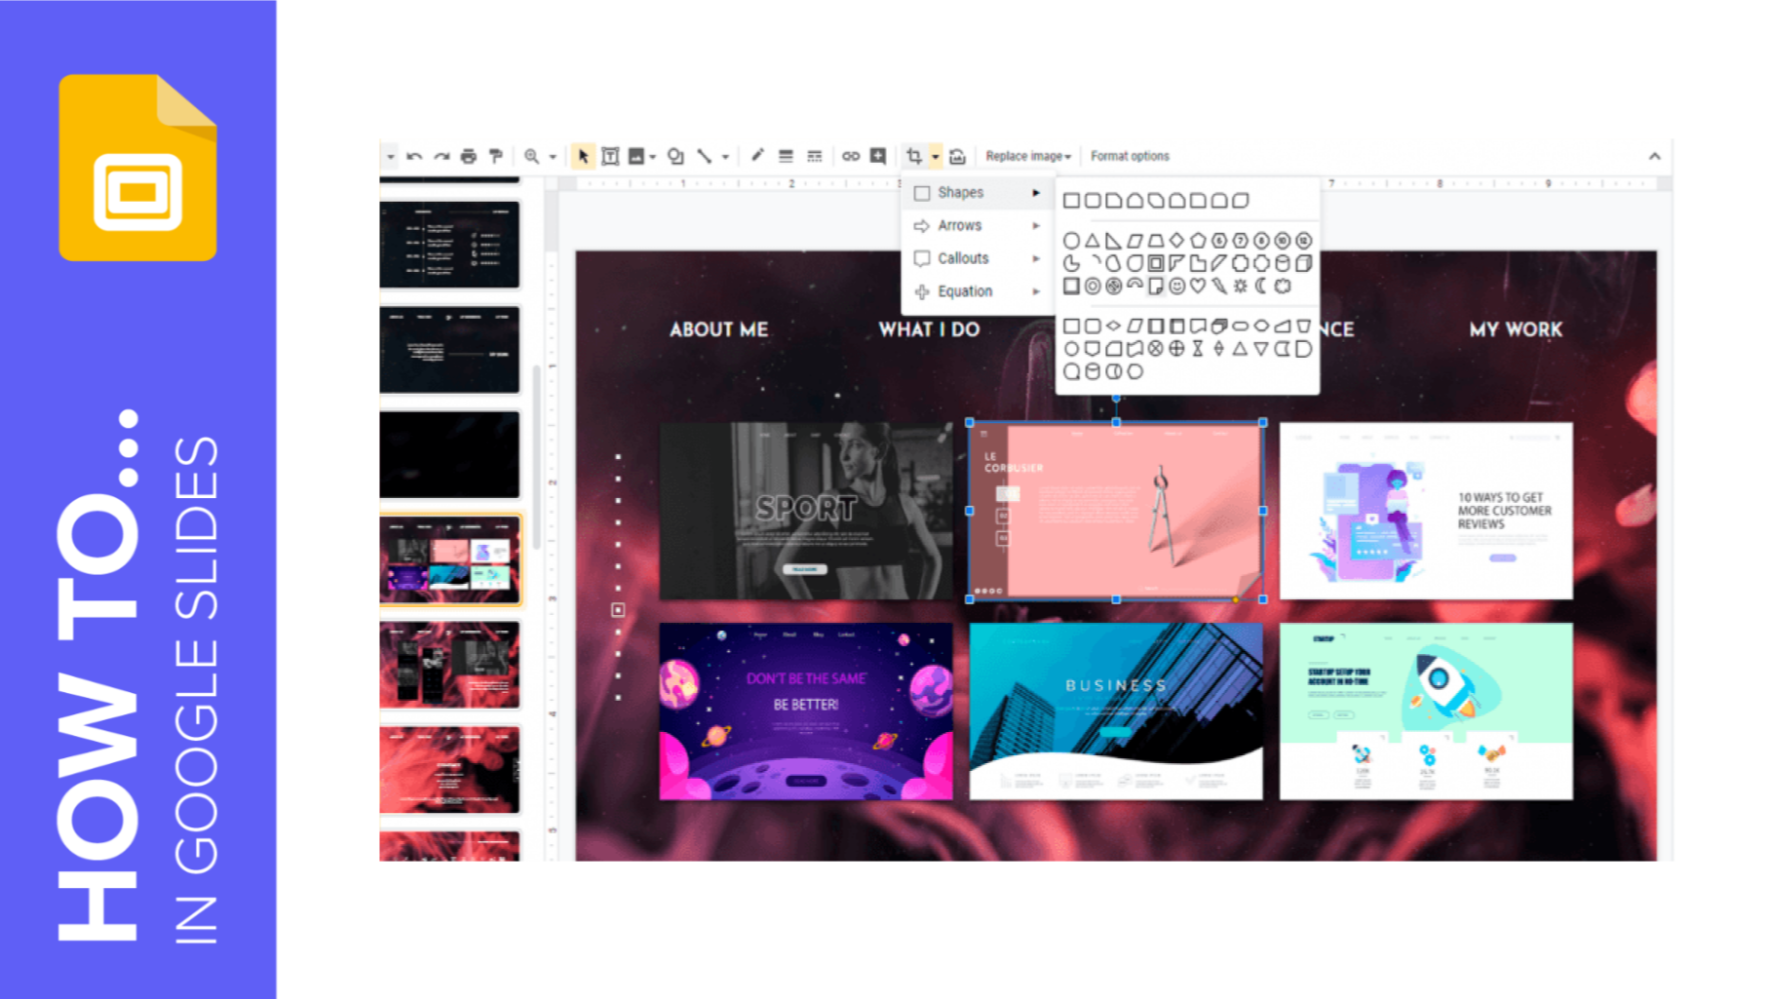
- Click the drop-down arrow next to the Crop button.
- Select the shape that you want the mask to have. Once selected, the image will be masked according to this shape. You can further adjust it using the handles.
- If you want to reset the image to its original state, click the Reset image button or right-click → Reset image.
Tags
ImagesDo you find this article useful?
Related tutorials

How to Create a Banner in Google Slides
Banners have been around us (at least, when it comes to browsing the net or participating in forums, among other things) for a long time. Creating one is by no means a difficult task, and you can do it with free software such as Google Slides. The steps that you’ll need to follow are very simple, so we’re sure you’ll start creating banners one after another in a few minutes. Let’s see how to proceed!
How to Make a Banner in PowerPoint
The uses that a banner has are almost endless: from ads to sections for websites, or even signatures for certain types of emails. The purpose is up to you, but the thing is: how to design one? If you think that you need expensive software to make banners, think again. Here at Slidesgo, we know a lot about presentations and, thus, about programs such as PowerPoint. The truth is that PowerPoint is all you need to create your own design! Keep reading to learn how!

Storyset by Freepik: Awesome illustrations for creative presentations
With inspiration and the adequate resources, a PowerPoint or Google Slides presentation can be the most creative slide deck your audience has ever been, regardless of topic. In this Slidesgo School article, we’re going to introduce Storyset, a new Freepik project where you’ll find illustrated concepts to visually reinforce the message you want to convey, turning your work into a memorable experience.
How to Create a Watermark in PowerPoint
Watermarks are small elements or images that are inserted into digital creations to help identify who’s the author, preventing plagiarism. If you want to learn how to insert a watermark into your PowerPoint presentation, this tutorial will teach you in no time!